How to Fix Heat Press Scorch Marks
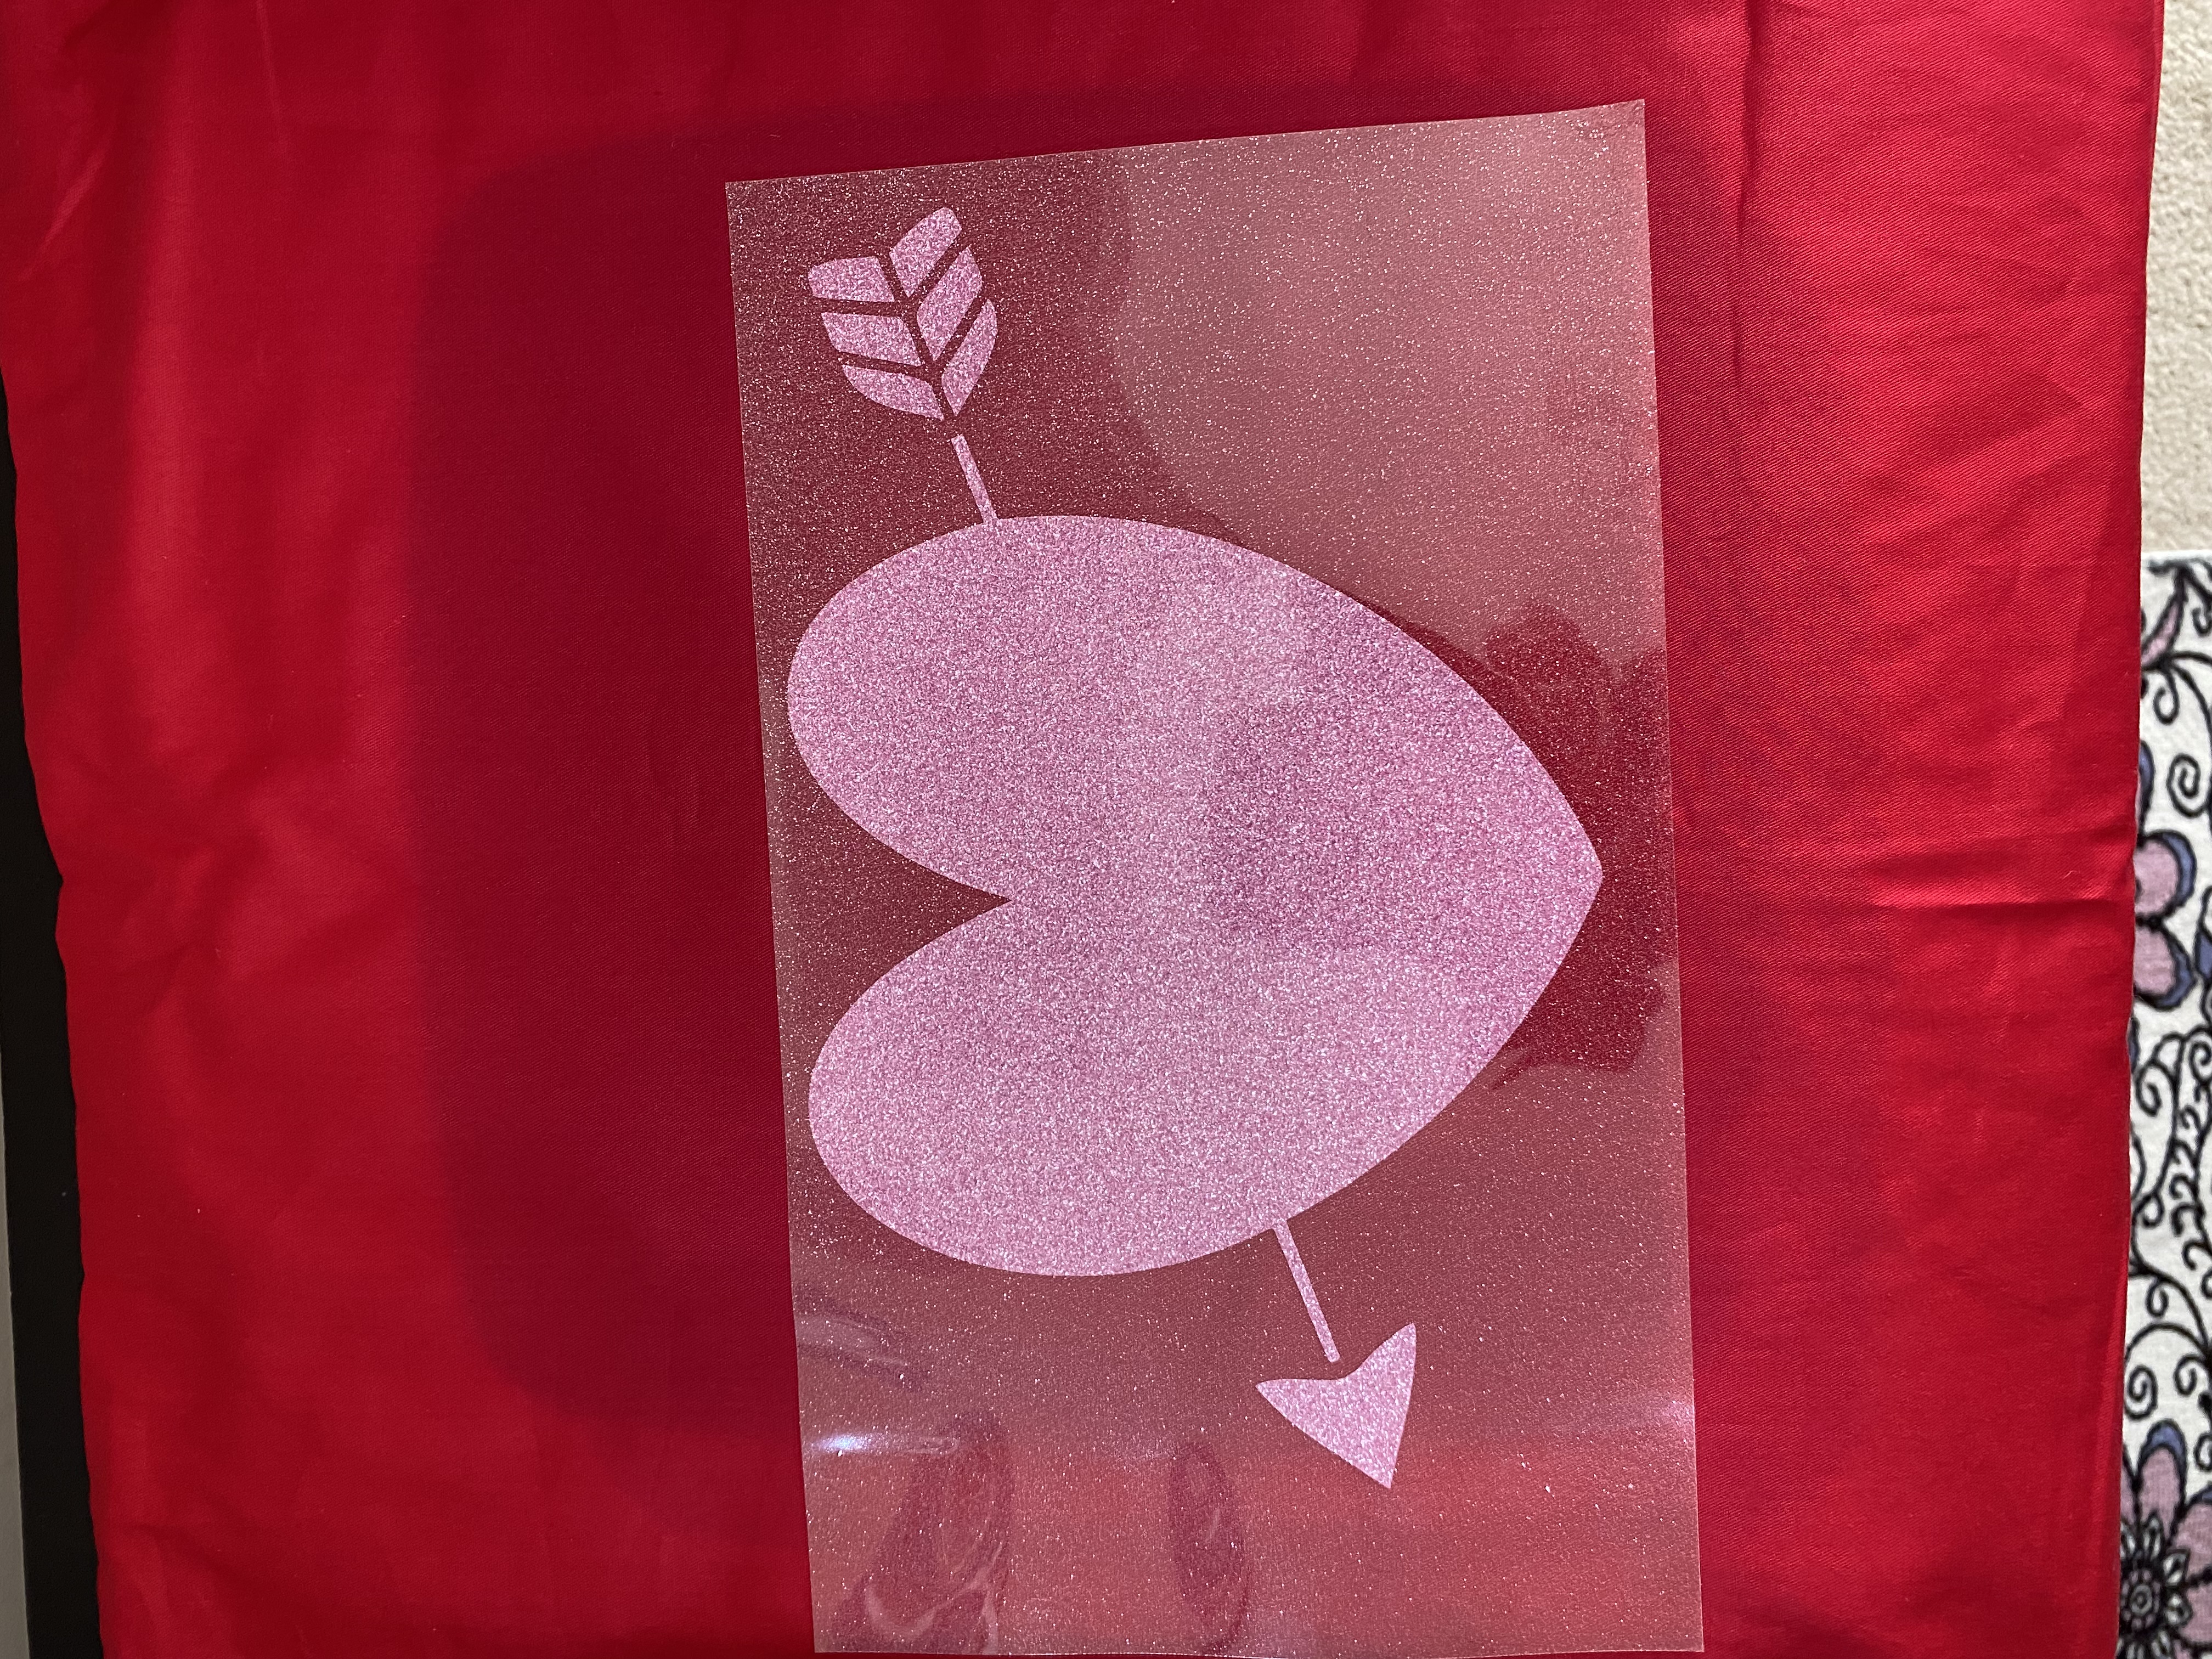
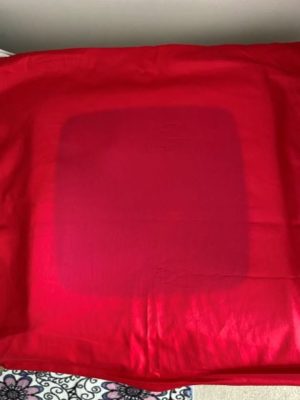
Have you ever pressed heat transfer vinyl (HTV) onto a t-shirt or pillow, only to lift your heat press and gasp at the sight of scorch marks? Ruined right? Don’t worry—it’s not! You can fix those heat press scorch marks with one step.
Why Does Your Heat Press Leave Scorch Marks
When using a heat press, the machine pulls moisture from the fabric, causing steam that can darken the material or leave what looks like a scorch mark. This is especially common with mid-toned colors like purple, red, blue, and green.
How to Remove Scorch Marks from Heat Pressed Items
Luckily, fixing these marks is incredibly simple! Here’s a method I’ve successfully used on both 100% cotton and cotton-polyester blends:
- Get a spray bottle and fill it with hydrogen peroxide.
- Spray the solution evenly over the scorch marks.
- You can either hang the item to dry or, for faster results, place it in the dryer for 3-5 minutes (just be sure to turn the item inside out first).
Important: Because you’ve just applied HTV, don’t leave the item in the dryer longer than 5 minutes. After drying, hang the item to air dry the rest of the way.
Voilà! The marks will disappear, and your project will look brand new!
Tips for Preventing Heat Press Scorch Marks on HTV Projects
To keep your HTV projects in top condition, follow these tips:
- Always wait at least 48 hours before washing any item with HTV.
- When washing, turn the garment inside out and avoid using fabric softener.
- Hang dry or use the dryer on low heat to keep your HTV design looking fresh.
By following these steps, you can save your crafting projects from heat press mishaps. I hope this guide on removing heat press scorch marks helps. If you liked this post, you might be interested in “How to Use Printable Heat Transfer Vinyl for Cricut“. Happy crafting! 💕


