What To Do With My New Cricut?
You did it! You bought a new Cricut! Which one did you purchase? I’m dying to know! There are so many different machines now & they’re all great! Whether you’ve never done crafting or DIY crafts before buying your new Cricut or you’re already a pro, there is always something new to learn! Hopefully, this article has some tips that maybe you never knew or never thought of. So let’s get started!
TIPS ON WHERE TO SET YOUR CRICUT
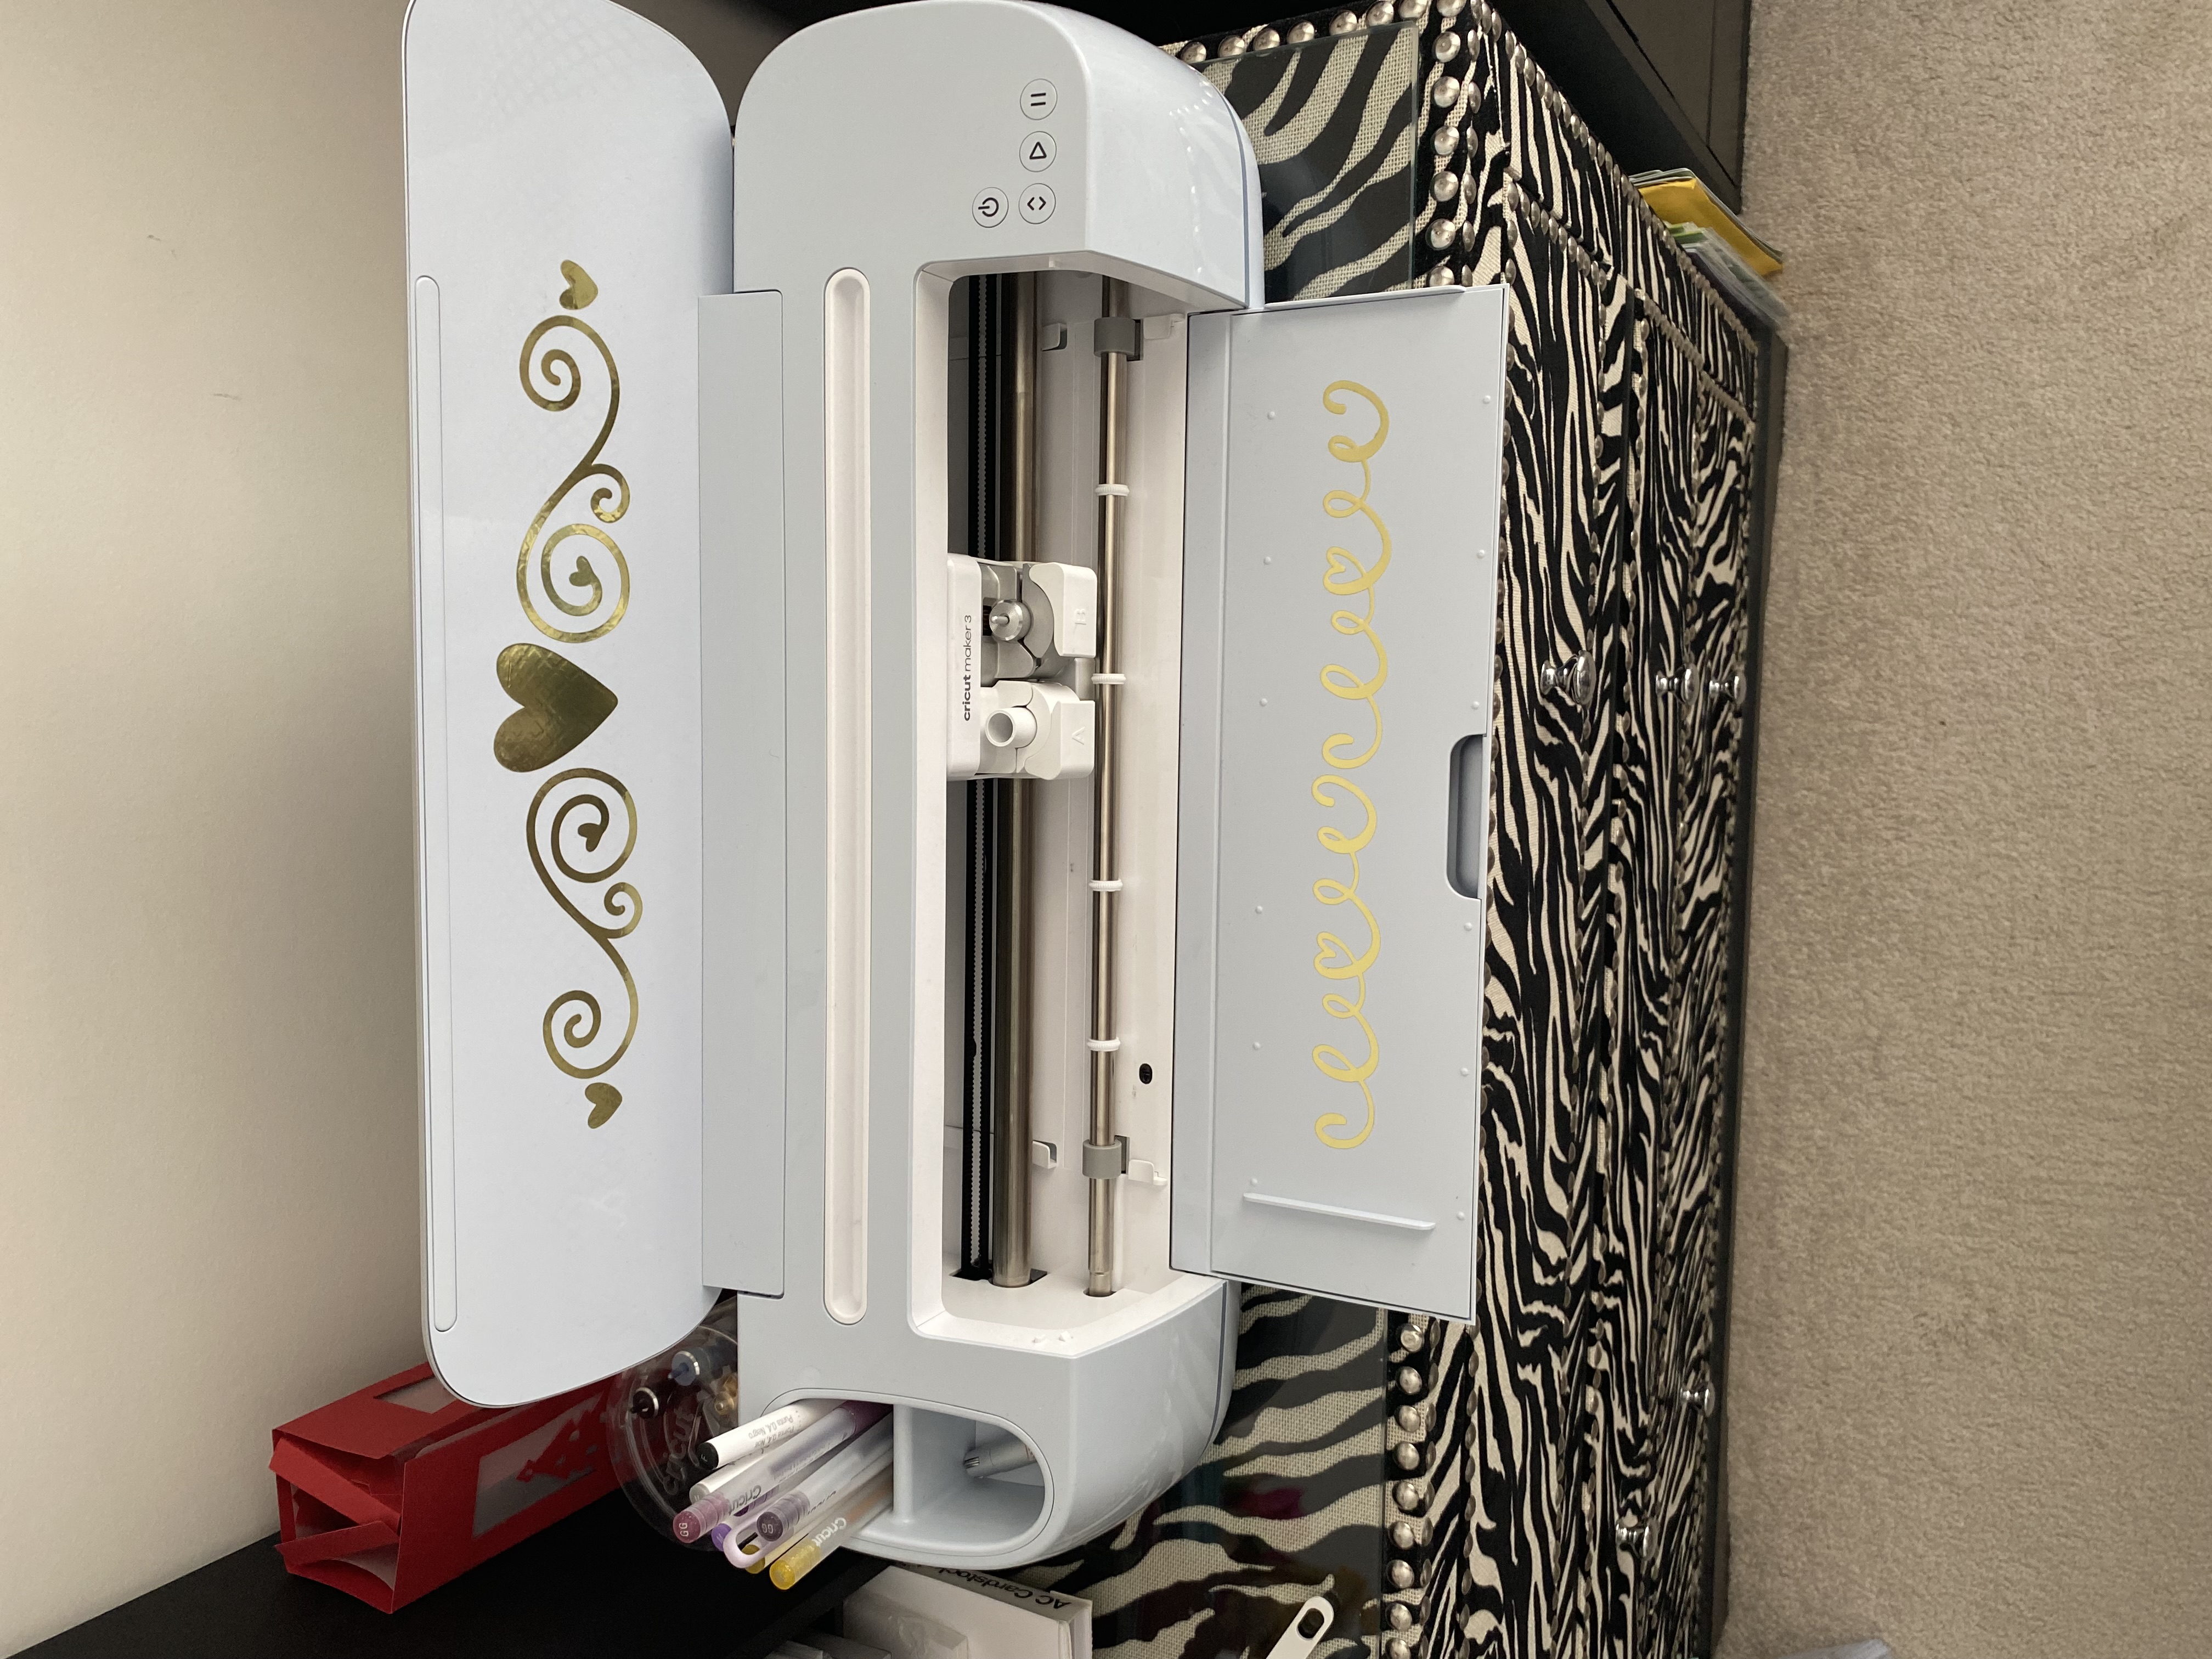
You might not think this is a big deal, but there are a few things you need to keep in mind when you’re placing your Cricut in its spot. There needs to be room in front, in back & from the top. You need at least 10 inches in the back & the front so the mats can move back & forth while cutting. At the top, you’ll need room to have your lid open & also pens or tools sticking up. Now I have to say, I’m telling you this from experience because my Cricut is not in the best place! My Cricut is on the edge of a storage/dresser because that’s the only place I have right now. (Just wait till I have my room like I would love to have it…..it just takes my son moving out. 😁Just joking! I would love it if he stayed here till he was 30! He would not!)
Back to the placing of the Cricut, I do have the room in the front & back, but since it’s on an edge, I sometimes have problems with the mat. When I’m not standing there holding the mat, it just hangs & I can tell my material is trying to pull away from the mat. This is why I would prefer & I think it’s better to have a surface in front & back so it has something to lay on. Eventually, I will have it the right way, but I wanted you to start off with a bang if you know what I mean! Another good tip is to have it as close to where you sit as possible.
HOW DO I SET-UP MY CRICUT
To start, find the power cord that is in the box. Plug it into the back of the Cricut & give it some power! Now you can press the ‘open’ button or lift the lid depending on the model you purchased. Next, it’s time to get you connected to your computer & then set up in Design Space. (Minimum requirements are: Windows 8 and higher, or Mac OS 10.13 or higher, an iPad or iPhone (with iOS 12 or later), or an Android tablet or phone (with version 6 or higher)). (Just my opinion….but I think it’s much easier to use a desktop computer instead of a tablet or phone to work with Design Space. Up to you though!)
You can connect your Cricut to your computer with the USB cable that was supplied or wirelessly thru Bluetooth depending on the Cricut model you purchased. If you have the Cricut Explore Air, Explore Air 2, Explore Air 3, Maker & Maker 3 you can connect wirelessly as long as your computer is also Bluetooth-enabled.
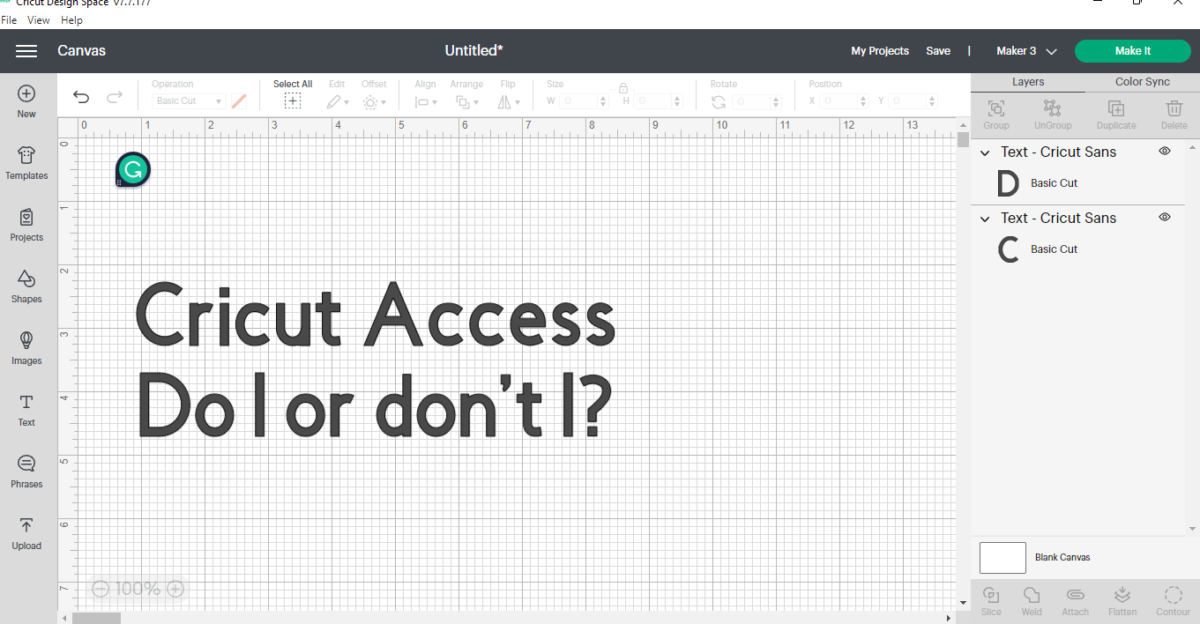
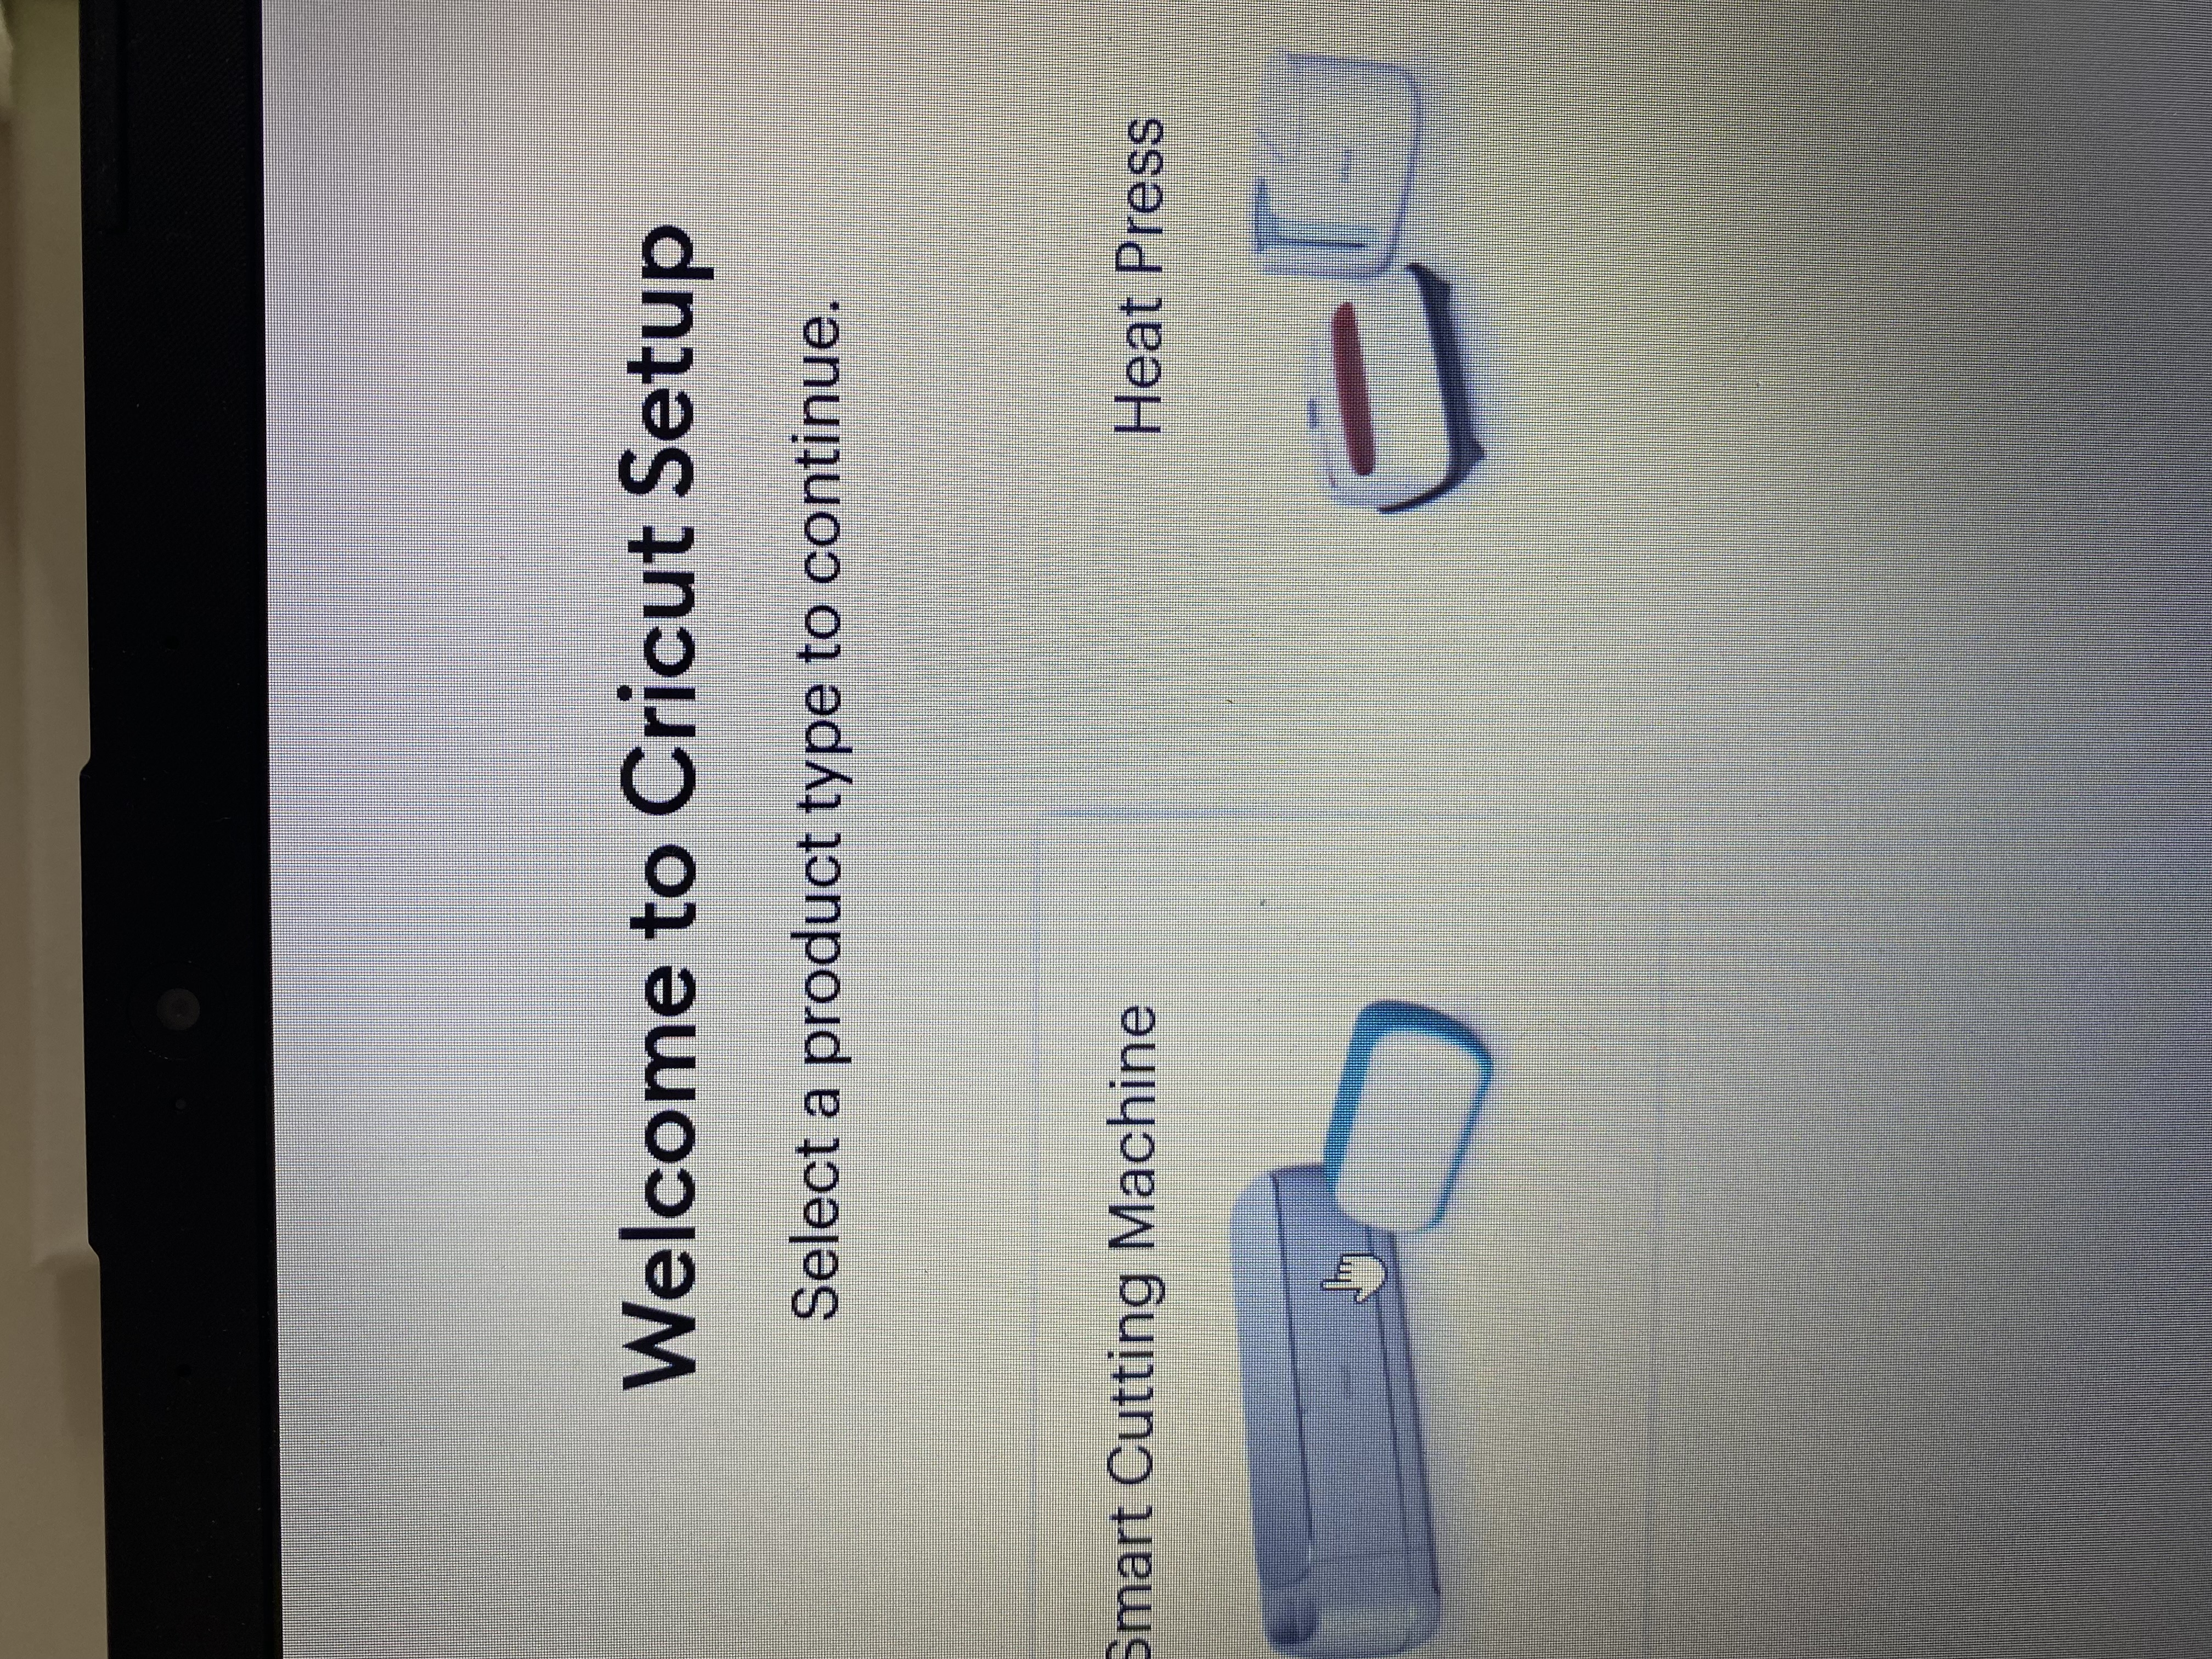
Now make sure your internet is running & you’ve turned your Cricut ‘On’. In your Cricut box, you should have a piece of paper with a link on it. If you don’t have it, the link is here (design.cricut.com/setup). The picture above is what the page will look like. Just follow all the instructions on the screen. It will walk you through every step to get you set up with Design Space & make your first cut.
HOW TO CUT YOUR FIRST PROJECT
The Cricut machines come with a blade already installed. On the inside front of your Cricut, you’ll see a tool holder with two clamps labeled A & B. Clamp A is for an accessory & clamp B is for the blade. If you opened clamp B, you’ll see what’s called a “housing” (the cylinder-looking thing). The blade is in the bottom of the housing so be careful while handling it. Clamp A is where you’ll put your pens or scoring tool, for example. Clamp B is where you’ll change your blades or your blades & housing.
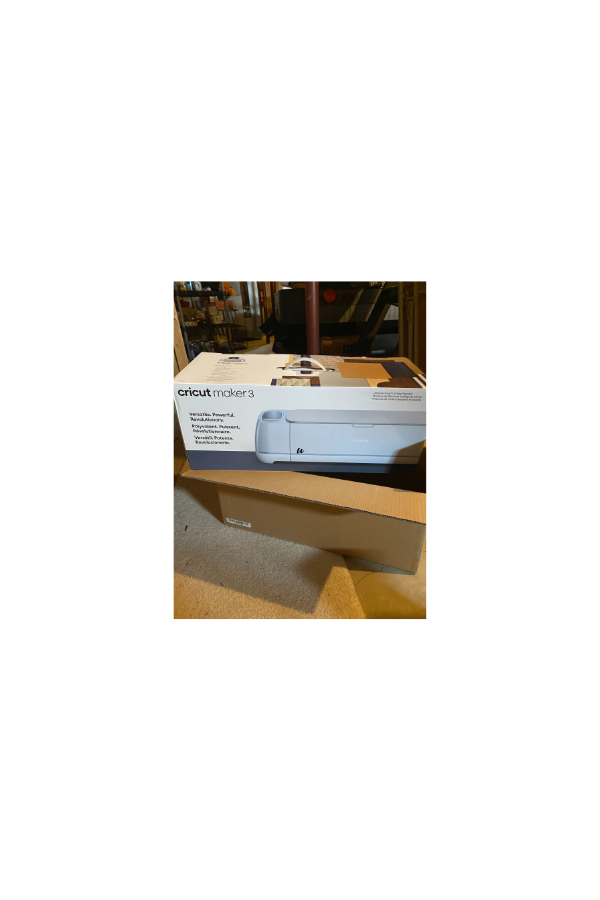
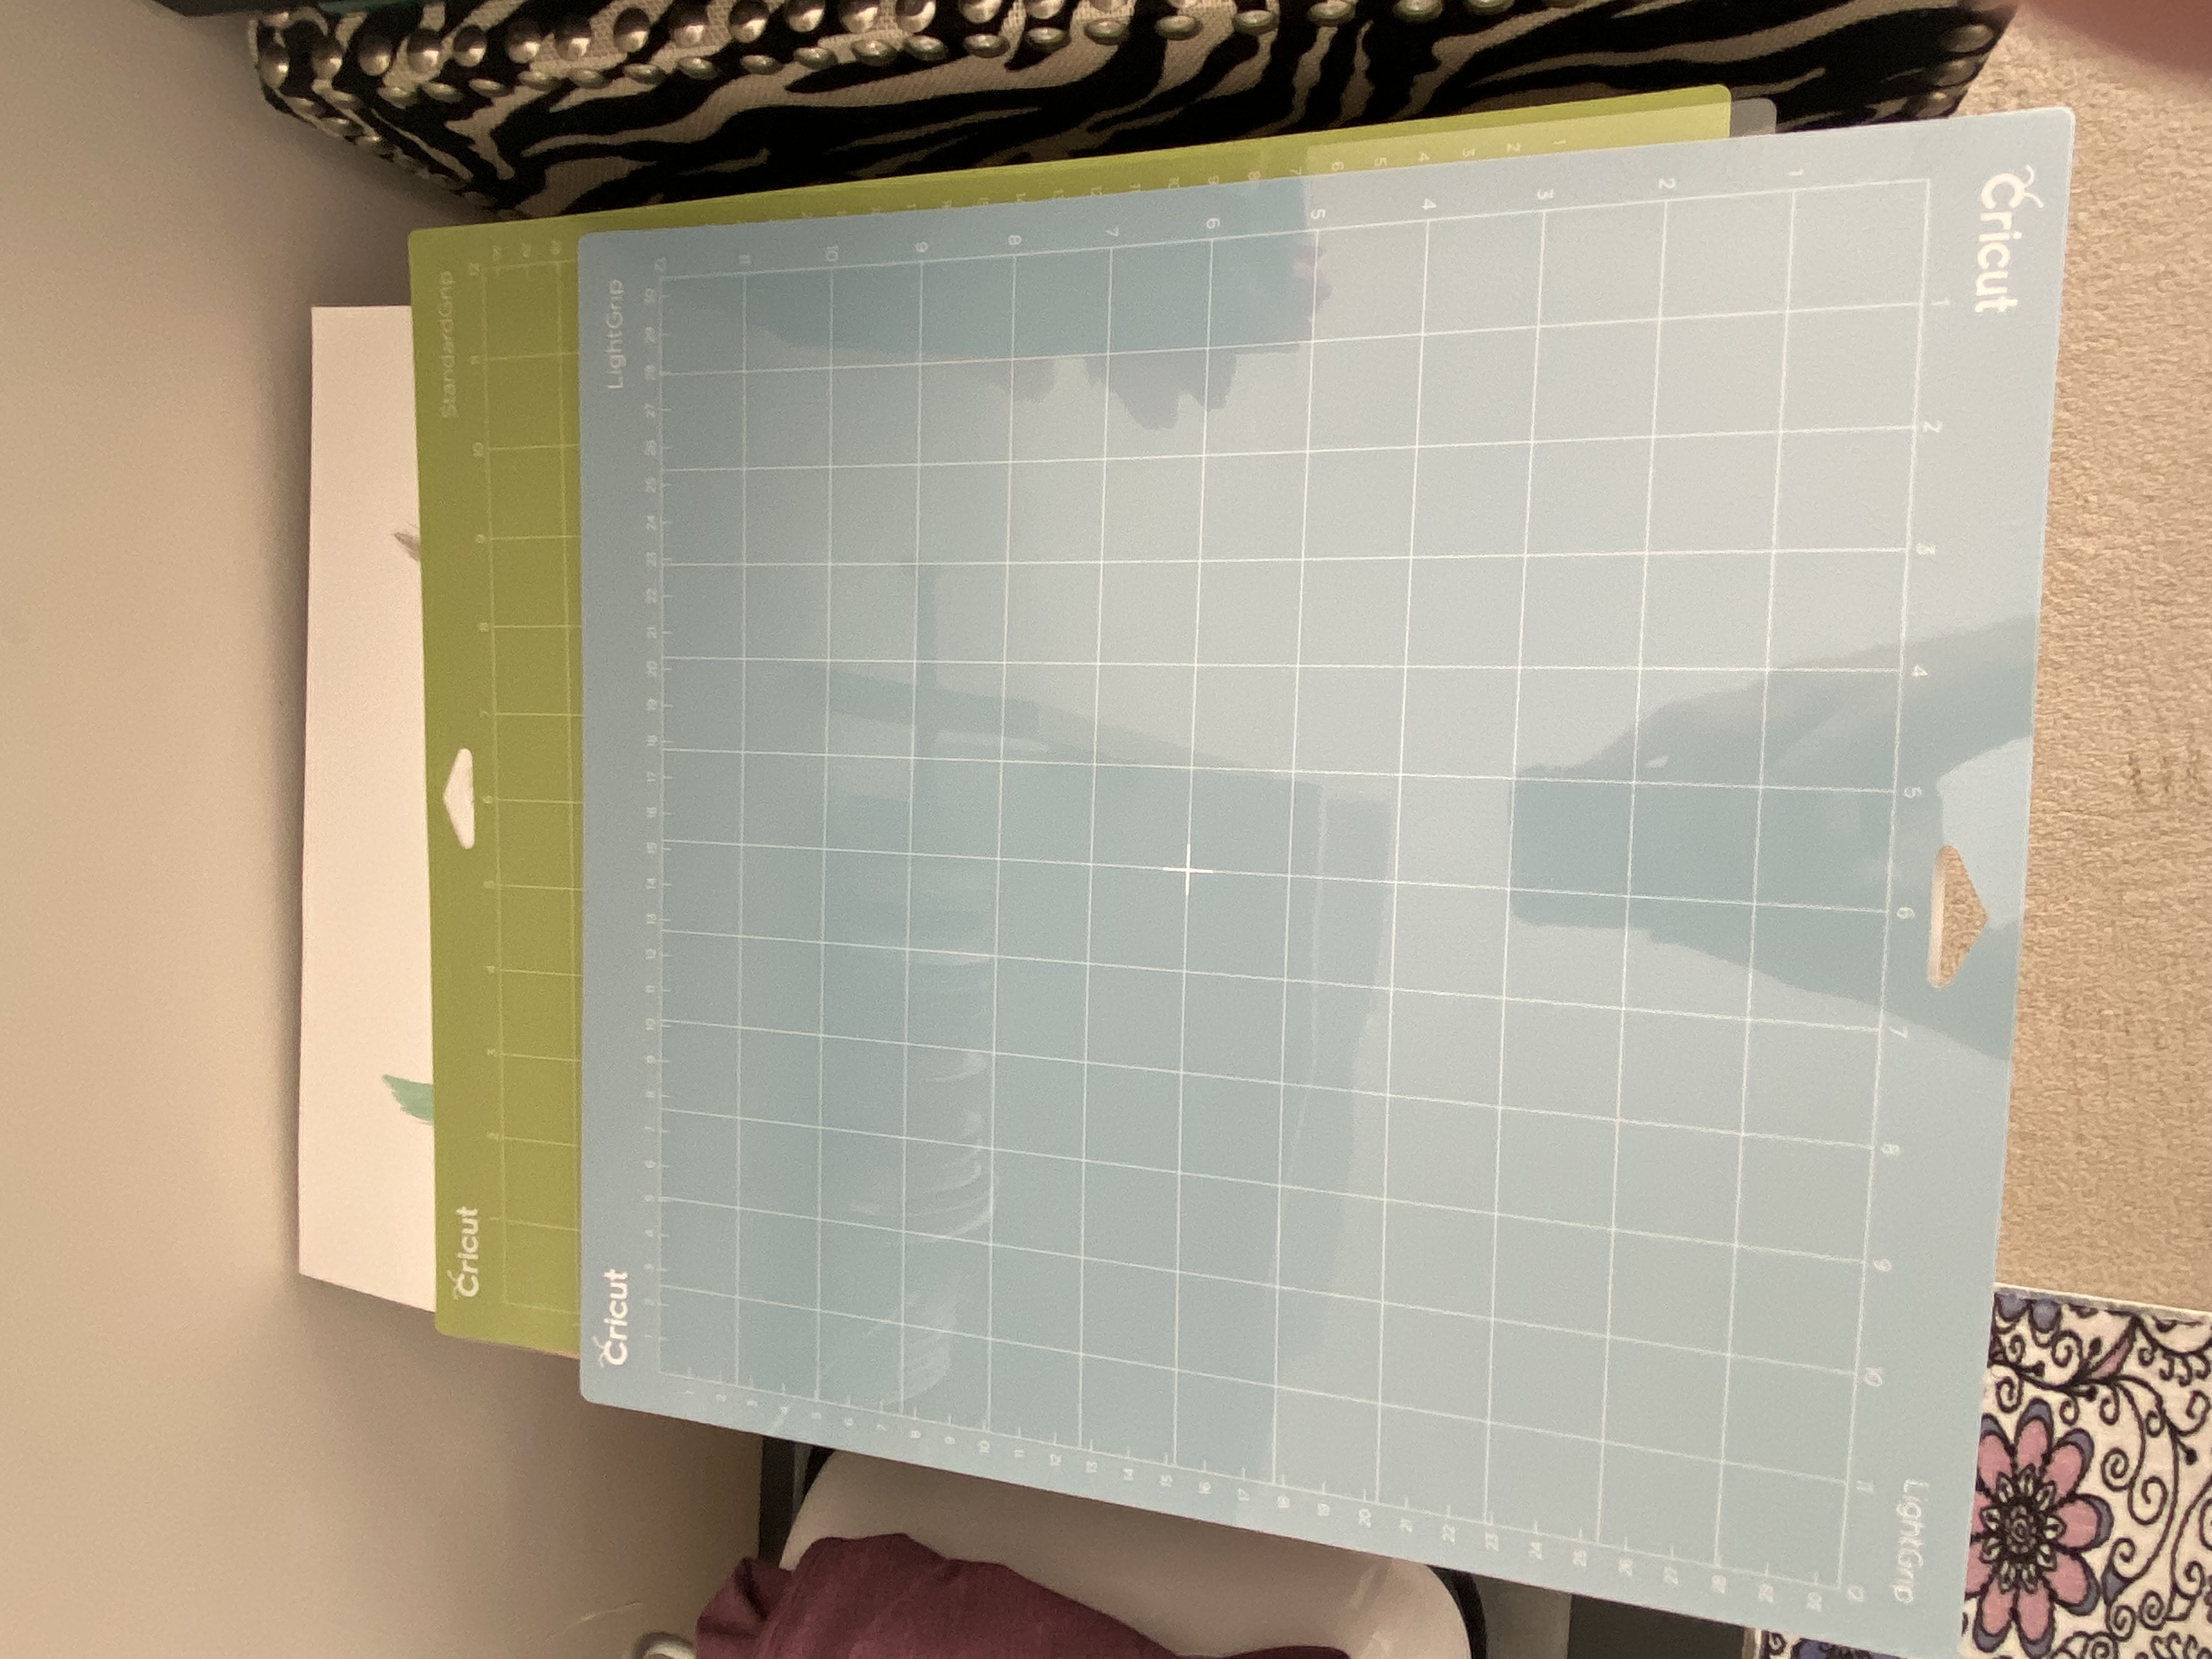
In the box that held your Cricut, you’ll see everything you need to cut your first project. Each box’s materials are a little different depending on the machine model. Most importantly, you should find a blue “light-grip” cutting mat. This is what you’ll use to put your materials on to run through the Cricut. (Only the Cricut Maker 3 doesn’t require a mat.) Most of you should also have a piece of cardstock, vinyl & a pen. Take off the protective cover from the mat. Keep this! You want to put that back on the mat when it’s not in use to keep it clean & sticky. When I first got my Cricut, I took the mat cover off & crumpled it up to throw in the trash!!🤔
Now take a look at Design Space again. After you’ve completed the ‘setup’ portion for the machine, it will put your first cutting project on the screen. Just follow the instructions! That’s all there is to it! You’ve made your first cut project!!
I hope this post has helped get you started with your new Cricut! There are so many possibilities-it’s exciting! I hope to see some of the projects you’re willing to share! Any questions, just use my ‘contact form’! Have a good one!😁