What Basic Materials You Need When You’re a Cricut Beginner
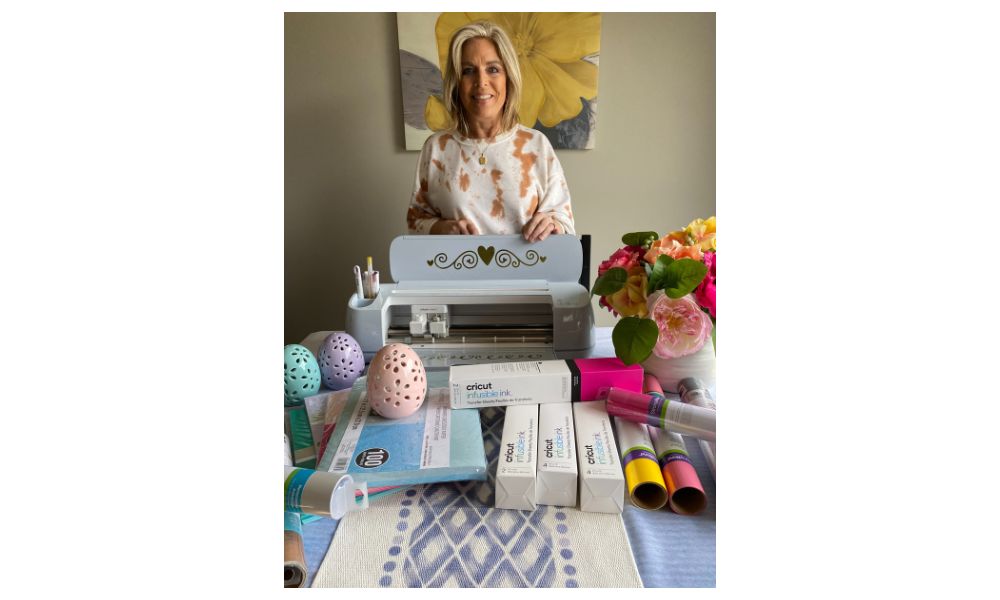
I needed to know two things right away when I first got my Cricut. One was Design Space (we don’t want to go there!) & the other was ‘what basic materials do I need as a Cricut beginner?’. I only started with four of the basics; paper, adhesive vinyl, heat transfer vinyl (HTV) & infusible ink. There are SO many more materials to use, but I wanted to get started with these. I will tell you what I use now along with some tips on what to stay away from. Please remember, these are just MY opinions on the products I like to use.
Basic Paper Materials
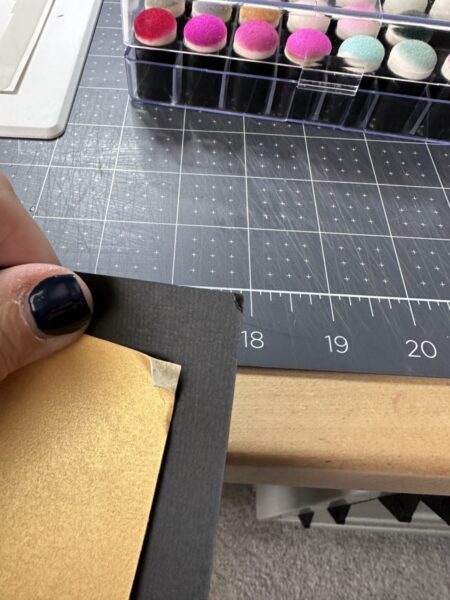
The first thing I started with was paper & it was probably the easiest to experiment with. It’s not all the same – there is good paper & bad paper. The first thing I wish I knew before I started buying was to look for a “solid core” paper. Solid core is when the color goes all the way through the paper-front to back. Just look at the side & if you don’t see white you have solid core paper (peek at pics below). Trust me, stay away from white! I wasted a lot of money. On the other hand, if you already have some, use it as a card panel for greeting cards. Or things that don’t require the paper to bend – that’s when it looks bad.
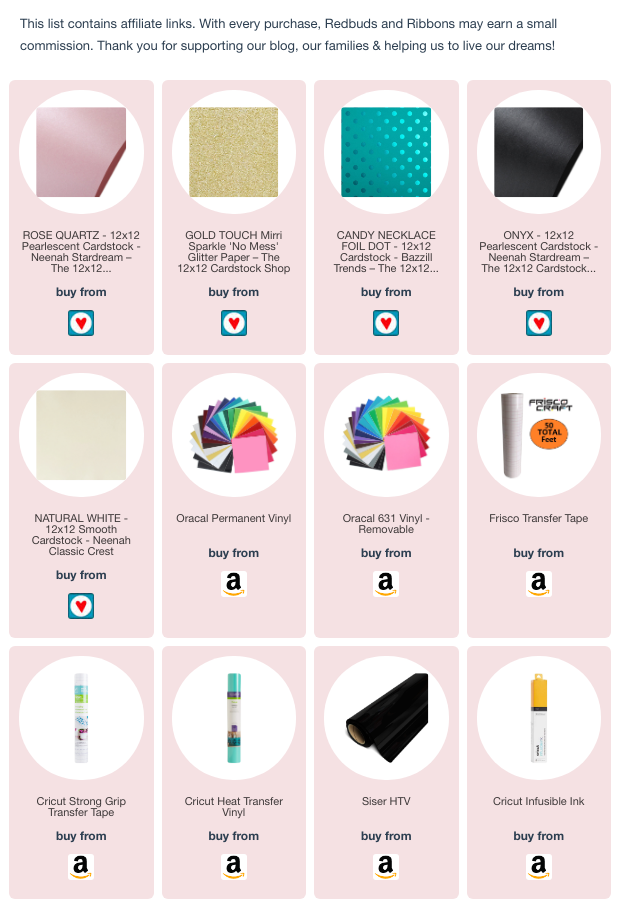
The next thing I learned is that paper comes in different weights. This means the thickness of the paper & it goes from lightweight to extra-heavy weight. You’ll see 65 lb. (light-weight), 80 lb. (medium-weight), 100 lb. (heavy-weight) & higher is considered extra-heavy weight. The most commonly used paperweight for greeting cards is 65 lb-80 lb. For my cards, I do like to use the 100-120 lb. weight because I love that it’s a thicker card-it’s homemade, but it says “quality”. I normally purchase my paper either from 12×12 Cardstock or Amazon. Below is a list of my favorites with examples at the end of this post.
- Bazzill
- Encore Paper
- Mirri (great for glitter cardstock)
- Neenah (usually my white cardstock)
- Stardream (metallics)
Basic Adhesive Vinyl Materials
The second basic material is adhesive vinyl & it’s used on any solid surface like glass, windows, keychains, etc. You can use it for signs, decals, vases, tumblers to name a few. There are many forms of adhesive vinyl, but there are two basic types you should be aware of before you use it. One is permanent/outdoor & the other is removable/indoor. I love the Oracal brand. The permanent vinyl is often referred to as Oracal “651” & removable is referred to as Oracal “631”. In the beginning, I was buying any random brand off the internet, because it was cheaper, but then realized some of the vinyl wasn’t quality vinyl so I tried a more common brand, Oracal. Most importantly, I’ve not had any problems with this vinyl. The other brands I use is Cricut & Siser. I’ve never had any issues with them either, because their vinyl is also made with quality in mind.
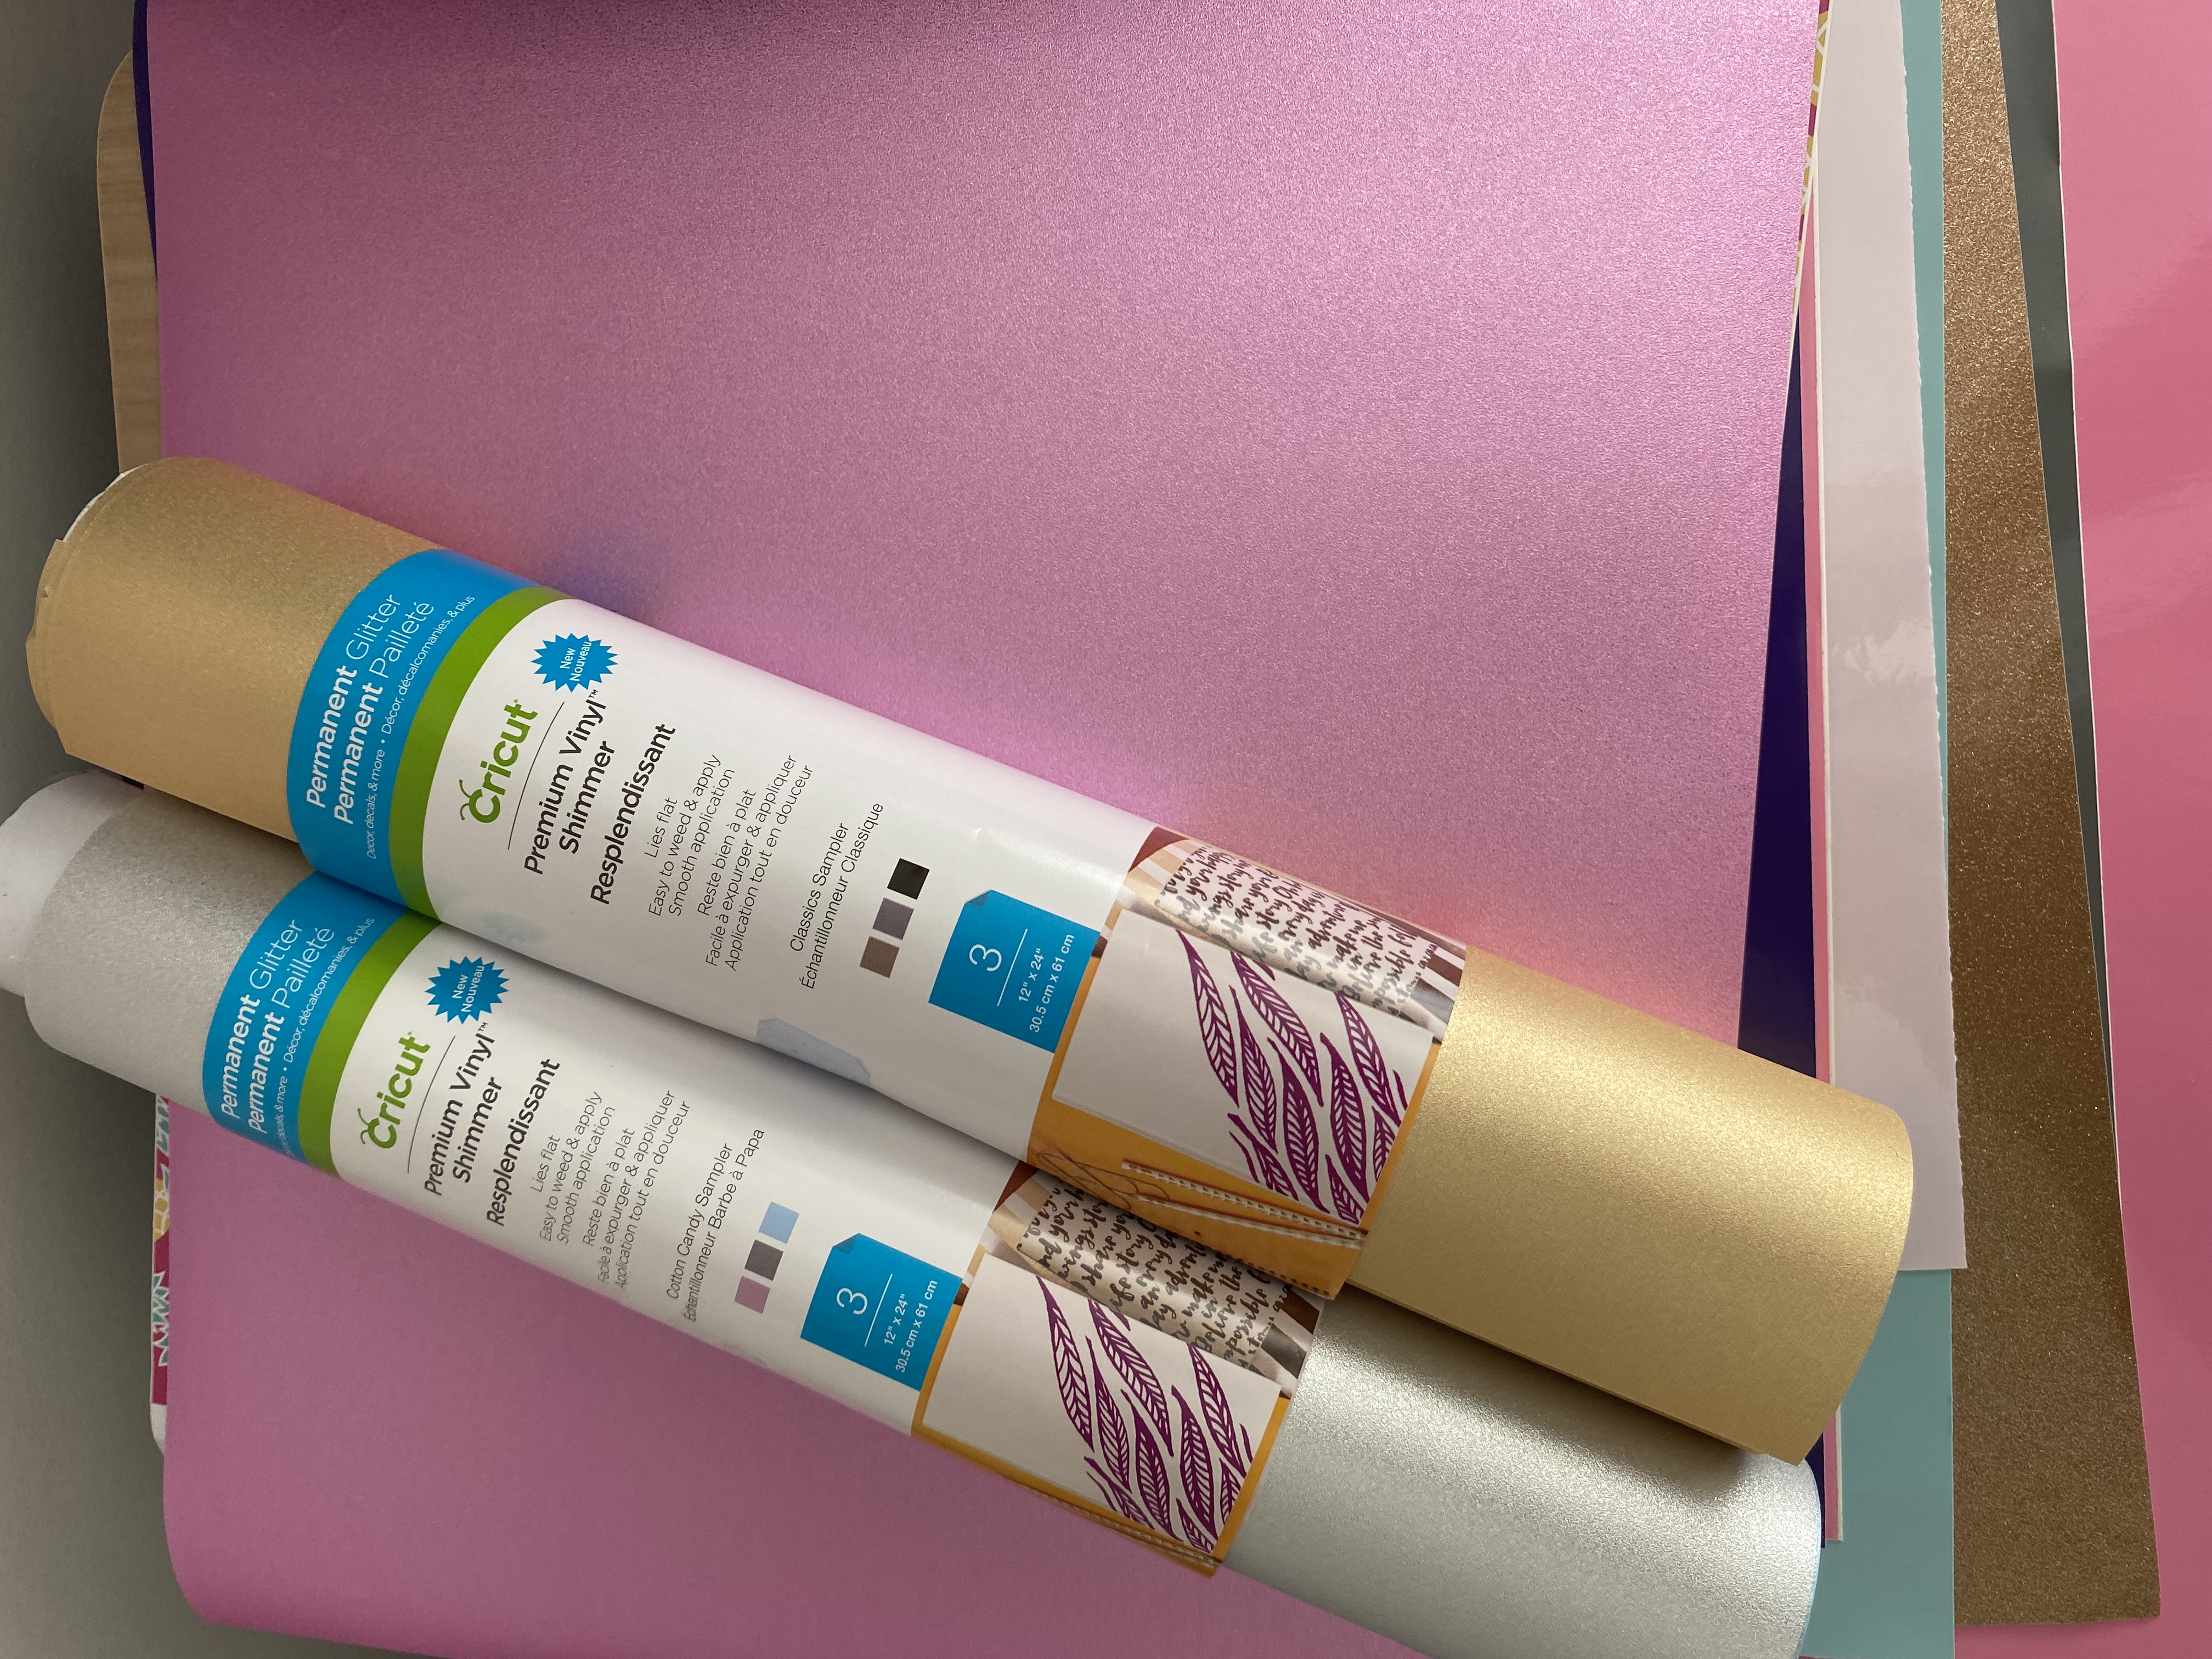
When working with adhesive vinyl, you need to use transfer tape. This is what carries the ‘decal’ for ex. from the vinyl carrier sheet to your project. It is a clear sticky film that allows you to see exactly where you are placing the vinyl. I use a transfer tape from “Frisco Craft” that you can get on Amazon. If you are using glitter or shimmer (see pic below) `adhesive vinyl, you’ll want a ‘strong-grip’ transfer tape & I purchase the Cricut brand for that.
Basic Heat Transfer Vinyl Materials
The third basic material is heat transfer vinyl (HTV or Iron-on). This is the vinyl that can adhere to fabric when the adhesive is activated by heat. It’s so exciting to work with because we’re talking about applying it to clothes & bags! We’re talking fashion! Just joking, kind of…..you can apply to almost anything that’s fabric (with a few exceptions)!
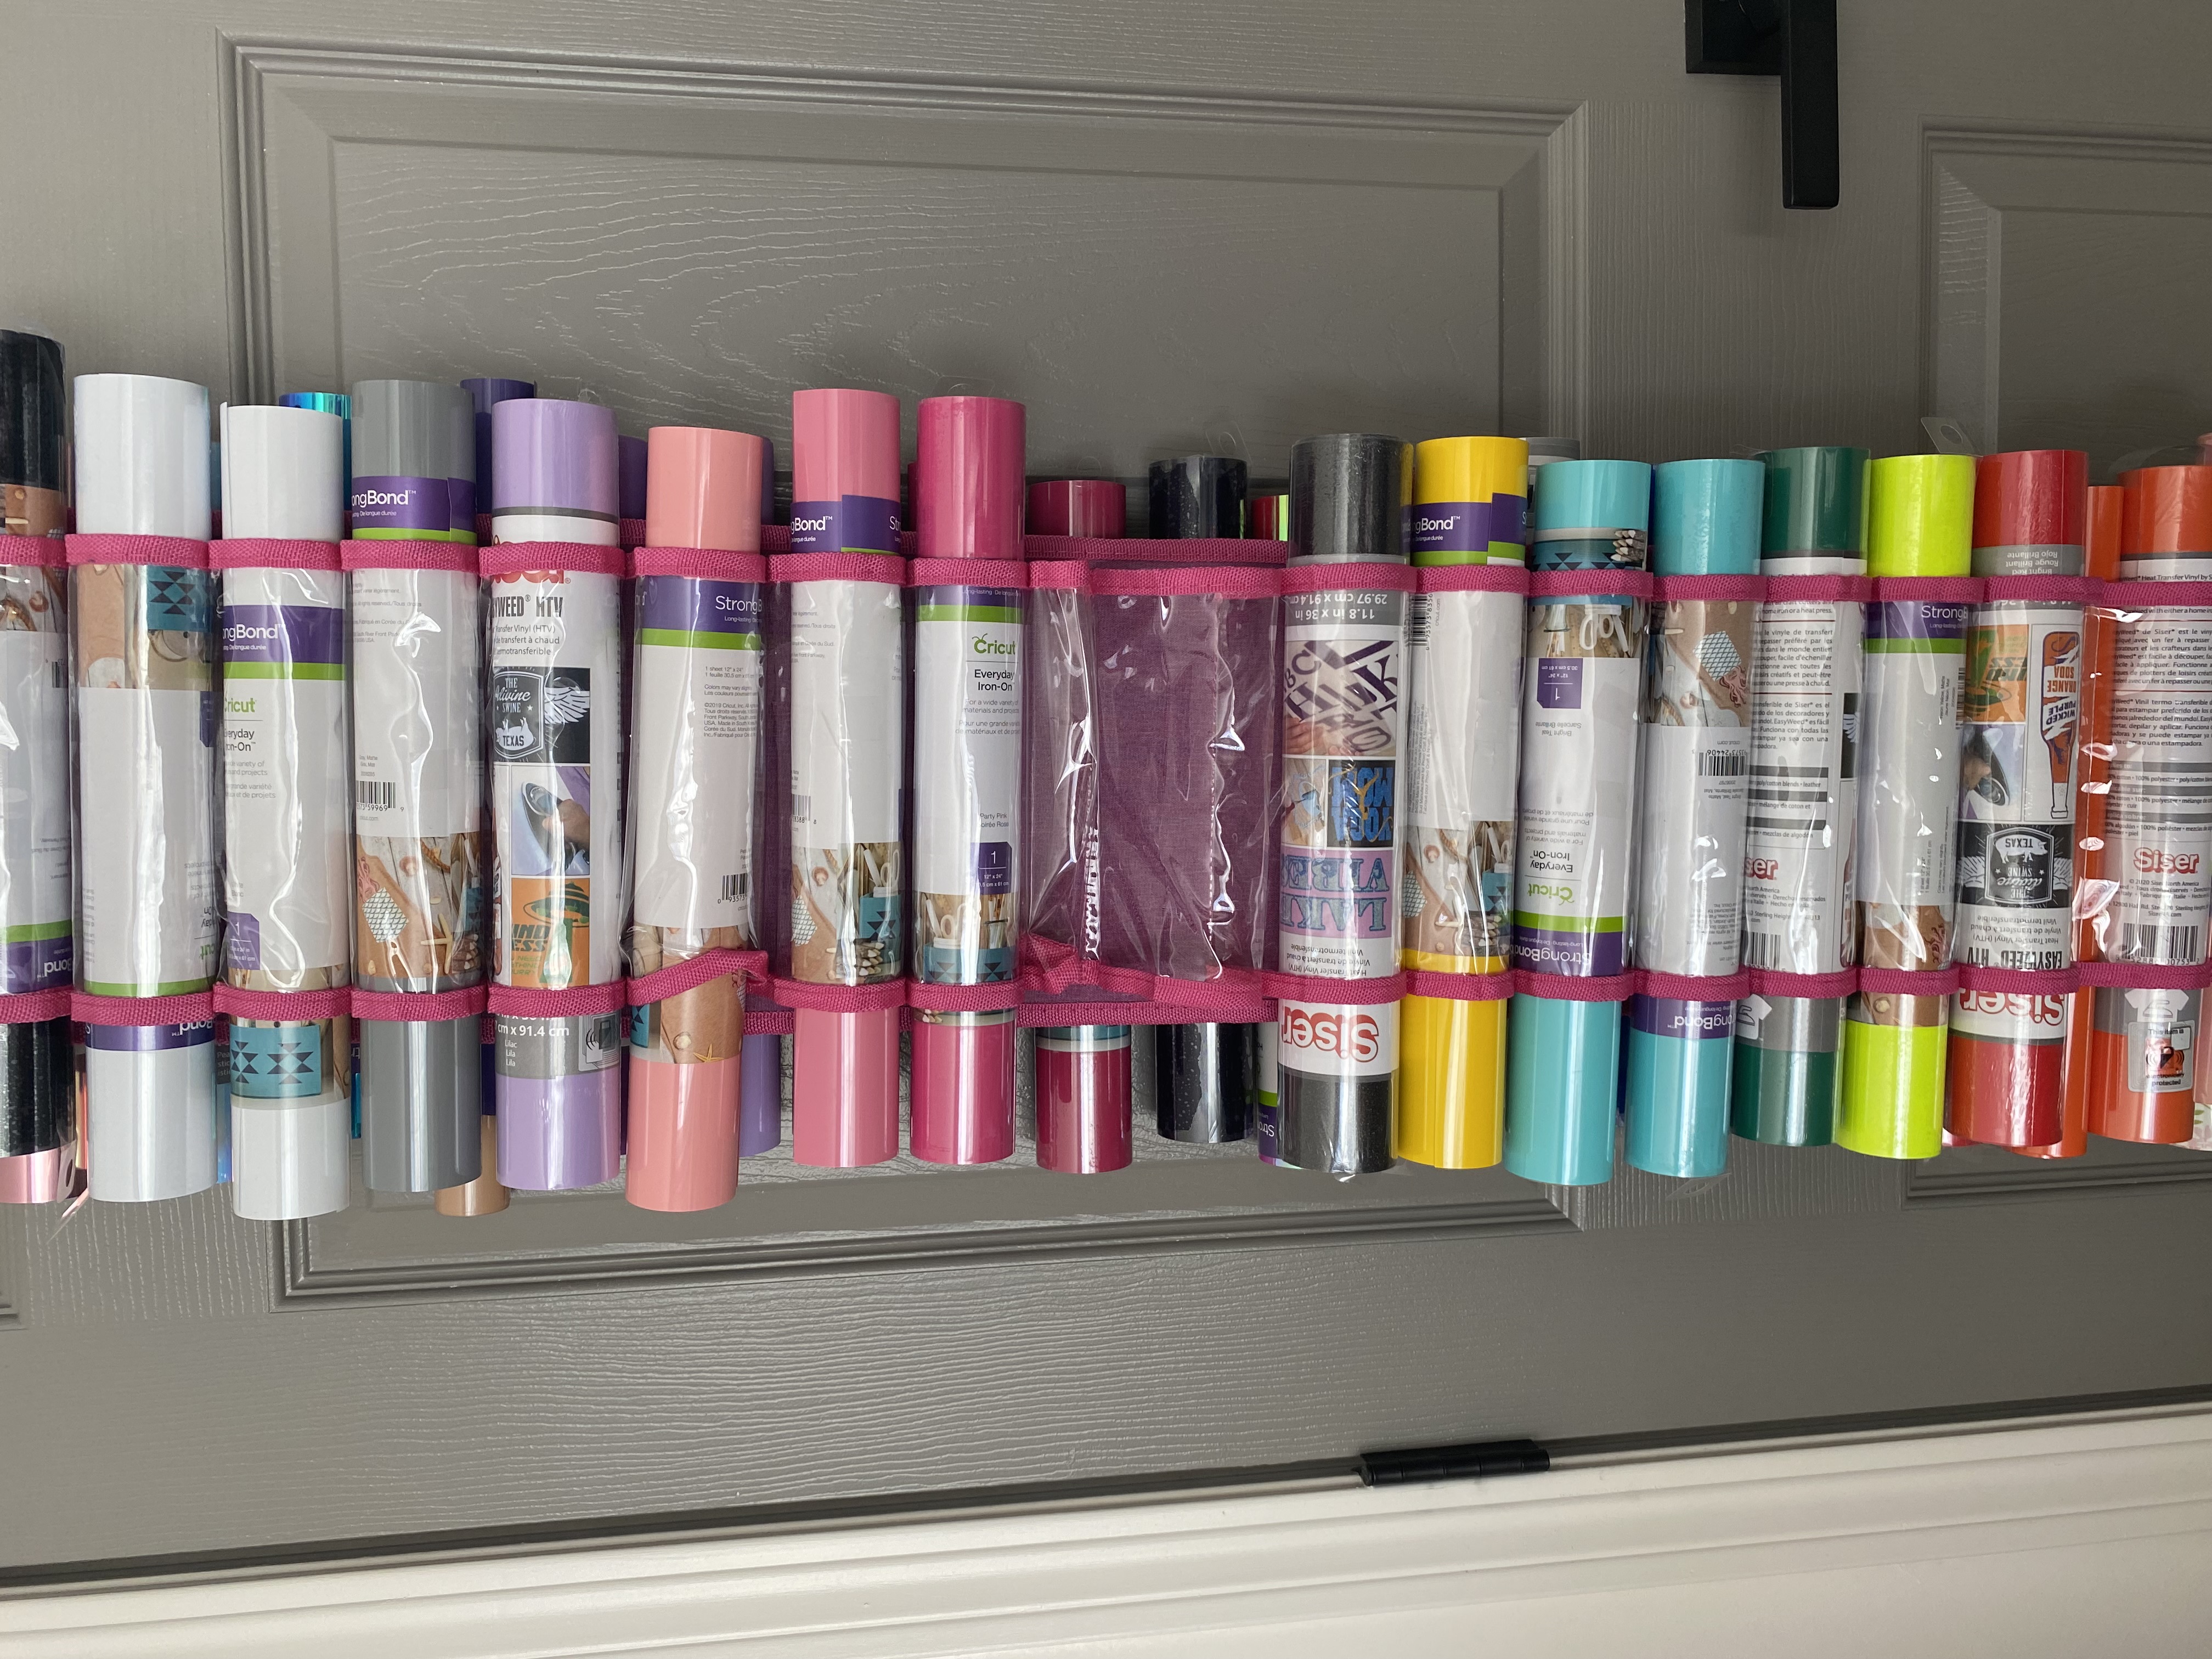
This vinyl comes in many fun finishes! Each selection of HTV is different when it comes to applying. The differences include the temperature of the heat press or iron, the length of time pressing, & the pressure used. (I have free iron-on charts for Cricut & Siser HTV on my resources page on my blog.) It’s also fun to layer your vinyl, but there are some rules that you have to keep in mind. After many tries with different brands, I now only use two & that’s Cricut & Siser. These come in sheets or rolls (depending on your preference &/or your project). Right now the graphic tees & sweatshirts are trending & now you can make your very own!
Basic Infusible Ink Materials
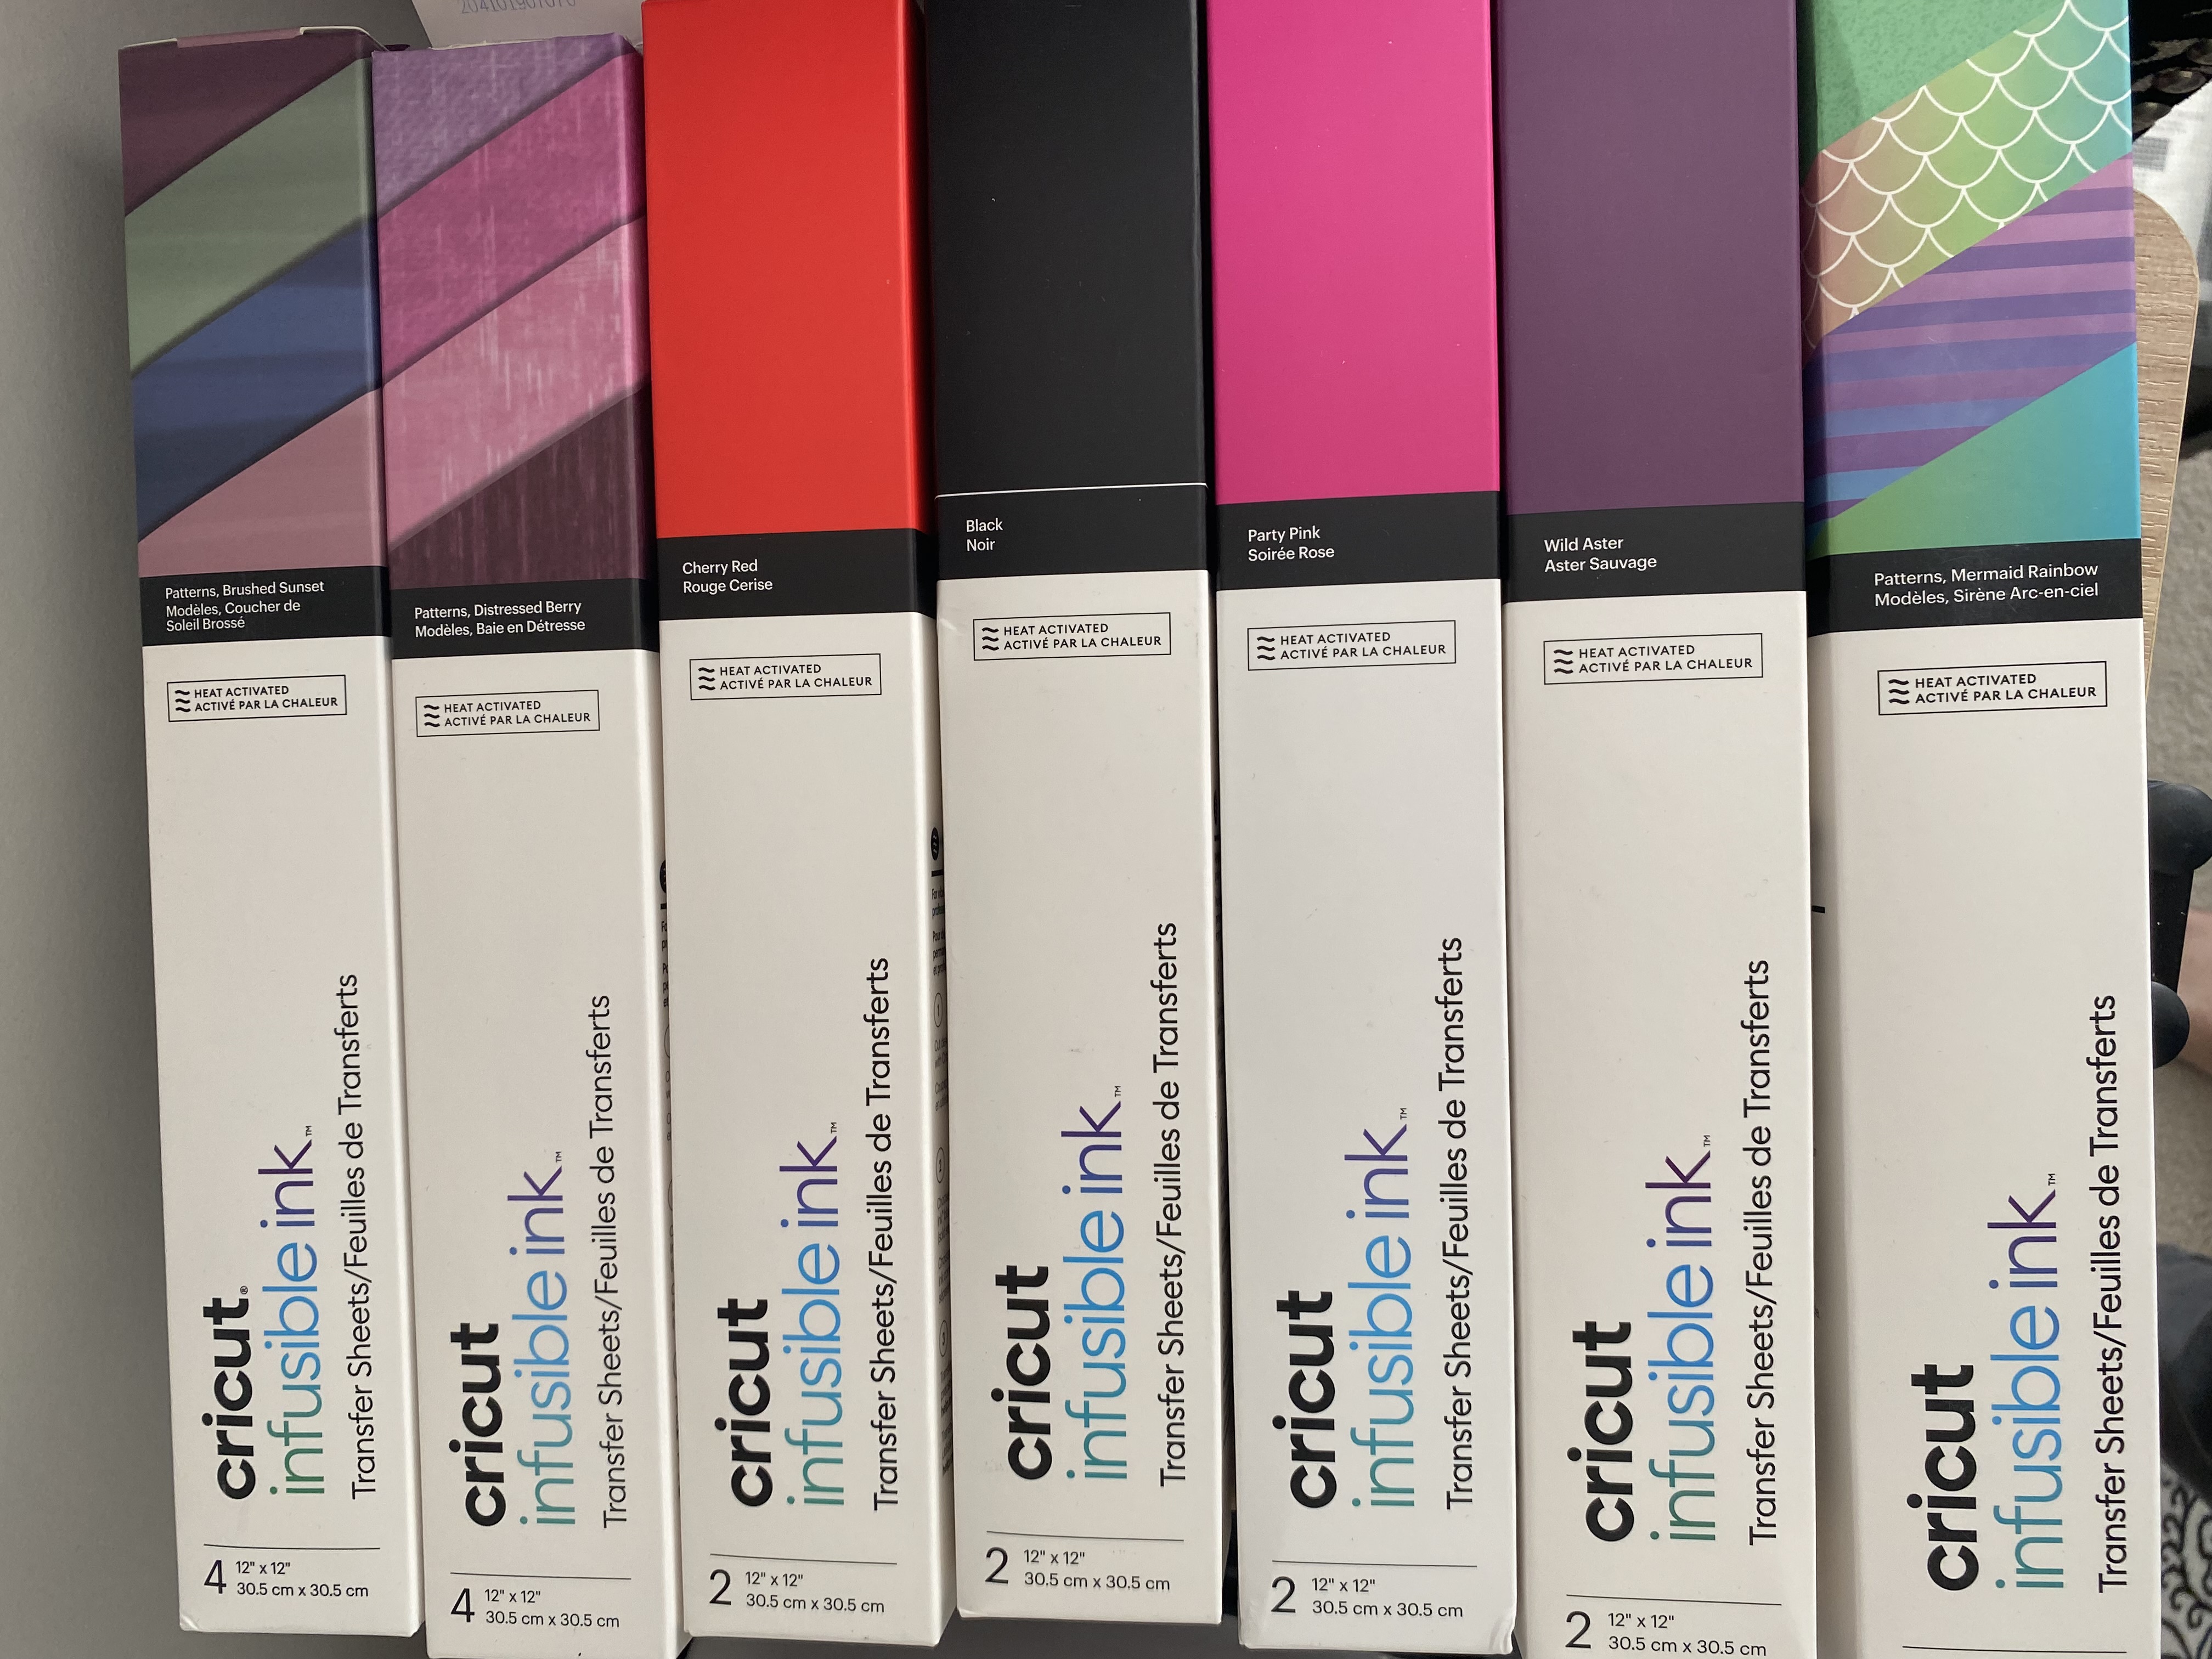
The last basic material to tell you about is infusible ink. Cricut made a game-changer when they came out with this. This gives you professional looking results! It won’t peel, flake, or wash off. It has no seams or edges so there’s nothing to peel. It’ll stay on the item for the life of the product. They have a bunch of different colors & patterns. Infusible ink comes in different types, like transfer sheets, markers, & pens. Your blank has to be compatible with infusible ink. Cricut has a whole line of products like t-shirts, cups, coasters, bags, etc. that you can use with infusible ink. I love infusible ink, but it’s a little tricky to work with. I have a tutorial on the blog called “How to Use Cricut Infusible Ink Transfer Sheets” that will walk you through.
Conclusion – Basic Materials
These are just the basics to get you familiar with some of the products that you can use with your new Cricut! There are a lot more posts on the blog that will help you as you begin your Cricut journey! If these tips helped you or if you have any questions, feel free to leave a comment below or head over to my Contact Us page. Be sure to check out my other Cricut tutorials and tips for even more crafting inspiration. And remember to subscribe to my newsletter for exclusive updates and insider crafting secrets. I think the best advice I’ve gotten from my mentor is ‘don’t get frustrated, be POSITIVE & have fun’! And that’s what we’re gonna do! Happy crafting! 💕
Some of My Basic Materials I Use Now