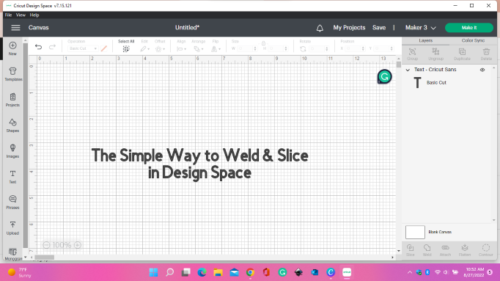
The Simple Way to Weld & Slice in Design Space
Are you frustrated because you can’t “get” the weld & slice tool in Cricut’s Design Space? What’s the difference? Why weld letters together when they’re already together? Right?! I understand because when I first started learning Design Space, I couldn’t “get” it either! Some days I would think I was “in over my head”, & maybe I made the “wrong decision” to buy a Cricut.
Well, I’m usually not one to give up; maybe for the day but not for good. I don’t want you to give up either. I will simply teach you what weld & slice are for & when to use them. I’ll also show you the things that might happen & the way to fix them. So let’s look at the simple way to weld & slice in Design Space.
The Simple Way to Slice in Design Space
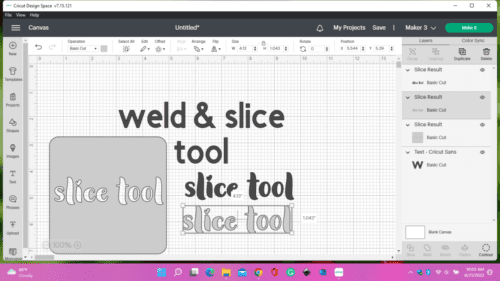
The slice tool splits two overlapping images or text into different parts resulting in three different layers. The pic below shows the layers that come out after I sliced text out of the middle of a square. You pull the layers out that you don’t need (on the right of the square) & delete those. Very simple right? Let’s look at the next paragraph & see some of the “issues” that might occur & how to fix them.
Possible Issues & Solutions with the Slice Tool
- One thing I’m asked is, “why is my slice tool not an available option?”. The first thing to check is if you have more than two layers selected. You should select two & no more than two layers to have the tool available & not grayed out.
- If you have a multi-layered image, you can ungroup & choose just one of the layers. If you want to ungroup or hide any layers, you’ll want to ungroup or hide BEFORE you slice. When you slice, & you have hidden layers, the canvas will remove all those layers!
- If you have multi-layered text & one layer is hidden, the slice tool will be available. However, if you ungroup text from an offset layer, it becomes an image & you can no longer use the slice tool unless you use the ‘ungroup to letters’ tool.
- You cannot ‘un-slice’ an image unless you hit your ‘un-do’ button right away. If you close or save your file, you won’t be able to ‘un-do’.
The Simple Way to Weld in Design Space
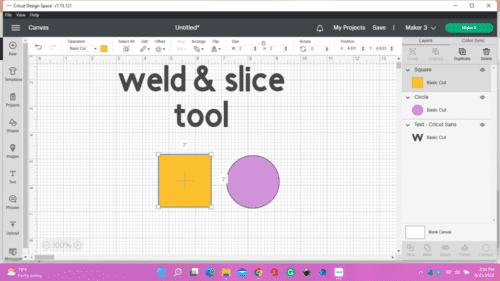
The weld tool allows you to join two separate layers or shapes to make a new image without cut lines. See the pic below for an example of two shapes. I put a circle & a square together because I want to make a gift tag.
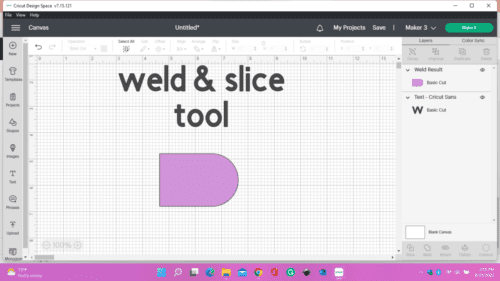
Now I’m going to weld the two together because I don’t want a cut line in the middle – I just want an outside cut line. See the pic below for the result. No cut line!
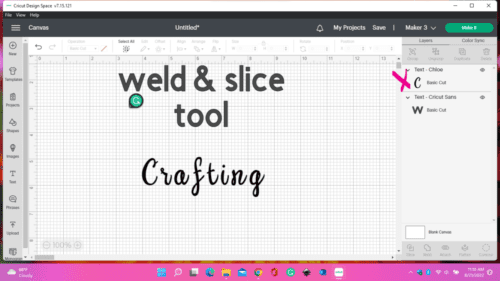
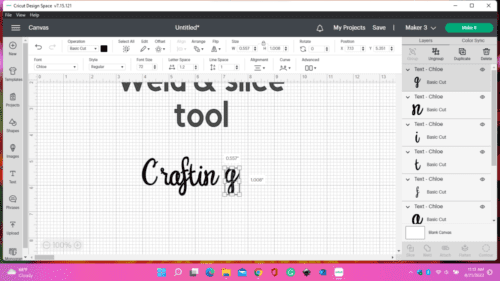
Now let’s weld some text. I’m going to type ‘crafting’ on my canvas. I’m using the font “Chloe” in Design Space. Below is a pic that I want you to notice that ‘crafting’ is all one layer on the right panel.
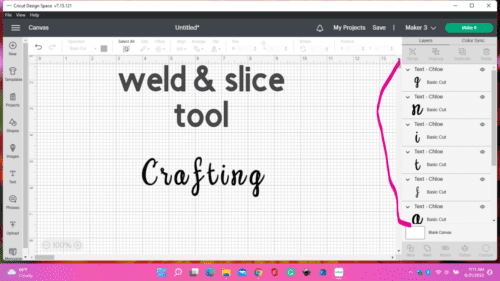
We’ll want to weld these letters by moving them closer together & touching so they’ll cut out in one word instead of each letter. So, I’m going to click on ‘ungroup’. Now notice on the right panel that each letter is now its own layer.
So I’ve scooted them closer together & I’m making them touch so they’ll cut as one word. I use a line on the canvas as my reference point for lining up the letters. If you look above & then down below, you can see where I’m connecting them. Note: the first letter of the word is usually not connected.
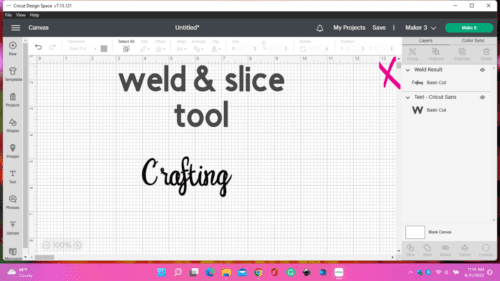
Now they’re together how we want them, so we select all of the letters & click ‘weld’. Keep in mind that the only way you can undo a ‘weld’ is if you hit the ‘undo’ button, but if you go out of or save the file, you won’t be able to undo it. Make sure they’re how you want them before you click on ‘weld’. Notice on the right panel that ‘crafting’ is all one layer. Let’s look at the next paragraph & see some of the “issues” that might occur & how to fix them.
Possible Issues & Solutions With the Weld Tool
- Sometimes letters will have their middle disappear, as in an ‘e’ or an ‘o’ or any other letters like that. This is usually because the two letters you moved together were just a little too close. You can’t have any part of the letter going into that middle space.
- I get asked, ‘what is the difference between ‘weld’ & ‘attach?’. Now that you mention it…I will be doing another post about the grouping & attaching”. Back to the weld & attach question…attaching is keeping your arrangement in the same place when you go to cut your mat. They’re still separate pieces, but their layout is frozen in place. Welding unites two or more shapes into one single shape.
- Do you have to weld all text? No, just cursive letters that you want to cut out as one piece.
I hope this tutorial has given you a simple way to understand how to weld & slice in Design Space. Also, I hope my solutions to some of the “issues” that could occur when you either weld or slice will help, if it happens. If this post has helped you, please share it on social media, & I would love if you followed me while you’re there! I would appreciate it so much! If you want to learn more about grouping & attaching in Design Space, click here! Please sign up for my newsletter on the About page if you are interested in free SVG’s from my growing digital library, & I’ll send you the password straight to your inbox! 💕