Large Paper Flower Project
Hi there! Lately, I’ve been making a bunch of paper flowers & I’m so excited to show you one particular large flower. I’m sure y’all know Abbi Kirsten right? She’s the incredible paper flower expert! I purchased her e-book called “The Art of Giant Paper Flowers”. This has been so fun I just purchased the e-book called “The Joy of Paper Flowers”
In the book, she not only shows you how to make these flowers, but she gives you the SVGs of the flowers that are in the book so you can follow along! If you want to cut this particular flower I’m going to show you today, just get her book or she does have a “freebie vault” that you never know what’s going to be in there! The name of this flower is the Rosie Rose.
So…I’m not the expert in flower making, but I’ll show you what supplies you need & how I’m putting it together (I do it a bit different just because I have a hard time building the first layer without a circle like she can.).😕
Supplies Needed
- 65lb cardstock
- Scissors
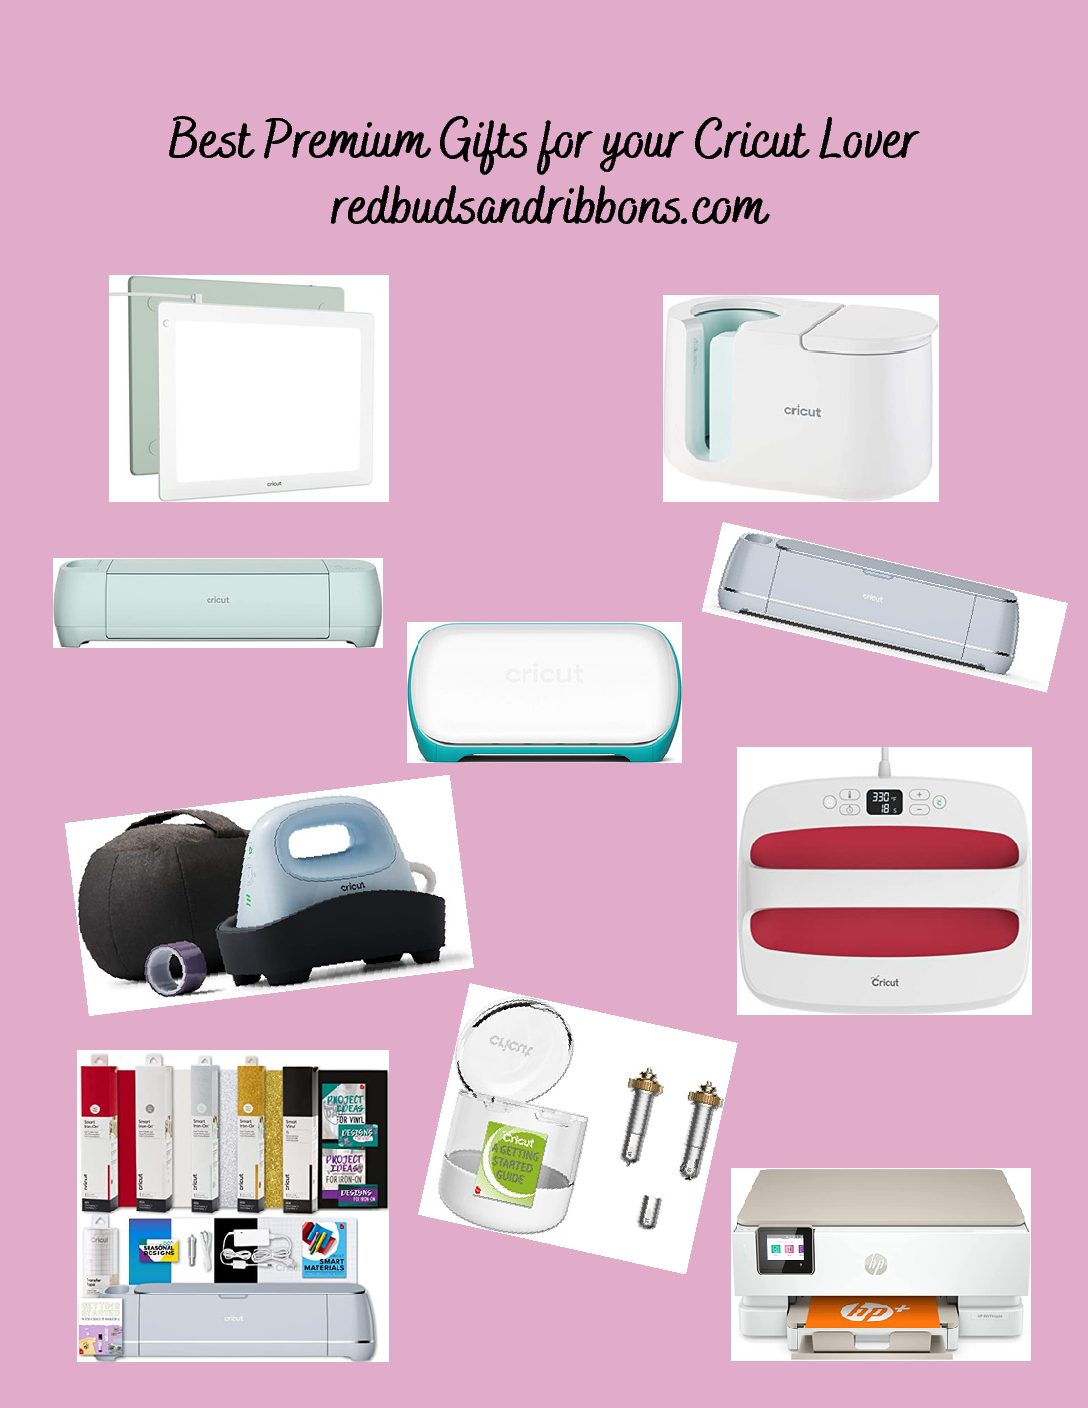
- Cricut cutting machine (this is what I use)
- Glue gun
- Glue sticks
- quilling tool
- Cake circle – 4″ (optional) or a cardstock circle
Instructions
Step 1 – First thing is to cut out the petals. See quantities below. (I’m doing the large flower.)
- XL petal – 7-8 cuts – curl backwards
- L petal – 7-8 cuts – curl backwards
- M petal – 7-8 cuts – curl one back & one forward
- S petal – 6-7 cuts – curl forward
- XS petal – 5-6 cuts – curl forward
- 1- 4″ circle
- 1 rosette center

Step 2 – Cut a slit in the bottom of the petal that’s approximately 1 – 1-1/2″ long (cut shorter the smaller the petal).

Step 3 – Now slightly overlap the two edges & hot glue them together. (I tried 3 different types of glue & hot glue was by far the best way.) I say slightly overlap because it makes a huge difference on how the petal stands up & then you might not be able to get in all your petals when you’re putting them together.

Step 4 – Roll the petals either forward or backward according to the size of your petals. See step 1 for direction.

I’m using a 4″ cake circle for my base. You can use a cut circle of cardstock just as well. I just like that the cake circle is a little more sturdy.

Step 5 – This is where I build my layers a little differently than Abbi. It’s only because I have difficulty getting the petals to stay together if I don’t use the circle first. She builds her first layer without the circle & puts the circle on after the first layer is together. Start building your first layer (bottom), by adding hot glue on the bottoms of your petals & pressing them onto the circle (slightly overlap each petal). Try it either way.

Step 6 – Adding the 2nd layer (from the bottom) by putting the petals in between the first layer of petals. Do the same with each layer as you continue building the remainder of your petals.
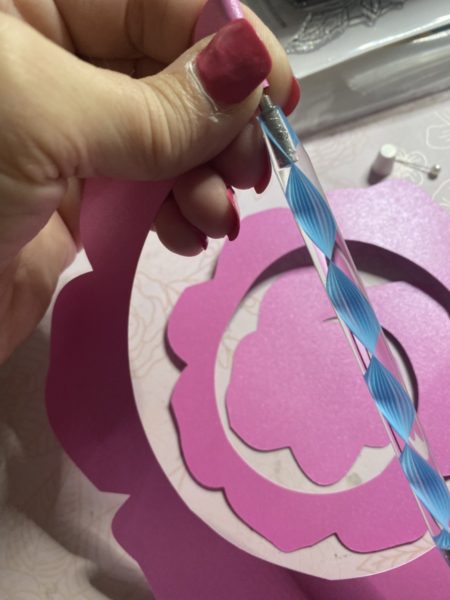
Step 7 – Here’s where you need your quilling tool or a tool to roll your center flower. Roll until the end then glue.

Should look like something similar to this rosette. Glue this rosette in the middle of your flower! You’re done!

You have made yourself a large paper flower! Let me say, I’ve been making this flower & many others for the last few weeks & each one is different from the last. By ‘different’ I mean something didn’t go right. You just have to keep trying. I know I’m better than I was when I started so I’m going to keep on making them! If you’d like to try a large hanging flower see here. 💕 P.S. I’ve had so much fun with making these giant flowers I purchased Abbi Kirsten’s e-book called “The Joy of Paper Flowers“, which entails smaller flowers & leaves I’ll be able to use in all sorts of projects!