How to Use the ‘Offset’ Feature in Design Space
Hi there! Today, I wanted to talk about how to use the Offset feature in Cricut Design Space. It’s so much fun to play with & you can make so many different things with it. First, let me tell you what Offset is.
What is the Offset Feature for?
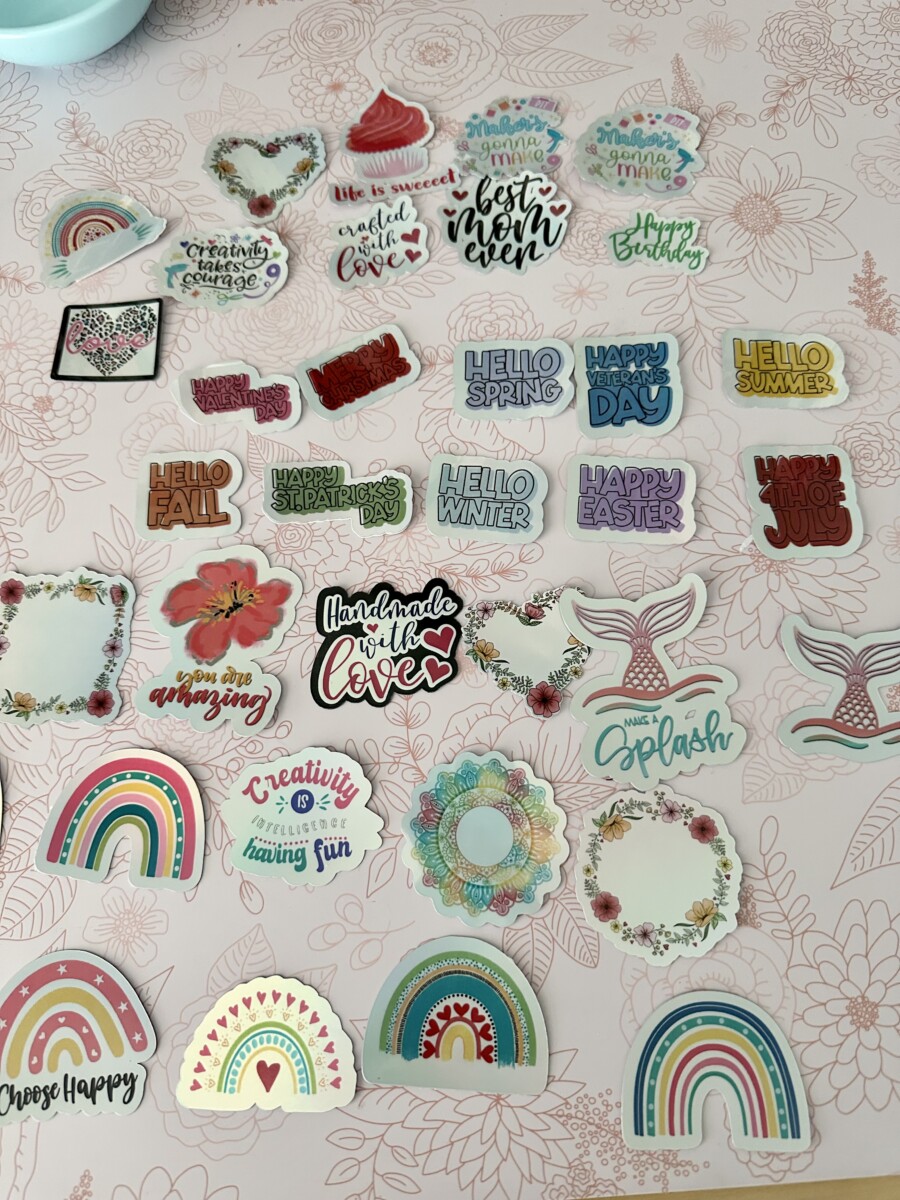
The Offset feature is a tool you can use to add a shadow or outline behind text or images. It creates a larger or smaller layer in your design. I love it when I want to make stickers!
Why don’t I see the Offset feature on my toolbar?
The Offset feature is only compatible when used on the Desktop version of Design Space. Also, make sure you’re running Windows 10 (64-bit only) or higher & macOS 10.15 or higher.
How do I use the Offset feature?
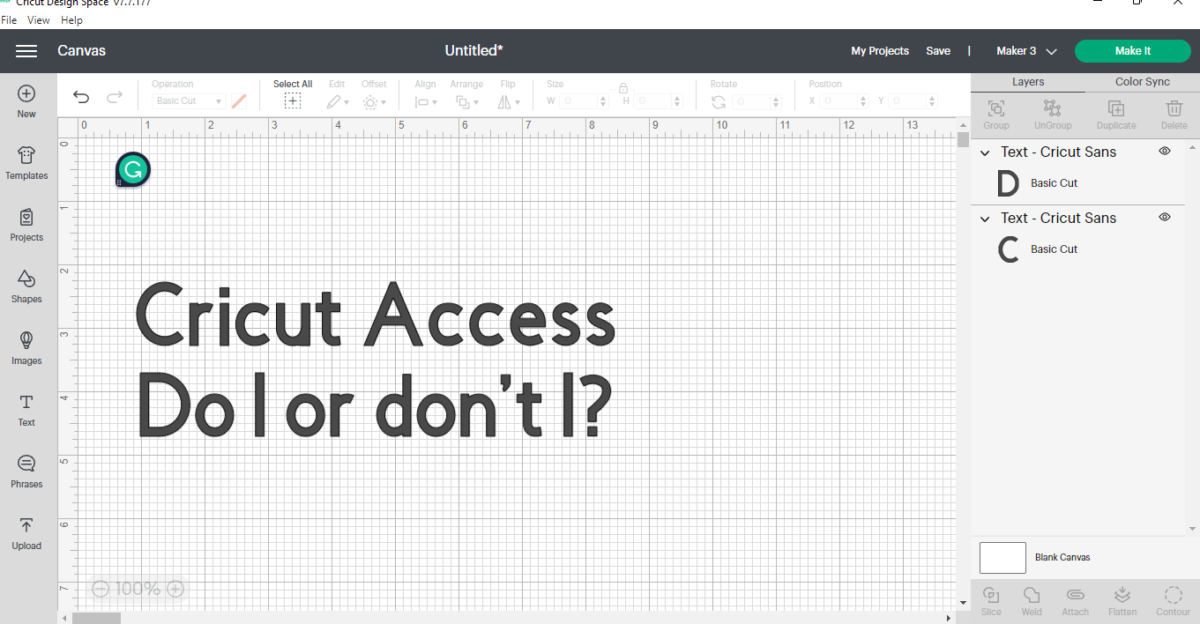
You’re going to start by inserting text or an image into Cricut Design Space. When you select Offset, you’re given a menu of options. See below.
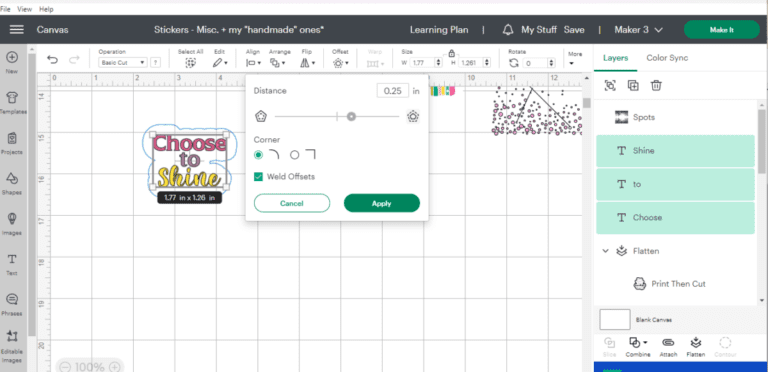
You have a slider to adjust the sizes of the offset or you can type in the size at the top if you don’t want to use the slider. You then have the option of an angular corner or rounded. Also, “weld offsets” is checked by default. If you want to work with the layers separately just uncheck the box by clicking on it. Then you would hit “apply” once you’ve got it how you want it.
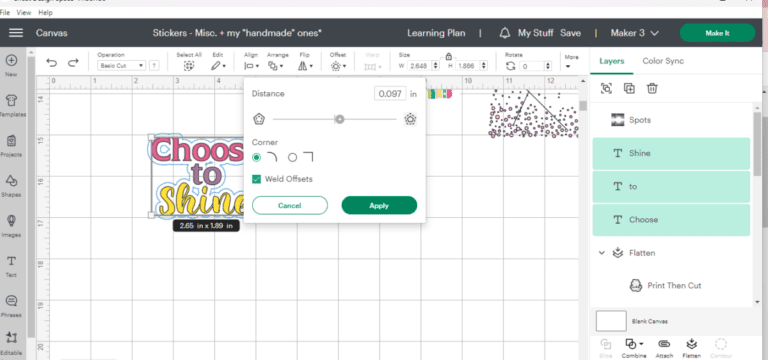
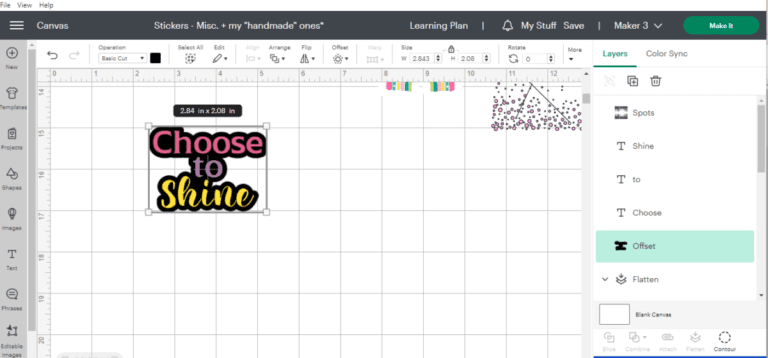
You will see a pale blue line form around the outside once you start moving the slider to the right. In the picture below, I purposely didn’t slide very far so that I could show you what the negative space looks like & how to get rid of it. Do you see the little holes in the offset? There are two of them. One is right above the “h” & another one is right above the “o” in “to”.
There are two things you can do to fix this. One is to slide the bar farther to make the offset a little larger until they go away or you can click on “contour” in your layers menu. When “contour” comes up just click on those spots then hit “x”. (When I did “contour” I saw that there was actually another hole in the middle of the “c”.)
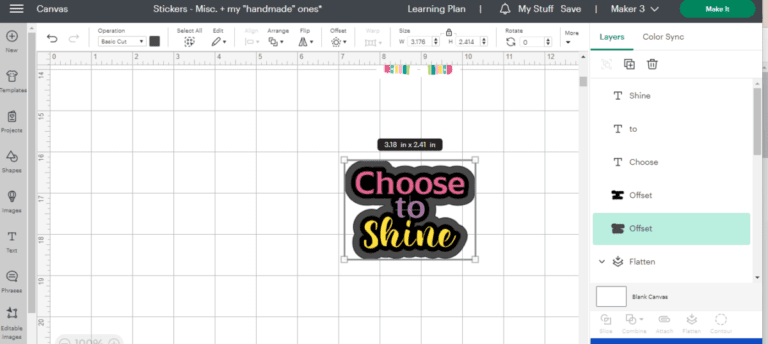
Now in the bottom pic you can see it looks good – no holes. After you click “apply” the offset automatically turns black. If you want to change that color just click on the offset layer & click on a different color.
Just to play around, I’m going to do another “offset” on the current “offset” to show you what it looks like – picture below. I’m not sure which way I like better, but the point is you have so many options to play with! Now, if you were going to make stickers with your creations, you’ll want to make sure your “operation” is on “print-then-cut” & then you’ll want to flatten them. If you did more than one you can select all of them & flatten them together.
Does “Offset” work on any image?
Well…I guess you can say yes to this, but it doesn’t look good on every image. It’s better when the image has a closed path. That means on images with continuous lines instead of those with a start & stop point.
SUMMARY
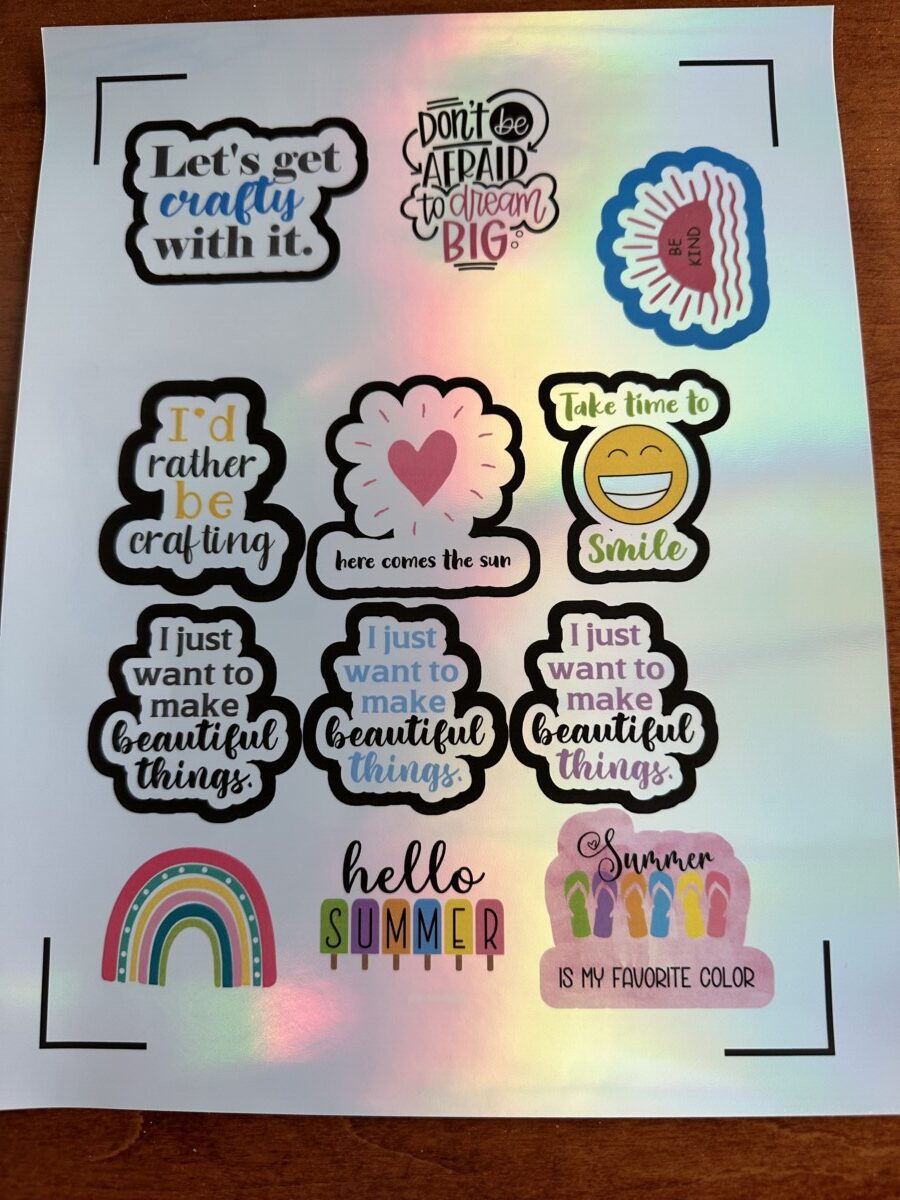
I hope you learned a little about how to use the offset feature in Design Space! I can’t wait to see what you create! One more tip…you can purchase holographic sticker paper or colored paper & print your stickers on that if you have a Cricut Maker, Cricut Maker 3 or a Cricut Explore 3! Those machines have a more powerful sensor to allow that. The holograph paper is great & it makes them look a little fancy!
If you liked this post, please share on social media & I would love it if you followed me while you were there! I would appreciate it so much! If you are interested in my “How to Make Your Stickers Waterproof” post, you can click here. Have a good one! 💕