How to Use the Cricut Card Mat 2 x 2
Hi! The Cricut Card Mat is a versatile tool that allows you to create beautiful, personalized cards. Whether you’re a seasoned Cricut user or just getting started, this guide will walk you through the process of using the Card Mat to bring your card-making projects to life. With its precise cutting and adhesive capabilities, the Card Mat will quickly become your go-to accessory for crafting heartfelt cards for any occasion. So let’s dive in!
This post contains some affiliate links for your convenience. Click here to read my full disclosure policy.
I have to admit, when I first tried the Cricut card mat it wasn’t a great experience! My problem was I just started doing it & didn’t look at the directions. Now I’ve read all directions! 😁
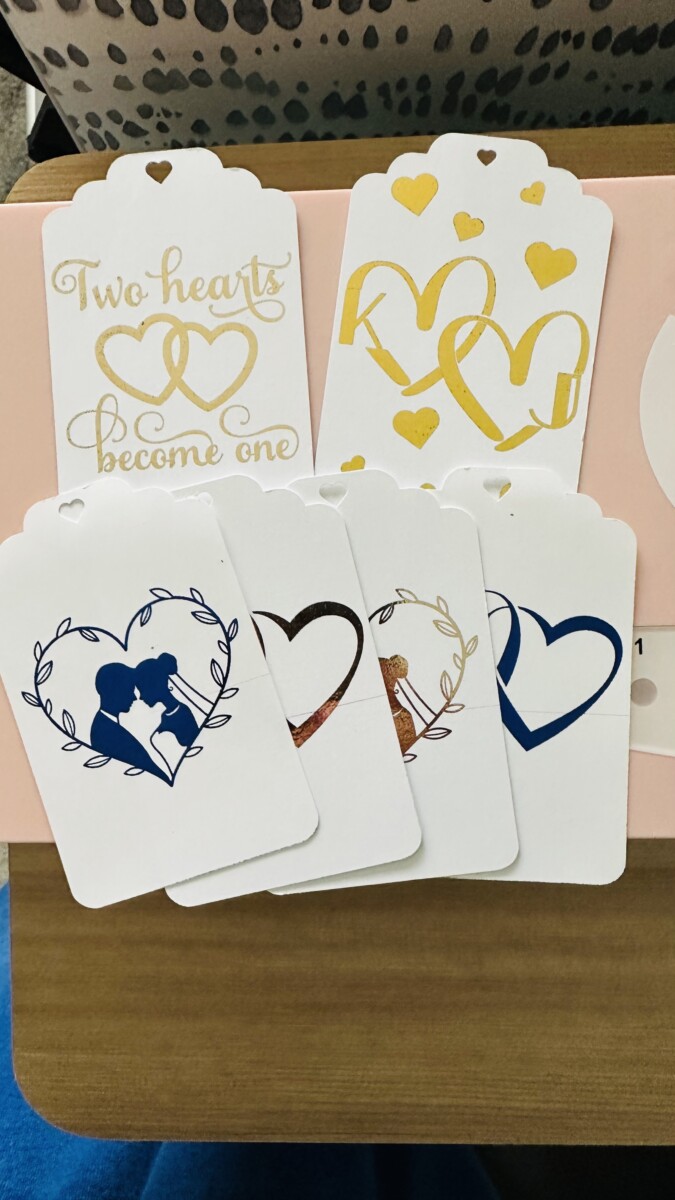
Types of Cricut Insert Cards
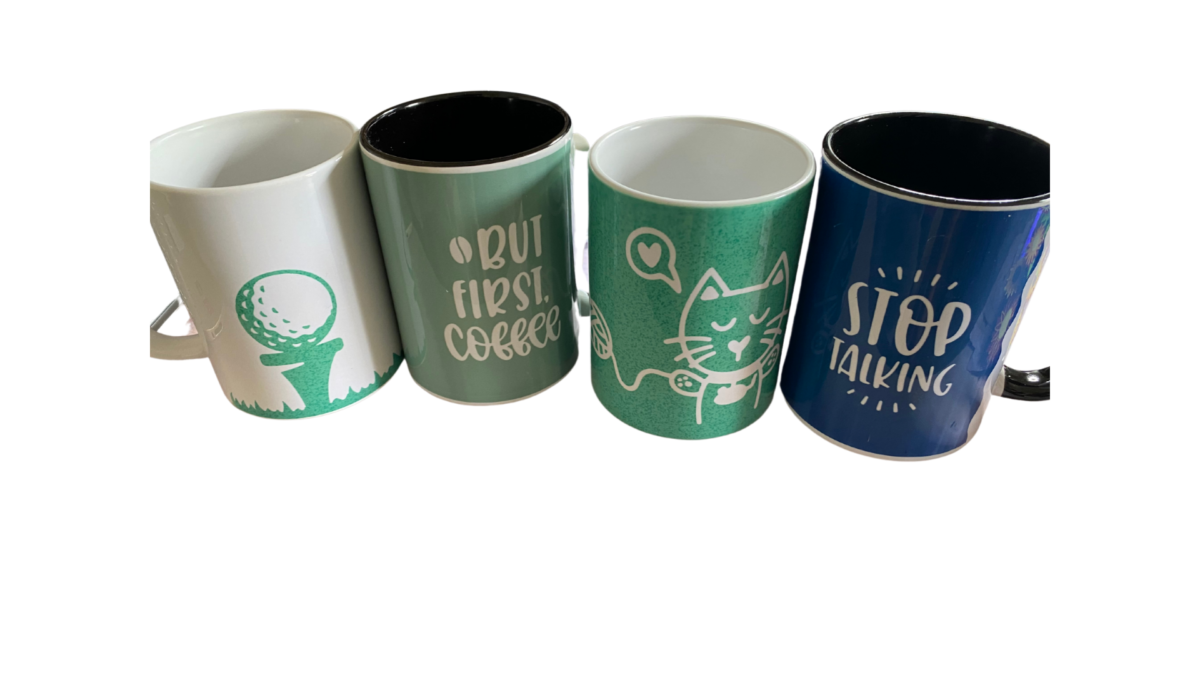
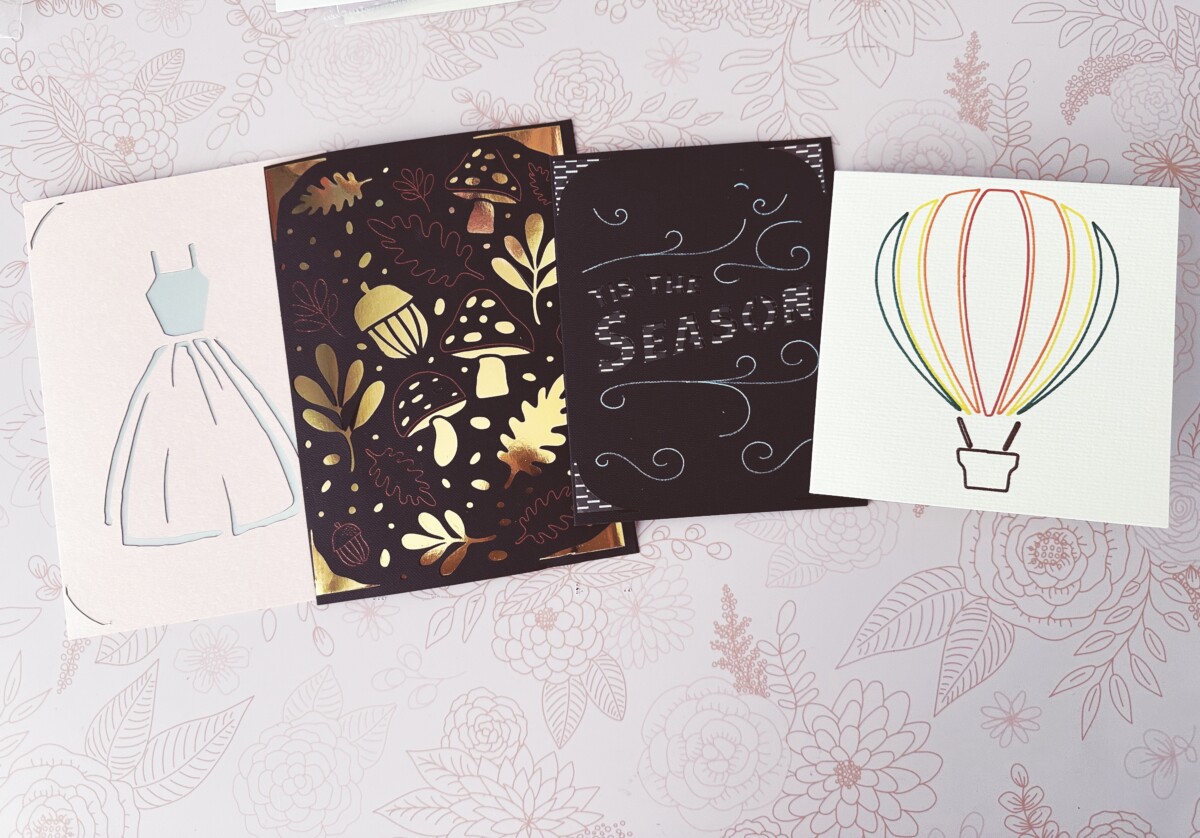
You can make your cards with whichever designs you find in Design Space or you can make your own design. There are four different types of Cricut card sets:
You could also use your own cardstock & still use the Cricut card mat, but these card sets make it so easy!
Sizes of Cricut Cards
The sizes available for Cricut cards are:
- R10 – 3.5″ x 4.9″
- R20 – 4.25″ x 5.5″
- R30 – 4.5″ x 6.25″
- R40 – 4.75″ x 6.6″
- S40 – 4.75″ x 4.75″
Note: If you’re wanting to do more than one card at a time, you need to stay with the same card size & type on your cutting mat. At least until I give you a cool hack!
Materials Needed
How to use the Cricut card mat – Watercolor Card – Step by Step Instructions
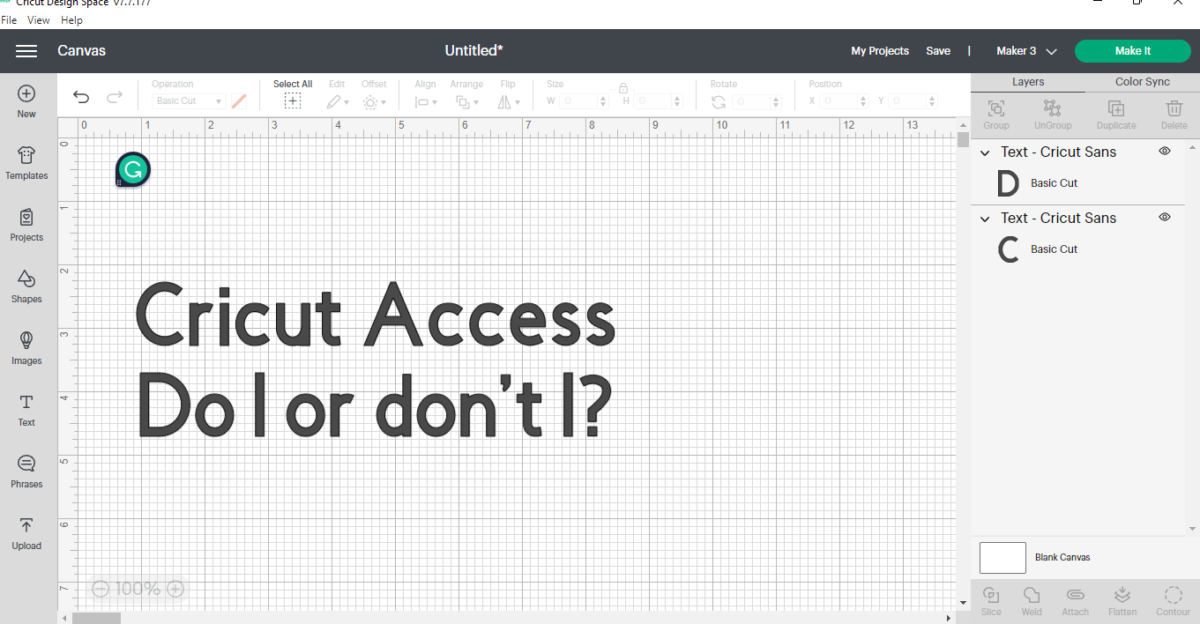
In Cricut Design Space, you can either select a card you see in “Projects”, “Images” or make your own design. For this tutorial, we’re going to use pre-designed cards. I will give you an example of each of the Cricut cards.
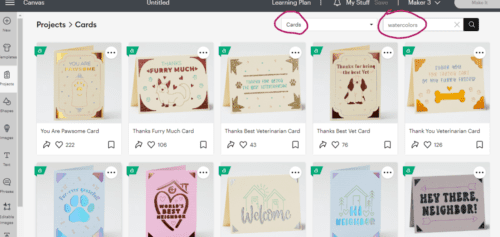
Step 1: So I’ve gone to “Projects” & searched for “cards” & then “watercolors”. (See below.) Whichever card design you choose there should be a drop-down menu for the size or it will state the size that design is made for. Make sure the design will work with the size of the cards you have. Select the size before you click “Make it”. Once you’re ready with your design, click “Make it”.
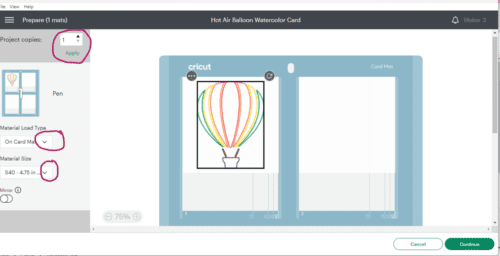
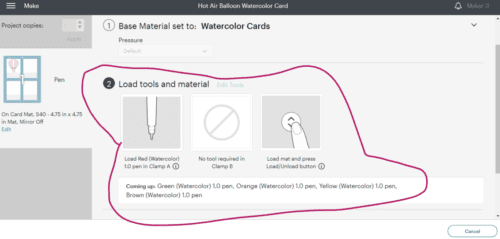
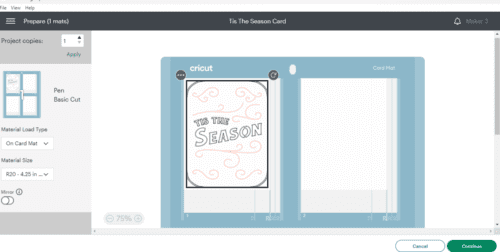
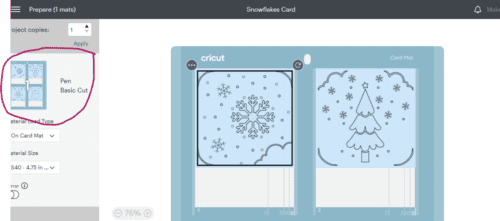
Step 2: Now that you’re on the “Make it” screen, you’ll want to pay attention to three areas here. See circled areas below. The first area is “project copies”. If you wanted to make more than one of the same card here is where you’ll choose up to four copies & click “apply”. Next area is the “material load type” where you’ll want to select the “On card mat” choice. Then lastly the “material size” is where you’ll select the size of your design. When finished, click “continue”.
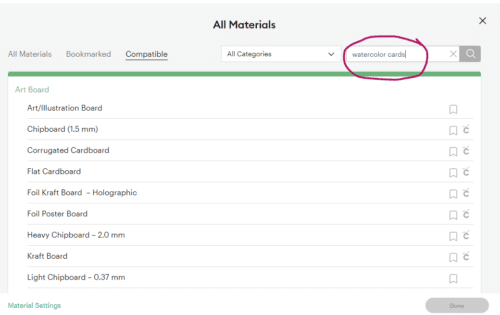
Step 3: Here is where you’ll pick your materials. At the top click “all materials” & it will bring up a list. You can use the search at the top & type in either “watercolor cards” or if you’re using your own cardstock just pick the cardstock option with the weight of your material. Click on the material that it brings up & click “done”.
Step 4: You’ll always want to pay attention to what your “make it” screen is telling you. If you notice below, I have to watch each step that the Cricut is doing because I’m going to have to switch my markers. No matter what project you do, Design Space will tell you the next steps.
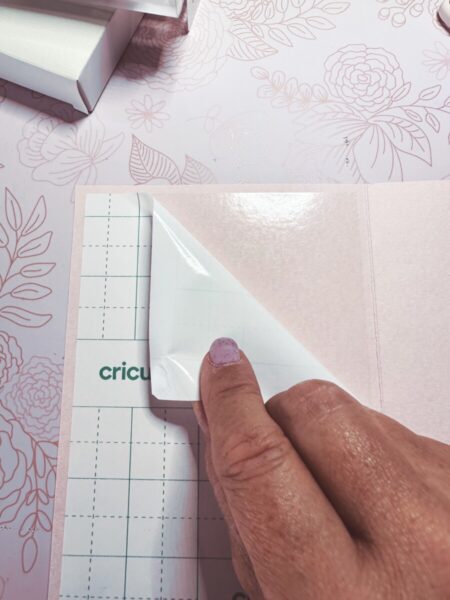
Step 5: Take your Cricut Card Mat and remove the protective cover. (Tip: If you have a new mat, before adding your card, stick it to your shirt or a piece of cloth a couple of times before putting your card onto it. The first time I tried this without doing that, I had to actually peel off the card in pieces!)
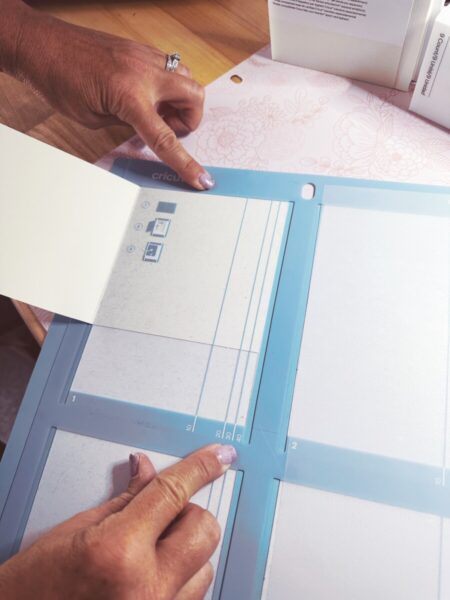
Place your card between the two layers. The back of the card goes underneath that layer. The top of the card goes on the sticky part. Make sure your card is lined up right & it’s straight. (Line it up to the size card you’re making & to the top of the pocket.) Smooth out any wrinkles to ensure precise cutting. Hit “Go”. Note: Before cutting, line up your white star wheels to the middle of the rail so it will go down the middle of the mat.
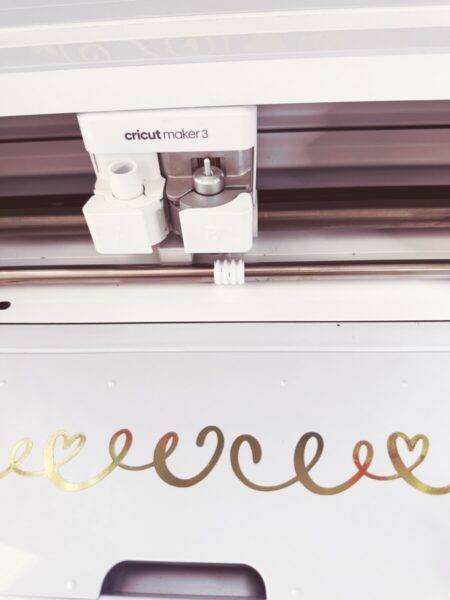
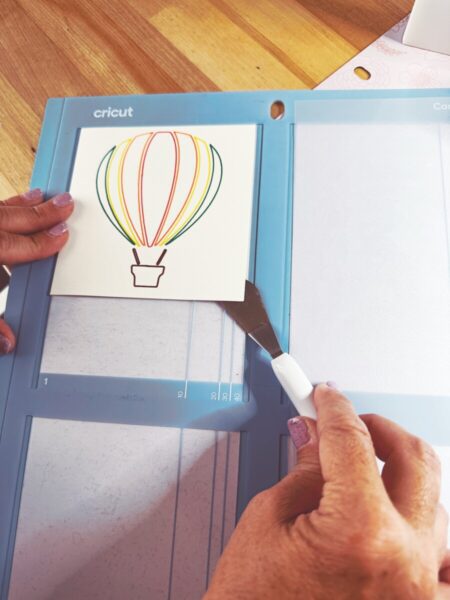
Step 6: When Cricut is done, unload & using your spatula slowly lift the cards edge all the way up & then you’ll be able to pull the card out.
How to Use the Cricut Card Mat – Cutaway Card
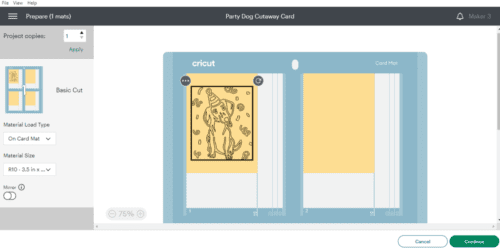
Step 1: I found this card for a cutaway card through the “Projects” tab. I made sure it was a design for the same size cards that I have, which are R40. After I choose the right size I went right to “Make it”. On the “Make it” screen, like the watercolor card, make sure you’ve selected the “Card Mat” & that the size is correct. Then click “continue”.
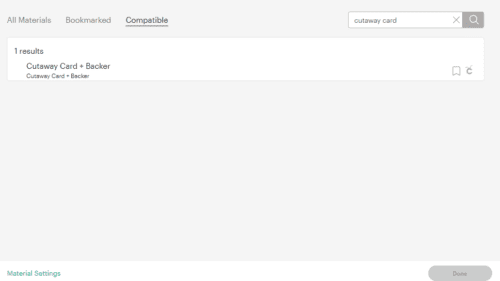
Step 2: Click the “All Materials” & type in the search bar “cutaway card” & that will pop up. Click on the option & click “done”.
Step 3: Here is where it’s a little different. You will take one of the cards in your cutaway cards pack & take off the backing on the inside. Then take the insert card that is also in your pack & attach it to the inside of the card, pretty side down. Then you load it onto the mat just like the last time & hit “go”. Let the Cricut do it’s thing!
Step 4: When your Cricut is done, use your weeding tool & carefully peel off the layers that it cut out. Then using your spatula again, slowly peel away the card from the mat.
How to Use the Cricut Card Mat – Insert Card
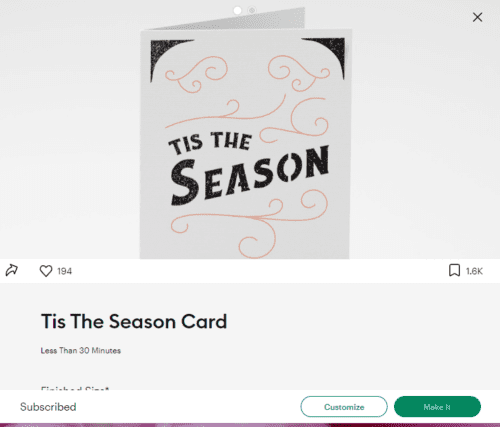
Step 1: I’m going through the “Projects” tab again (or you can use the “Images” tab). In the “Projects” tab you can arrow down to “insert cards” & it will show you many selections. You still have to look for a card that is your size & make sure it has the corner slots (like below). Before you click “Make it” use the drop-down menu to select size.
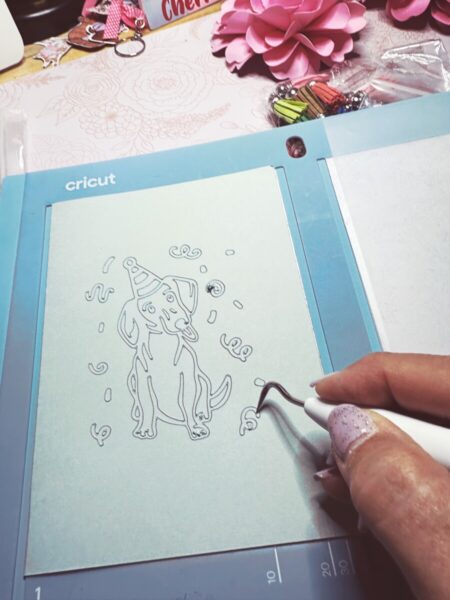
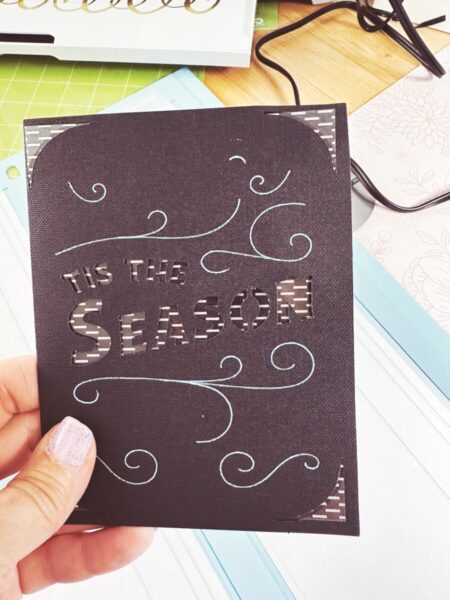
Step 2: I only have black insert cards so because this has a “pen” function on it, I’m going to use my opaque pens. So if you have white cards pick whatever color pen you want for your design. Add that pen in the “A” clamp on your Cricut.
Step 3: Make sure your “Make it” screen has you on “Card Mat” & change the material size to your card size. Click “continue” & then “All materials”. Here you can type in “insert card” in the search bar, click on the option & then “done”. “

Step 4: Load the card onto your mat the same way you did the watercolor card. Line it up to the card size & top of mat. Once you’re ready load into your Cricut & push “go”. Let your Cricut do its thing!
Step 5: When you unload the mat, use your weeding tool to slowly remove the cut out pieces before you remove the card from mat.
How to Use the Cricut Card Mat – Foil Transfer Cutaway Card
This card is a little different. You can do the “foiling” design two ways. You can have the foil transfer tool to make the designs or you can use a pen for the designs. If you want to use a pen you’ll have to select the “Pen” option in the “operation” menu on your canvas before you click “Make it”. I’m going to show you the foil transfer tool way, in case you’ve never done it.
Step 1: First, I’m going through the “Projects” tab to find designs for this foil transfer card. You’ll find a lot of designs with cut & foil which I love. You can also search through “Images” but you get a lot more choices in the “Projects” tab. After you find the design you like & you’ve selected the right size click on “Make it”. On the “Make it” screen make sure your card size is right.
Step 2: For the Foil Transfer card you’ll just select “insert card” for materials. You’ll need your foil transfer tool & your tip (Design Space will tell you which tip you need). My design requires the fine tip (that’s the one with only one line on the tip). Now put the transfer tool into Clamp B.

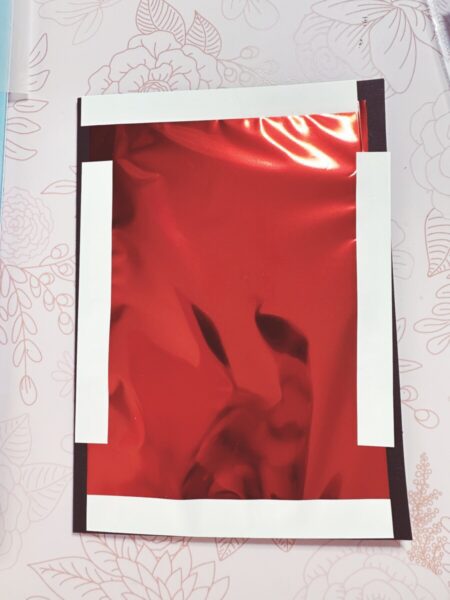
Step 3: Make sure your star wheels are in the center of the card mat still. Take a piece of the foil (mine says gold, but it’s supposed to be red). You’ll lay it over the front of the card with color side up. Use the enclosed tape to tape all four sides onto your front making sure the tape doesn’t interfere with any of the design.
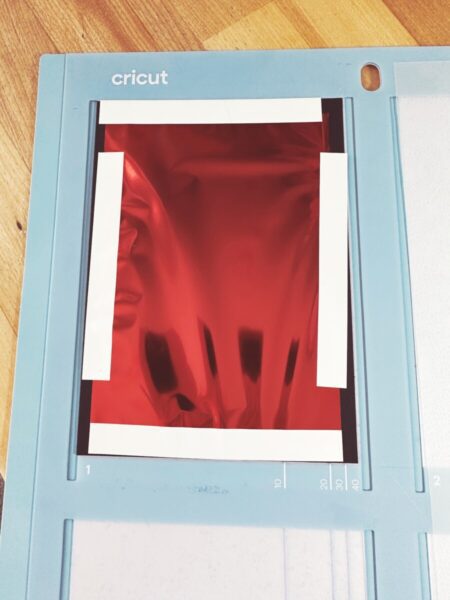
Step 4: Put the card onto the card mat with the back of the card between the layers & adhere the front of the card to the sticky part of the card mat.
Step 5: Load your mat & hit the “go” button. The Cricut will do all of the foil design first & then it will “unload” the mat. DO NOT unload from there! Leave it where it’s at & slowly remove the tape & foil. Change back to your regular housing & fine point blade in Clamp B & hit “go” again. The machine will now do the cutting portion of the card.
Step 6: Unload the mat & while the card is still on the mat, carefully remove the cut pieces with your weeding tool. Once that’s done, take the card off the mat & you’re set to go! (I had so many little cut pieces that I changed my mind & carefully removed the card from the mat & then cleaned the mat. So you could do it either way.)
How to Cut Four Cards at Once With the Cricut Card Mat
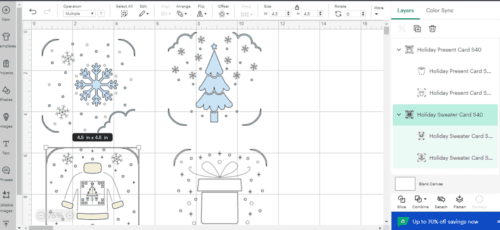
Step 1: Pick your four designs & add them to one canvas by using copy & paste.
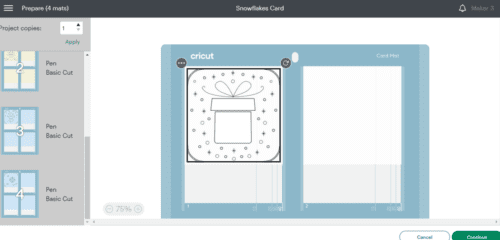
Step 2: If you clicked “Make it” right now it would come out as four different mats (as you can see on the left), because they’re all different colors.
Step 3: So hit “Cancel” if you clicked on “Make it”. Do a “select all” & change the color to whatever color you choose. (It doesn’t matter the color as long as it’s the same, because you’re just wanting it all on one mat.)

Step 4: Now click “Make it” & you should have all on one mat. Now you can put whatever colors of card you want on the mat.
I hope these step-by-step instructions for “How to Use the Cricut Card Mat” has helped you with your card making process. 💕

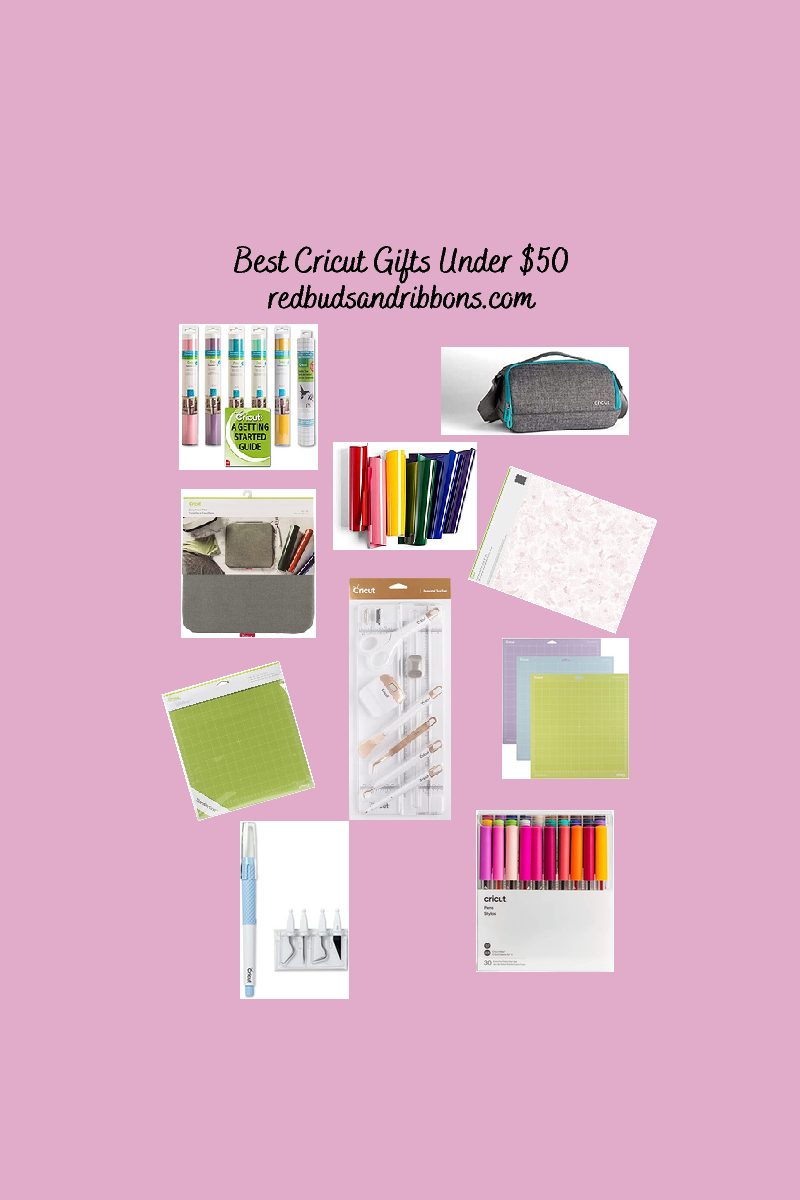
My favorite supplies
Here are some of the supplies that I used when making this project!
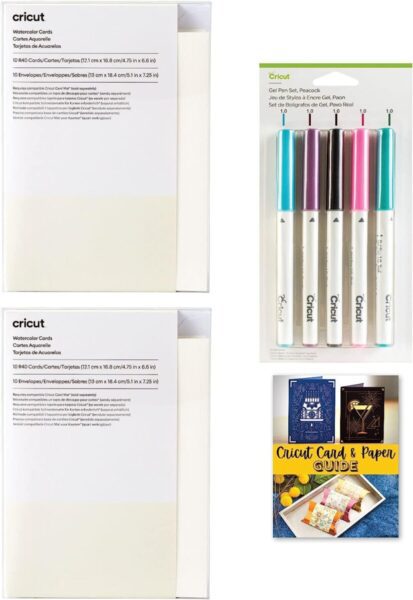
Cricut Watercolor Cards
I’ve always loved watercolor cards, paper, pens, markers, anything watercolor! This set gives you everything you need.
Cricut Foil Transfer Cards
I like the best of both worlds in these card sets. You can still have the cutaway card, but also have some of the images in foil.
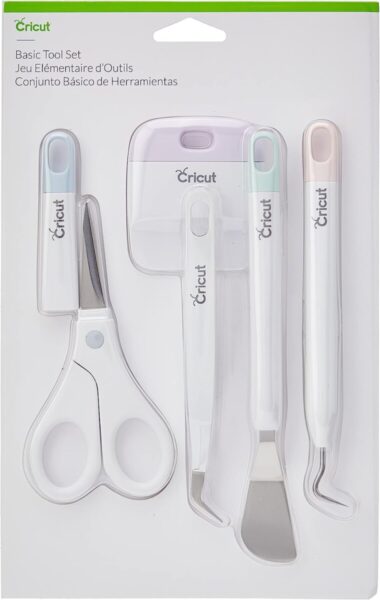
Cricut Tool Set
The weeding & spatula tools were quite helpful in getting the cards off the card mat. I don’t know what I would’ve used if I didn’t have those!
Answer to your question about how to use the Cricut Card Mat.
Can I use my own cardstock with this card mat?
Yes, you can use your own cardstock. I would make sure your cardstock is heavy weight though to use with this mat.
If you loved this project, you’ll love these projects too:

Did you make this craft?
We would love to see what you have created so mention us @redbudsandribbons on IG so we can see your creations!