How to Make Print-Then-Cut Stickers in Cricut Design Space
Oh, have I been making stickers! I wanted to play around with the different things you can do when making stickers. To start, I wanted to “update” my current label that I put on the back of my greeting cards. They were very simple & kind of plain looking. Then, since I was doing that, I decided to make some new address labels too. So, I’d like to show you some different ways to make print-then-cut stickers in Cricut Design Space.
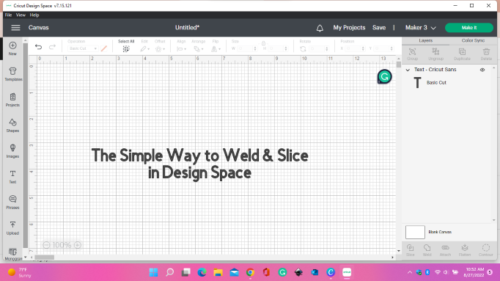
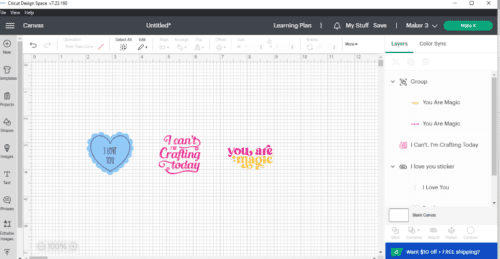
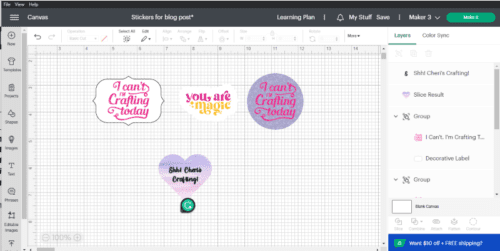
Let’s get started! Go into Cricut Design Space & pick out some images to use as stickers. Go to “images” on the left panel & pick out about three or four images you’d like to use as a sticker. Pick them out & then “add to canvas”. Once they’re on your canvas, you need to size them between 1.5″ – 2″ or whatever size you want for your stickers. I’ve picked out three that you can see below.

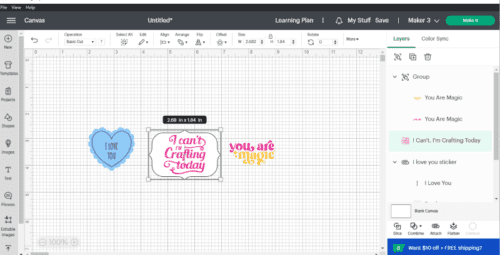
Here’s where you want to change colors, wording, etc., to get them looking how you want, or you can leave them how they are uploaded. Below, I changed some of my colors. If you are having problems changing something, remember to a) ungroup & b) click in the layers panel on just that layer you want to change. Once you get it to your liking, go to the top & change the “operation” to “print-then-cut” instead of “basic cut”.
Now, you need to have something attached behind your image for the sticker to cut. If you didn’t, your image would cut each letter as it is. One option is to choose a “shape”. So go to your “shapes” & pick something that you like. I decided on a pretty label shape. Put it on your image & make sure it covers the whole image. You might have to go to “arrange” at the top & “send it to back” if needed.
Another option for the back of a sticker is to use the “offset” tool. I love this option because each sticker will cut out in the shape of the image instead of the shape of a shape! 😁 What? Anyways, click on one of your images & go to the top & click on “offset”. You should see an outline around your image already. You can move the slider & make it bigger or smaller around the image. Once you get it to your liking, then click “apply”. (Leave the rounded “corner” & “weld offsets” on.)
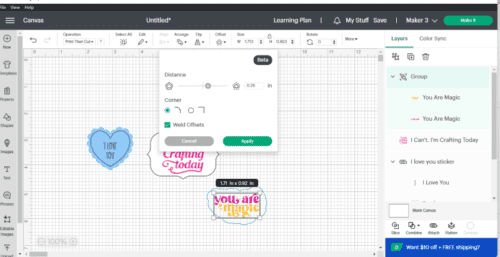
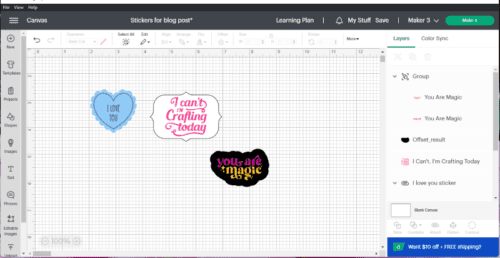
Once you click “apply” it will automatically turn the background to black. See below. You can change this back to white or any other color you’d like. After that, you’ll want to “group” them together. If, by chance, you move the image inside the background before you get to “group” them, like I keep doing, click both layers & “align” them at the top by clicking on “center” then “group”.
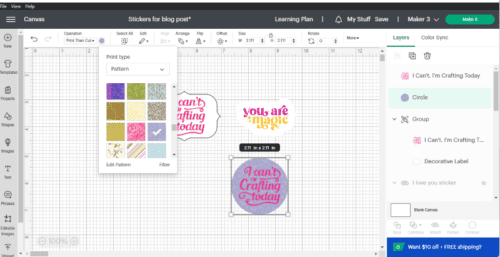
Another option for a sticker is to take a shape & add a pattern to it for the background. So below, you can see that I picked a circle out of “shapes”. Make sure you change the circle’s “operation” to “print-then-cut”. Then click on the “color” box, & you should see a “drop-down” menu with “color” or “pattern”. Click on “pattern” & pick a pattern you would like as a background. (Below is what your screen should look like somewhat.) If you don’t like the first choice, pick a different one until you find one you like. When you get it to your liking, select both layers & “group”.
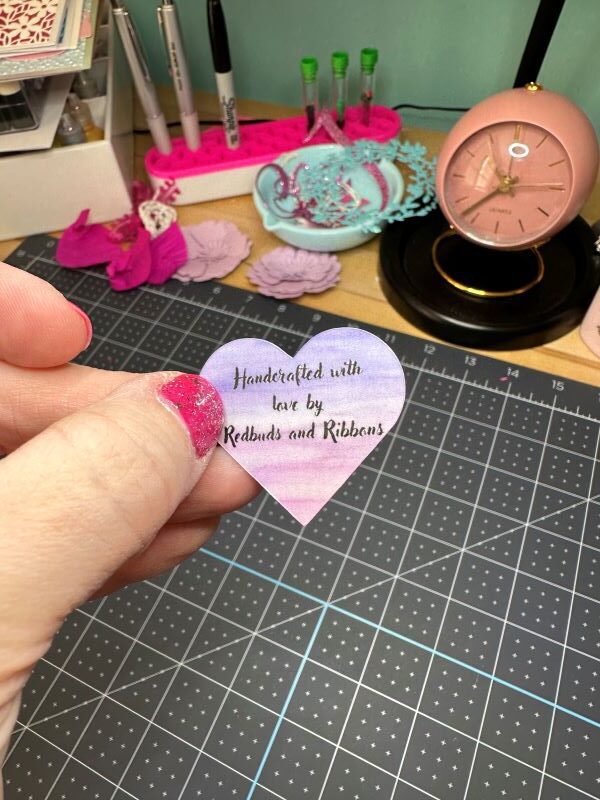
I will show you one more option, so pick one more image if you only picked three. I had this background paper that I uploaded after purchasing it on Etsy. So if you’ve wanted to purchase any of the background papers you see, this is one way to use them. For the longest time, I was like, “what do you even do with those background papers?” Well, this is one way to use them! So if you’ve been looking at any papers you can upload them into Design Space (if you don’t know how to upload, please see my post “How to Upload an Image to Cricut Design Space”)! Once you upload, you choose that file & “add to canvas”. It will load onto your canvas, but it might be large, so size it down to sticker size.
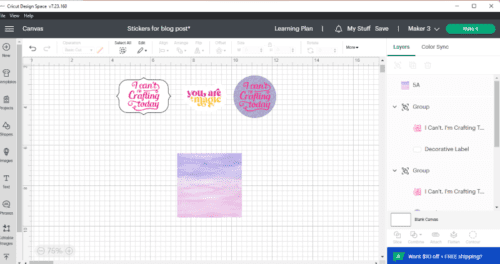
Now, I will take a heart shape out of “shapes” from the left panel. I want my sticker to be a heart shape, but I want it to have the same coloring as my background paper. So I’m sizing my heart shape to around 2″ & then making my background to at least cover that. So I put my heart inside the background paper & select both layers, then click “slice”. Delete everything but that new heart shape with all the pretty colors.
I’m going to type something out…sorry, I couldn’t think of anything! This is how I did some of my stickers with my address; only I had a different shape. Anyways, type something you’d want for a sticker, select both layers & “group”. All your stickers should already be “grouped”, but double-check them. Also, double check your images say “print-then-cut”.
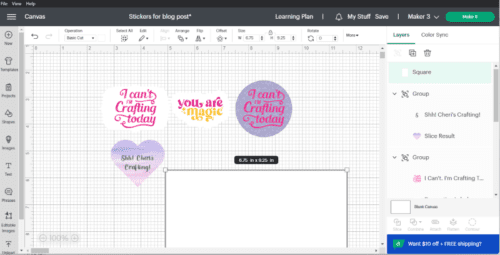
Now, here’s the trick! You need to use the “flatten” option. Right now, you should have about four stickers, so line them up like the picture below. Next, go to “shapes” & add a rectangle to your canvas. Resize it to 6.75″ x 9.25″. This is the print size you can use. (If you go over that size, you’ll get a little “!” mark on the side by your “flatten” layer that says it’s too big.) Put the rectangle under the stickers & see if the top line fits going across. If not, take another sticker out of the top row & put it in the next row. Now, we still have more room in that rectangle for more stickers, so let’s duplicate some of them and fill up that space.
Tip: Watch for the offsetting stickers because if you change the background to white, they’re hard to see. They can’t touch, or they’ll cut one BIG sticker! I know from experience! 😂
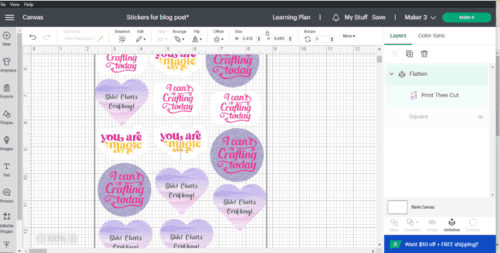
If all your stickers fit in the rectangle, you can go to the right panel, & click on the little eye on the right side of that rectangle (it might say “square”). This layer will become shaded, which means that layer won’t cut. Next, “select all” & click “attach”. With everything still selected, click “flatten”. Your screen should look something like mine below.
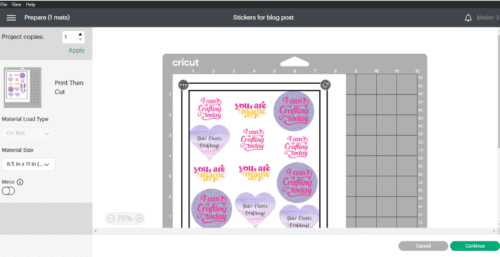
It’s time you’re going to click “make it”! This sends it to the cut screen & tells your Cricut what you want it to do. It should look a little like this below. So everything fits & there are no funny things happening. There are no extra stickers on a different sheet, etc. So it looks good to go! Now, just in case you wanted MORE stickers, do you see the “project copies” at the top left? You can click the arrow up button to however many pages you want & click “apply”. You can click “continue” at the bottom right.
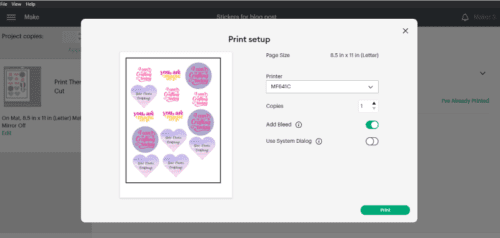
On the next screen, you’ll click “send to printer”. Everyone’s printer is different, so this is a little tricky to explain. On one of my printers (my laser printer), I leave it like it is on the screen & click “print”. But, on my printer itself, I have to change the type of paper I put in the machine to heavy paper. With my other printer (inkjet), I have to change things on the screen, but not do anything to my printer. I’ll use that printer instead so you can see the changes on the screen. I’ll leave the “add bleed” on & turn on the “use system dialog” lever & click print.
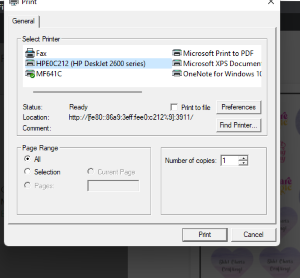
Below is the screen that pops up. If you don’t see it, look behind your Cricut Design Space. If you have a “preferences” button, click on that.
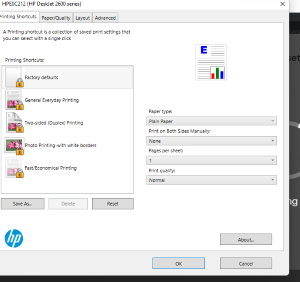
Here’s where you can change the “paper type” to sticker paper. Most of the time, you won’t find “sticker paper”, so pick something similar. I chose a selection that said something like “other inkjet matte paper”! See why I like my other printer! LoL! 🤔 You can also change where it says “print quality” to “best”. If you don’t have these choices, it’s ok, just do your best. When you’re done, click “ok” & then “print”!
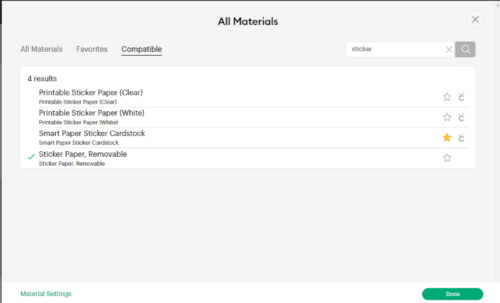
While that’s printing, you can pick a material for your Cricut to cut. Select “browse all materials”. If you want your stickers to stay on the sheet, choose “sticker paper, removable”. If you don’t mind, click the regular “printable sticker paper” white or clear, then click “done”.
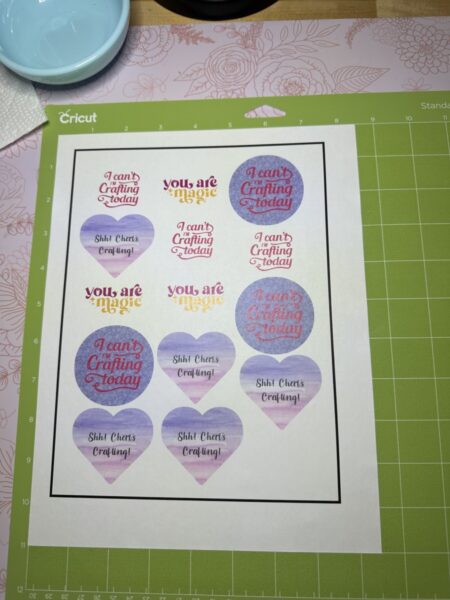
You’re going to apply your print out to a standard green mat, & load into your Cricut. Do you see the black outline around your stickers? This is what the Cricut reads to tell it what & where to cut. Now, watch your Cricut do its thing!
If you have the Cricut Explore 3 or the Cricut Maker 3, they will now cut colored sticker paper. I did some holographic stickers the other day & they were beautiful!
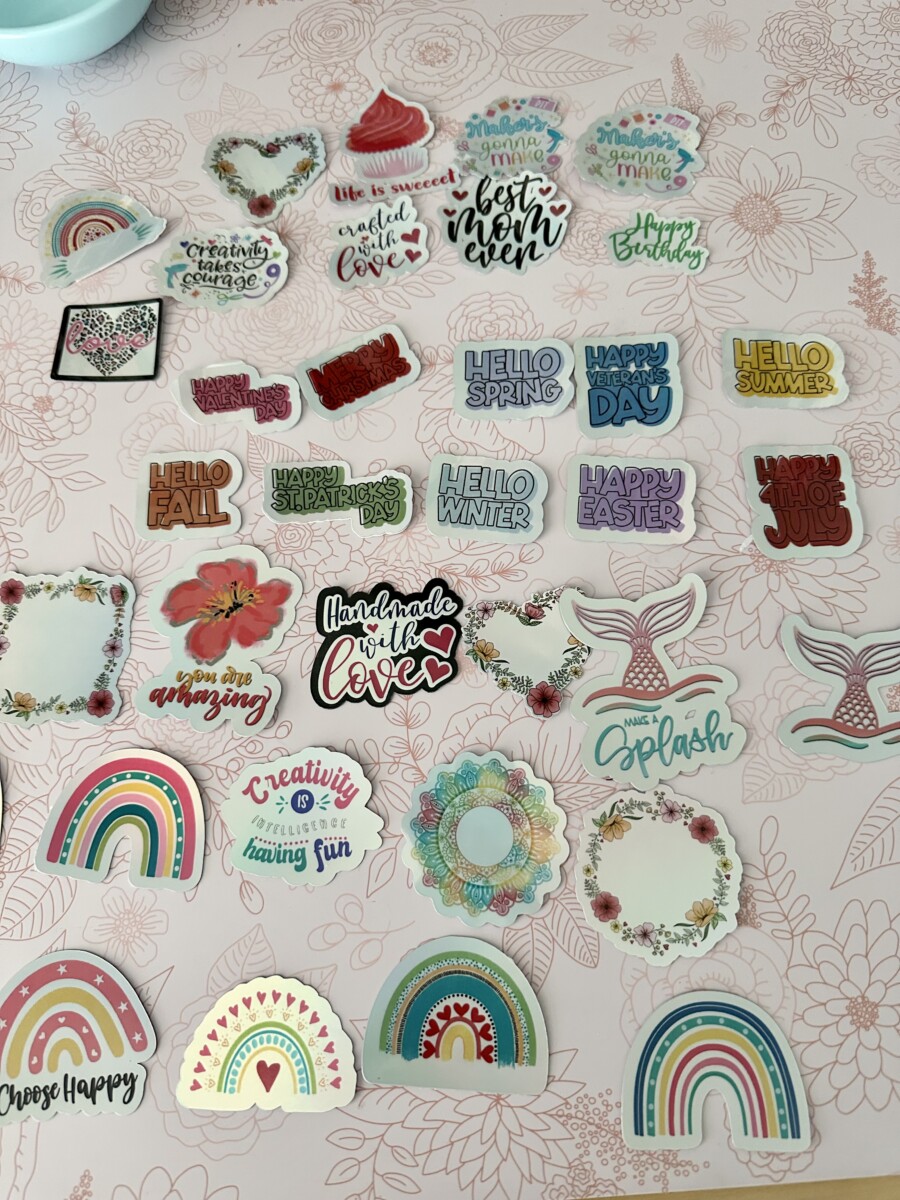
I hope this “How to Make Print-Then-Cut Stickers in Cricut Design Space” post has helped you in some way. If you liked this post, please share it on social media, & I would love it if you followed me while you were there! I would appreciate it so much! If you want to learn more about uploading an image (or that background paper), click here! If you are interested in my “20 Cricut Hacks for Beginners”, there are a couple places on my home page where you can sign up. I’ll leave you with a picture of the stickers we made today!💕