How to Make Labels With Adhesive Foil
When I first started with my Cricut one of the first projects I did was labels. I tried the labels with sticker paper & writing with Cricut pens. I didn’t know about the ‘writing’ fonts yet, so I picked a font I liked & put the pen in the tool holder & off I went. So because I didn’t pick a ‘writing’ font, you know how my wording came out! Yes, all of my wording was outlined instead of whole. Still, I thought my labels were pretty & I put them on my drawers. I didn’t know all the possibilities yet to come!
Years later……still same labels are there even though I know a lot more now about what to do and not do. So I decided to take those removable sticker labels off my solid wood drawers. My first set of drawers came off just fine. The second set of drawers did NOT. I must’ve picked the regular non-removable sticker paper by accident! I would not recommend this to anyone. After working on it for hours I got the paper off, but I was still left with sticky residue. Then I remembered this amazing liquid called alcohol. It worked! It took off all the sticker goo & I was ready for some new labels.
So I’m going to show you how to make labels with adhesive foil. I did a post on 3 other kinds of labels you can make, & you can see it here, but let’s start with this one first. The labels I want for my drawers are just the plain adhesive foil, with no background or anything. I’ll give you a list of materials needed & then instructions on how to do it.
Materials
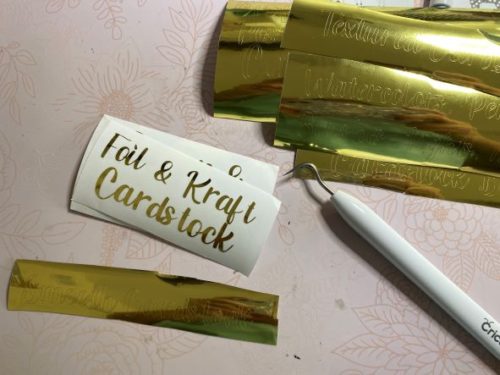
- Adhesive foil (color of your choice)
- Transfer tape (strong-grip)
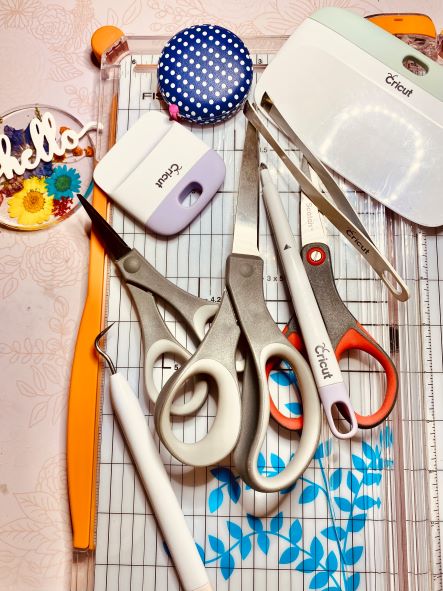
- Scraper
- Weeder
- Measuring tape
- Coffee filter
- Rubbing alcohol
- Cricut standard grip mat
- Cricut or cutting machine
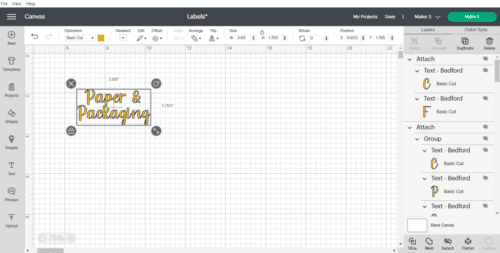
Here we’re going to add your wording for your first label. Then make it how large or small you want your labels to be. Now go above & pick a font. You can use any font you’d like (doesn’t have to be a ‘writing’ font). I’m using Bedford for my labels. I changed my color to a yellowish color because I’m using gold foil. Once you get it how you want you’ll click ‘attach’.
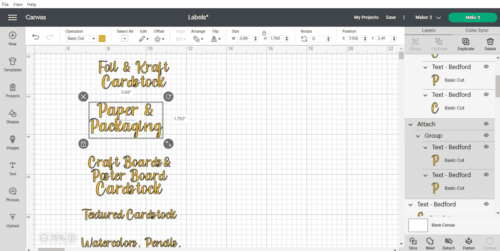
Type out all your labels & do the same thing as you did for the first one. In the pic you can see on the right the highlighted portion. That shows you that they’re ‘basic cut’ & attached. I have them ‘grouped’ but you don’t have to. I just did that because I wanted to move them around in the beginning.
There I changed it so you know it works both ways. Now you’ll see the top two are just attached. I don’t know if you noticed how for the “Paper & Packaging” it shows two lines for that instead of one. When you would normally hit enter & type some more, I do mine separate. It lines up better for me. So I type “Paper &” then instead of hitting enter & typing “Packaging” I just end it after “&”. Then do “Packaging” but it’s on it’s own. For me, I can align it better. You do not have to do this.
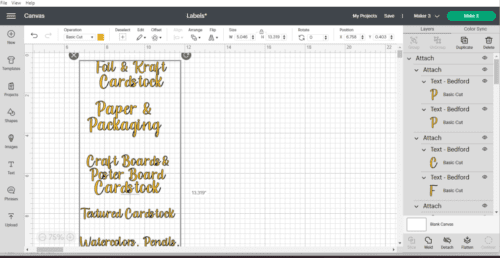
After everything is set how you want them to look do a ‘Select All’ & ‘attach’ again. By attaching them all at the end, they will print exactly how you see them on the screen now. Otherwise, they print all over the place. When it prints all over, it does place them where it will save you the most in materials.
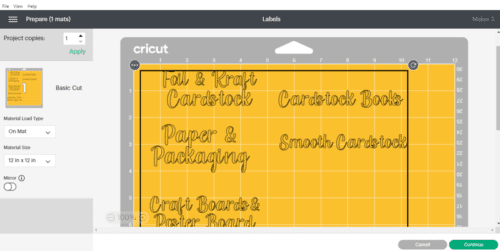
Now you’re ready to click on ‘Make It’. Make sure you’re printing on 12 x 12 mat & hit ‘continue’. Search for ‘Adhesive Foil’ & you’re all set.
After they’ve cut on your Cricut, you’ll need to weed the excess foil you don’t want.
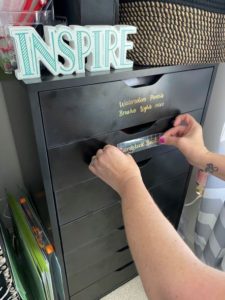
Now you need your coffee filter & alcohol. Rub some of the alcohol where you are going to be putting the labels (helps attach it). If you’re putting it on wood do a test area on the inside first. Use your transfer tape (strong-grip) to put onto the labels so you can then put them onto the drawers or whatever you have. That’s it!
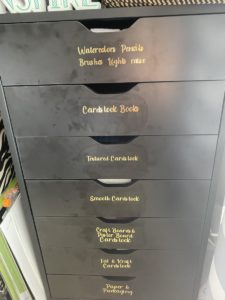
Here is the finished product! Looks so much better! Now all I have to worry about are the fingerprints! 😁 I hope you enjoyed me showing you how to make labels with adhesive foil. Hopefully, your project turned out just as well!💕