How to Make an Easy Uplifting Card
This post contains some affiliate links for your convenience. Click here to read my full disclosure policy.
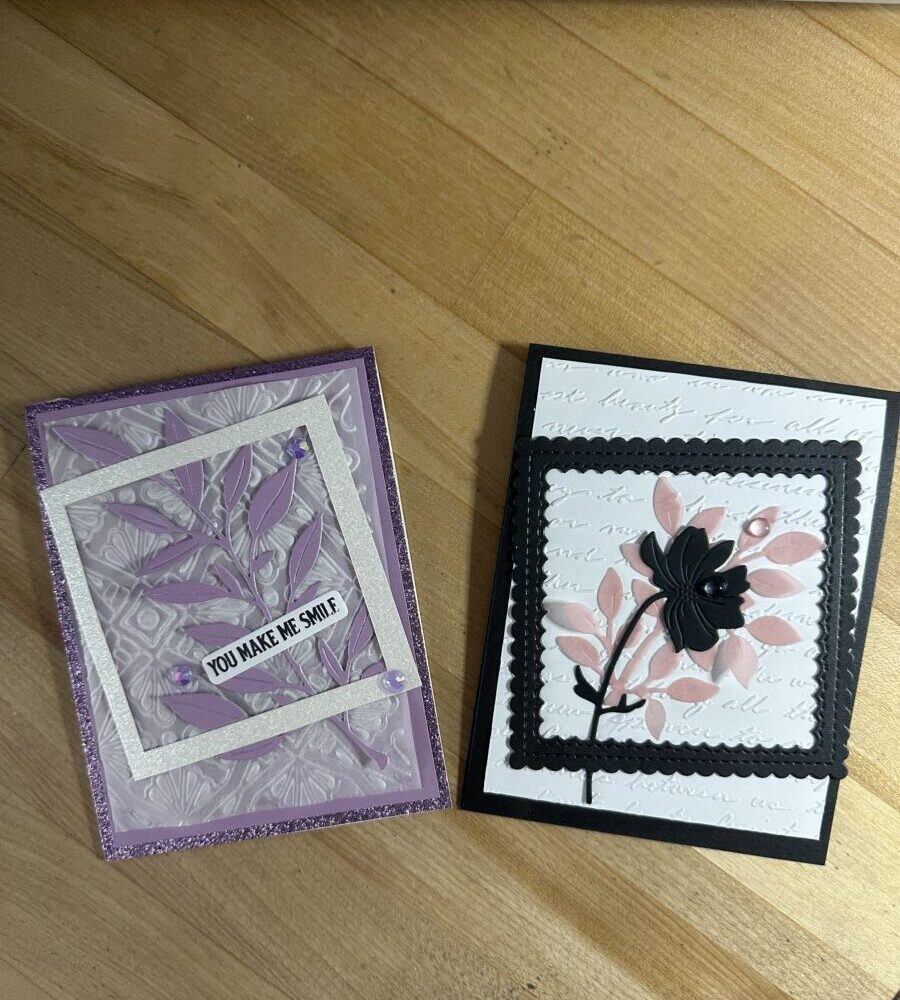
I have really been drawn to making handmade cards! I could even say it’s my favorite thing to make. It can be an easy “simple” card, but it ends up making such a big impact to the person you’re giving it to. There are so many different techniques to use when making a card, like embossing, foiling, die cutting, stamping, Cricut & more that you never get bored. Today, I’m going to show you how to make an easy uplifting card. It might look more involved, but it’s actually an easy card to make-so no worries! Let’s get to it!
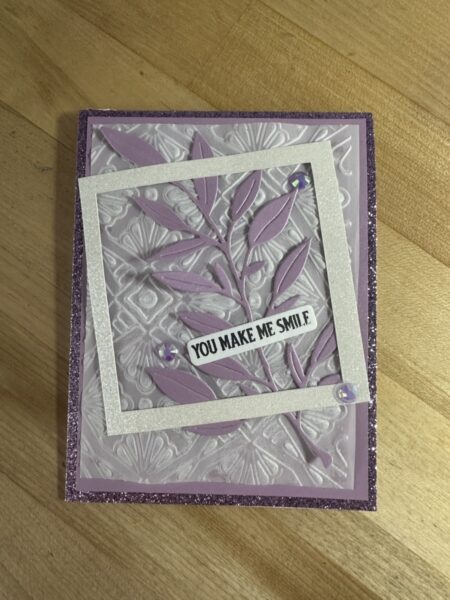
How to Make an Easy Uplifting Card
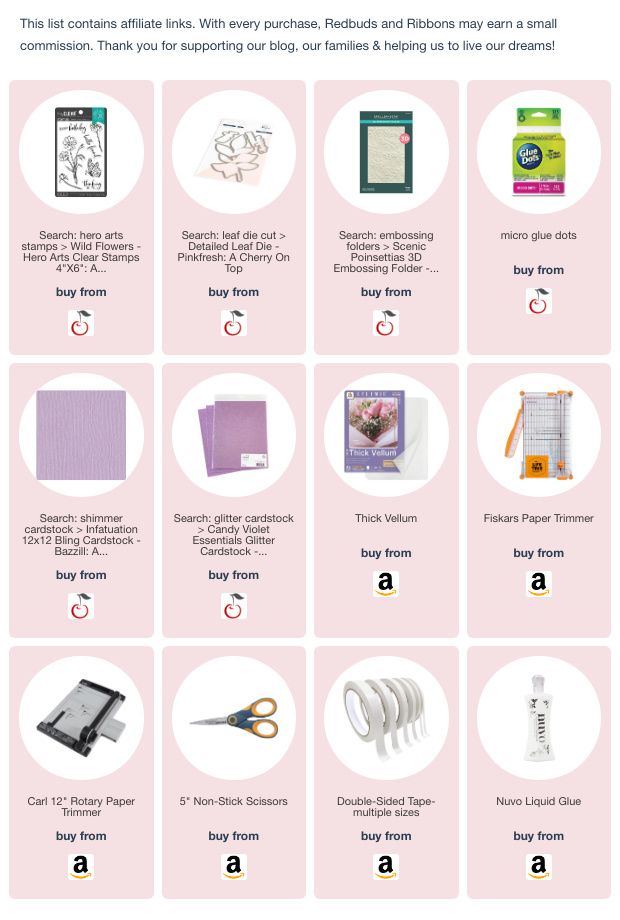
Materials Used – See List at end of post for products I used (or similar)
Step by Step Instructions
Cutting Card Base For Uplifting Card
Step 1: We’re going to take your glitter cardstock, the one that coordinates with the shimmer paper, & cut it to 4.25″ x 11″ for your card base. Then “score” it down the middle at 5.5″.
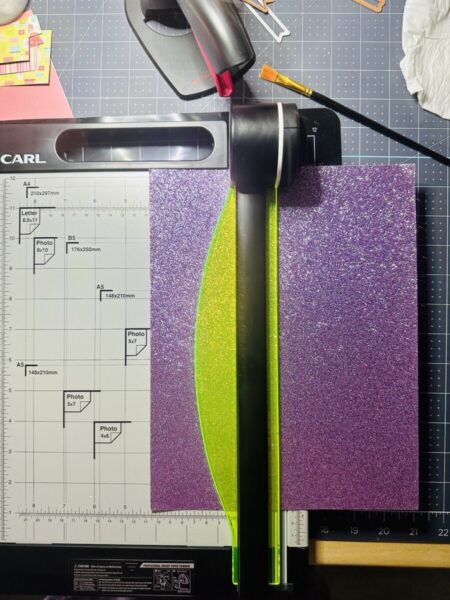
Cutting & Adhering Shimmer Cardstock
Step 2: Take your shimmer cardstock & trim a piece to 4″ x 5.25″. Now you can adhere it to the front of your card base with double-sided tape on all sides then set aside.
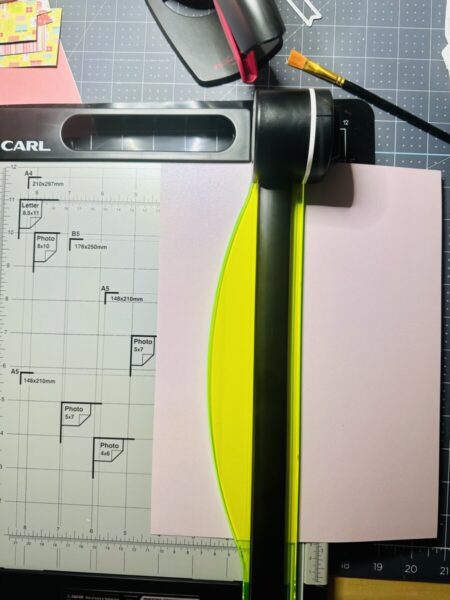
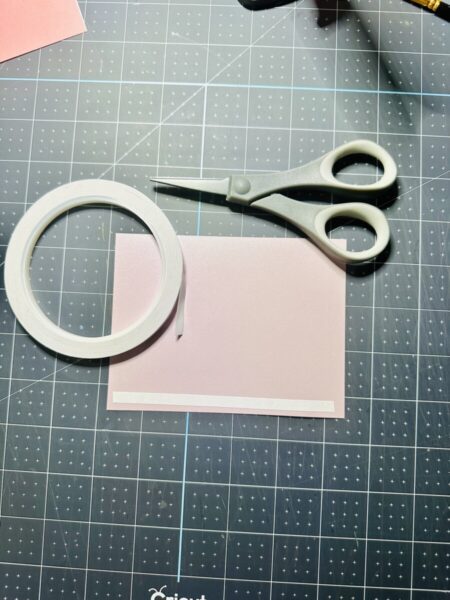
Embossing Folder With Vellum
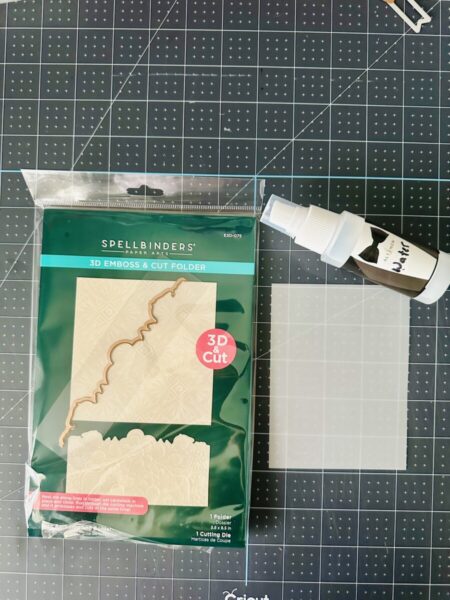
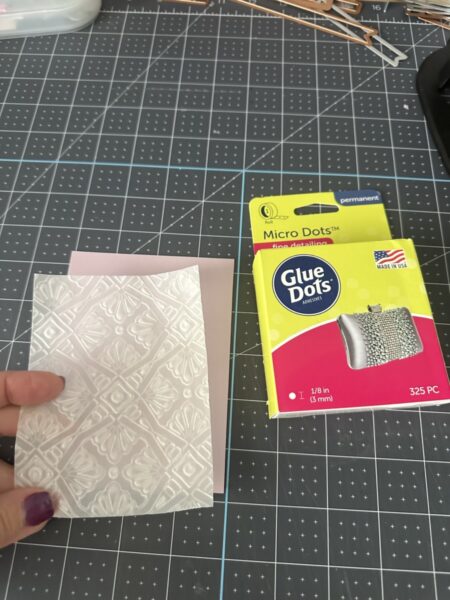
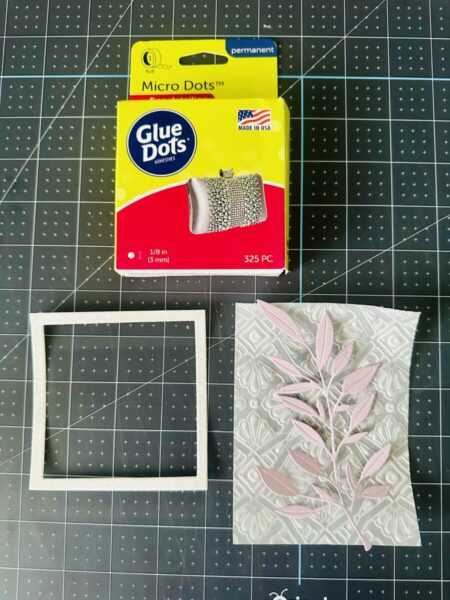
Step 3: Now cut a vellum piece to 3.75″ x 5″. You’ll then take your thick vellum & put into any embossing folder you have & run through your die cut machine. Tip: Before putting vellum into embossing folder, spritz lightly with water. This helps the vellum not to crack. This embossed vellum is what makes the look of the “uplifting” card more complicated, right? Next, adhere your vellum with “Micro Dots” to the shimmer panel. (I do 3 micro dots spaced out on the sides, but top & bottom I usually apply 4 dots.)
Die Cutting Leaf Design
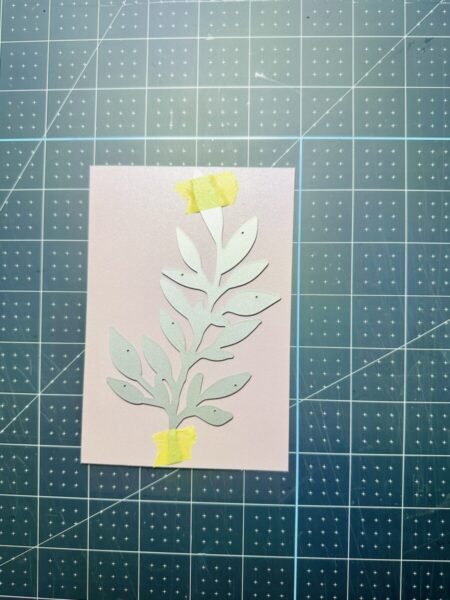
Step 4: Here we’re going to use our “leaf” die or “flower” die, whatever you have in your stash. Run it through your die cut machine & gently remove it. Set aside.
Making a Frame for Our Uplifting Card
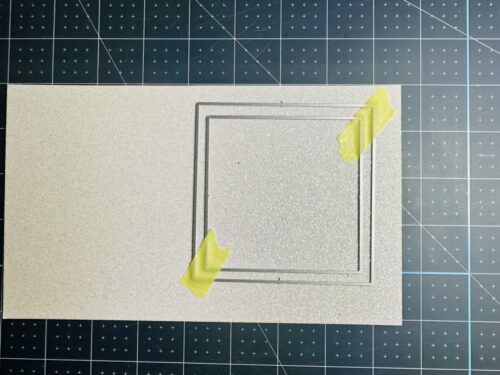
Step 5: So, take your second color of glitter cardstock to make the frame, meanwhile getting 2 square dies. To determine which square dies to use, put them together (like pic below) & see if they are spaced out enough for how wide you want your frame to be. Then use your low tack tape & run it through your die cut machine.
Adhering to Card Panel
Step 6: Now you should have your ‘frame’ & ‘leaf’ to adhere to the vellum card panel. Apply the leaf first (I also use “Micro Dots” to adhere the leaf.) After that, adhere the frame on top of the leaf using the double-sided tape again. I turned mine a little bit to the side so it’s not so perfect.
Adding Sentiment & Gems to the Card
Step 7: Lastly, adhere your sentiment (whatever you want to use) to the leaf of your card. Finally, add sequins, gems, or whatever you have in your stash. Tip: Place the gems wherever you want, but try to make the overall shape a triangle.

Conclusion of Making an Easy Uplifting Card
Finished! Congratulations you did it! Hopefully, that was an “easy uplifting card” for you to make! To sum up, we went step-by-step through the process of making the card & I hope the details helped you complete it. It’s always fun to try something new & how can you not feel good about giving this to a friend who needs some uplifting words. Below are some of my supplies I used today, along with some other card making posts you might like. Have a great day! 💕
Supplies I Used (or similar products)
