How to Make a Tee Using Patterns in Cricut Design Space
This post contains some affiliate links for your convenience. Click here to read my full disclosure policy.
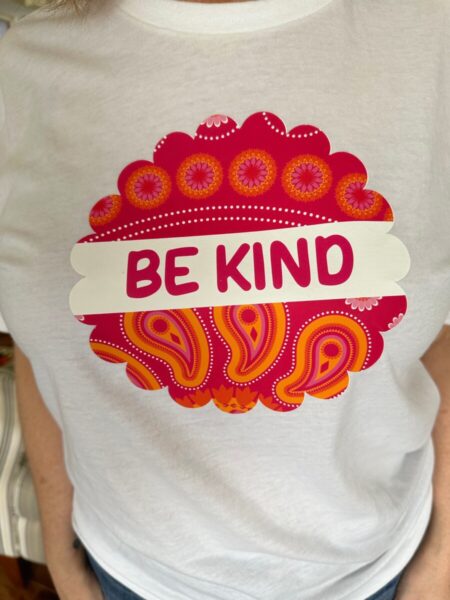
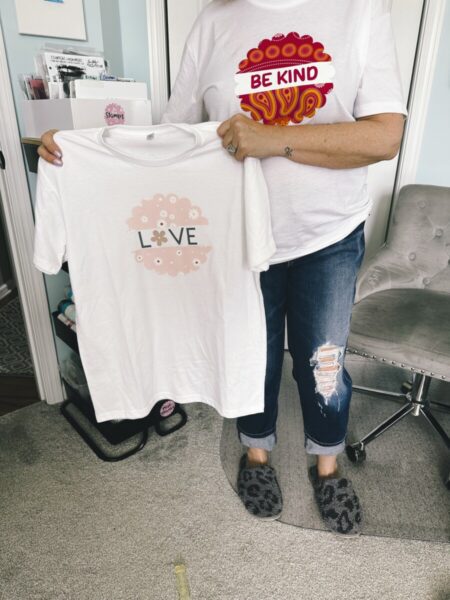
Hey there! Have you ever tried uploading a pattern instead of an image in Cricut Design Space (DS)? Or, have you ever used a pattern in DS with your project? I just made a tee with the pattern tool (see pic below). This is just another option you can use in DS! I’ll show you step-by-step instructions how to make a tee using patterns in Cricut Design Space. (You can choose a tote, bag, or whatever you wish!)
How to Make a Tee Using Patterns in Cricut Design Space
Materials Needed
Step by Step Instructions – Making a Tee Using Patterns in Cricut Design Space
Uploading a Pattern in Design Space
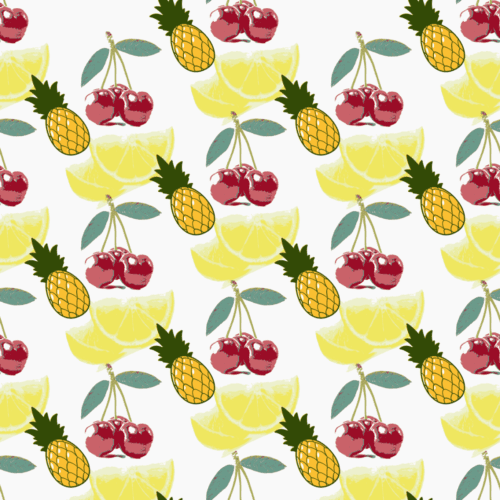
Step 1: To start, we are going to upload a pattern so we have it all ready for our design. I made the pattern you see below & I’ve made it available for you to use in this tutorial thru Goggle Drive. If you have another pattern you want to use that is perfectly fine – maybe fruit isn’t your thing! 😊 Since my pattern is already in my Cricut DS account I went to Creative Fabrica & downloaded a copy of a different pattern I found. If you like the pattern you see, you can get it here.
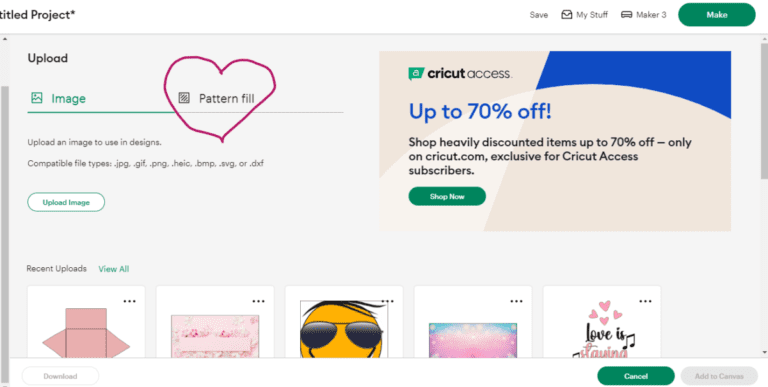
Step 2: Go into Design Space & click “new” for a project. In the menu on the left, click on “upload”. Now click where is says “pattern” instead of “image”. (pic below) Then click on “Upload Pattern”. Next you’ll click on “browse”.
If your design is in a zip file then right click on your mouse & click on “extract all”. Click on the folder file now & then click on your pattern. The pattern will come up & it will say “print-then-cut” pattern & you can give it a name if you want then click on “upload”. You’ve uploaded a pattern!
Making the Design With a Pattern in Design Space
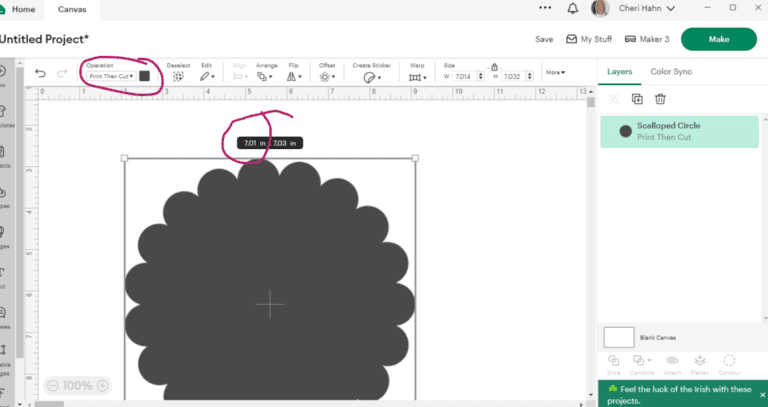
Step 3: Click on “new project”. In the menu on the left, click on “shapes”. Pick out whichever shape you want your pattern to fill in. You could pick a heart or a circle, etc. I’m going to pick the circle that has scalloped edges; kind of looks like a flower. Let’s size our image to 7″. This is an approximate size for a tee. So keep your “lock” locked 😁 & change the width to 7″. Pic below. Go up to “Operation” & change to “print-then-cut”.
Next, click on the color block most likely black right now. That brings up a menu in which you click on the button & click on “pattern”. This will bring up all your patterns that you’ve uploaded &/or the ones that Cricut lets us use. Find your pattern you uploaded (they would be in the beginning of the list) or if you want to use one of the other patterns that’s fine also.
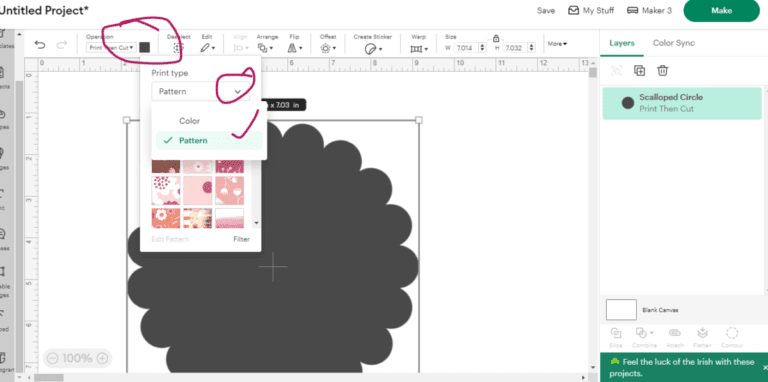
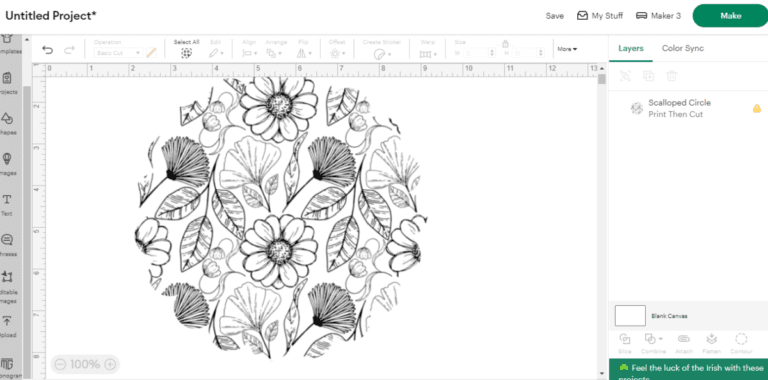
When you click on a pattern your shape will fill with that pattern. You could go through a bunch of them till you find one you like. I’ll show you the one I downloaded from Creative Fabrica. Well…I don’t like it! Because it’s black & white it doesn’t show the scallops of the circle shape. So I’m going to pick the one I made the shirt with.
Step 4: In the shapes panel, find a square & click on it. Then bring it over to the shape with the fill & make it into a rectangle. Make the dimensions about 1.5 high & as long (width) as your shape is. Put it in the center of the your fill shape & select that rectangle & your fill shape then go to the align tool & click “center”. (pic below) (Option: You can make your rectangle shorter too where you’ll have the outside still showing. See 2nd pic below.
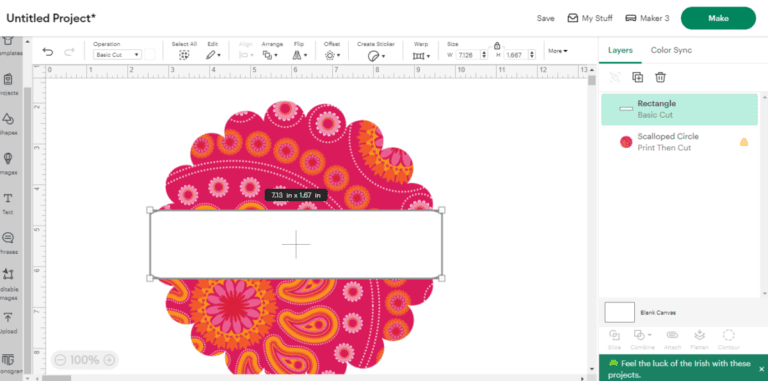

Once you figure which option, then select both of the shapes & click “subtract” under the “combine” tool on the right.
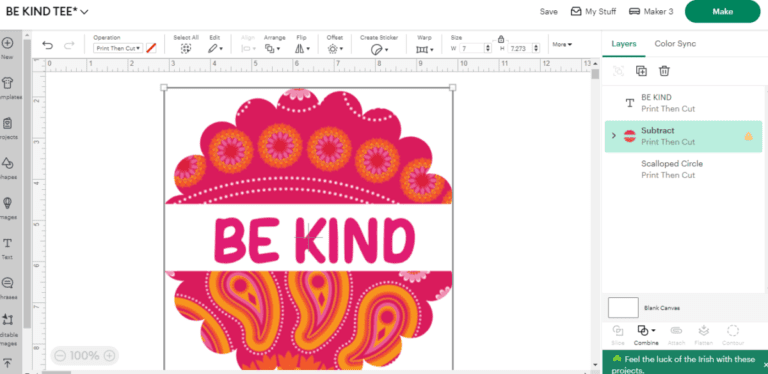
I’m going to say “BE KIND”. You can do something else if you want. So with the text tool which is on the left menu, type out the wording you want to put in the blank space. Make sure to use the “align” tool to center your wording. Save your work!
Cutting the Design With a Pattern in Design Space
Step 5: Now that you are done with your design you’ll want to cut it out. So click on “Make” at the top right. If everything looks ok, then click “continue”. Next you’ll send it to the printer. Select your inkjet printer. You can turn off the “bleed” & turn on the “system dialog” or “preferences”. Click “print” & then it will take you to the “preferences”. If it doesn’t pop up on your screen look behind it. Just a couple things to look for; 1) print quality select “best” & the type of paper select something like matte inkjet paper. Printers are all different so it’s hard to say…just do your best. If you don’t change anything you’ll still be ok. It maybe won’t print as clear. Put your printable heat transfer vinyl in the printer & hit “print”.
Step 6: Once it’s printed, put it on your mat for your Cricut to cut. Once it’s done cutting, you’ll need to weed it just like regular heat transfer vinyl.
Applying the Design With a Pattern in Cricut Design Space
Step 7: After weeding the design you’ll need to follow the directions of your printable htv when it comes to heat press temp & time. All of them are different so I can’t tell you specifics. Just remember that all of the design that you don’t weed out will be on your tee or whatever blank you chose. If you need step-by-step instructions for applying to your tee, I have a post called “How to Use Printable Heat Transfer Vinyl for Cricut” that you can look at.
Conclusion
I ended up making two tees because it was so fun to use the patterns to make the tees I couldn’t wait! I hope you enjoyed using the patterns to make a design in Cricut Design Space for your tee or blank. If you liked this post, please share it on social media & I would love it if you followed me while you were there! I would appreciate it so much! Thank you!💕