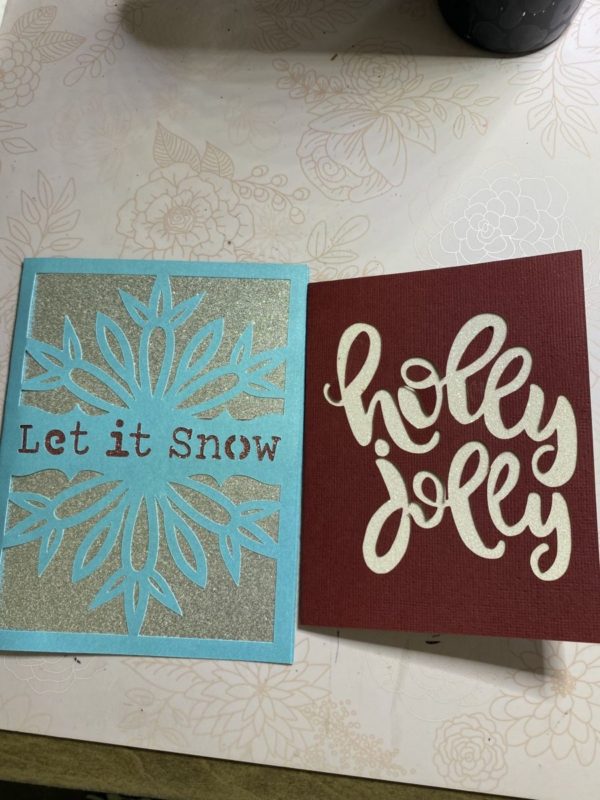
How to Layer With Glitter & Regular HTV
I have a layered design I wanted to put on a t-shirt. I wanted to use both glitter & regular HTV. If you don’t already know, layering with glitter can be a little tricky. Not too tricky for us, though!😉 When designing your project, keep in mind the materials you want to use. When designing with glitter HTV, you cannot layer on top of the glitter, so design in a way that the last layer will be the glitter HTV. Let me show you the whole process if you haven’t done any layering.
Design Step-Tips on Layering with HTV
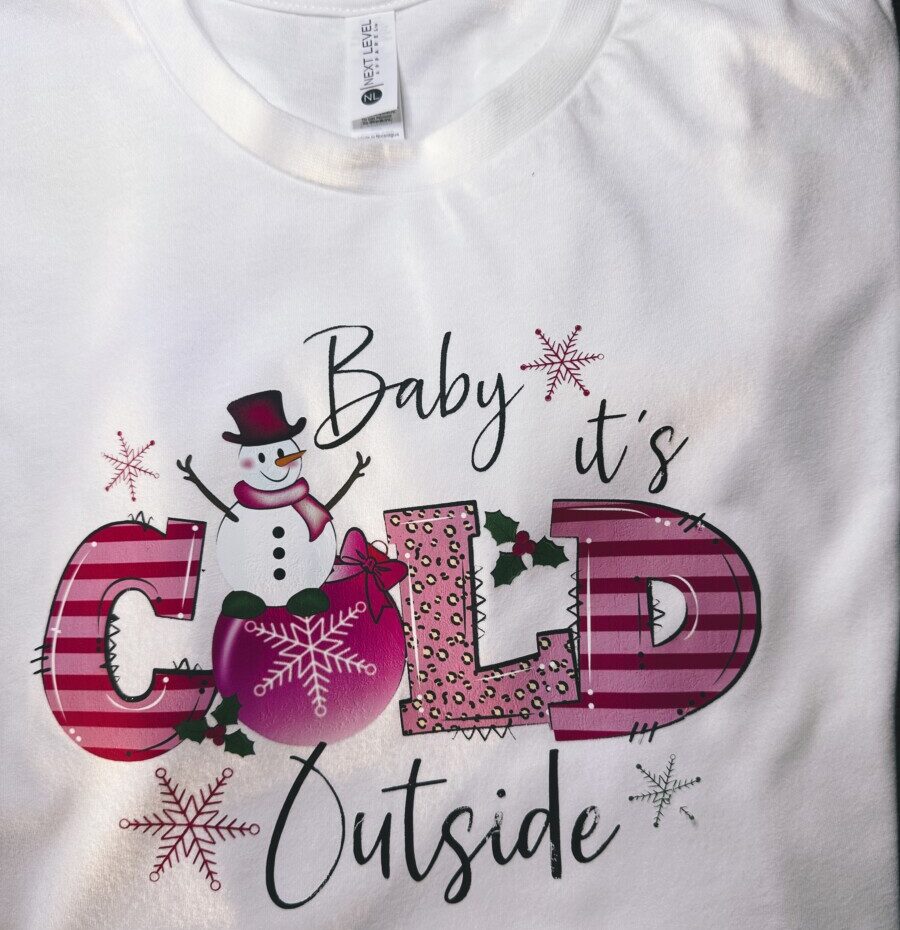
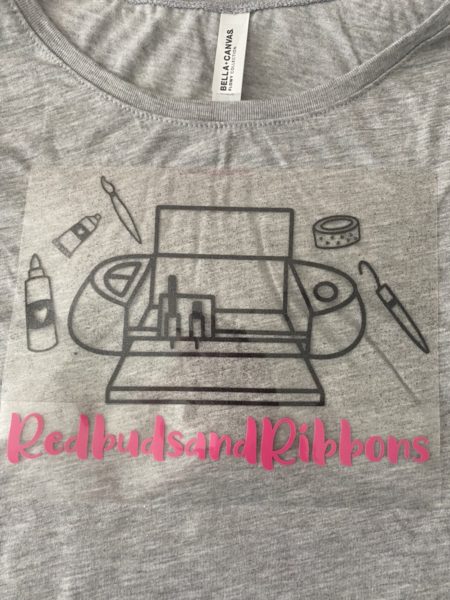
So here is my design that I want to use with regular HTV & glitter HTV.
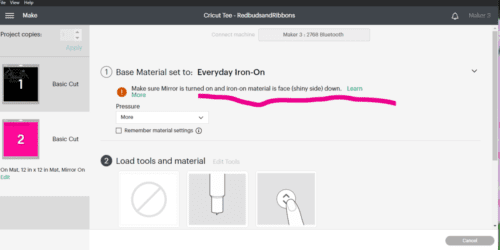
A couple of things I wanted to point out about heat transfer vinyl. One, you need to mirror your image, & two, you must remember to put your HTV face down on the mat. I remember when I first started crafting with my Cricut. When I learned that you’re supposed to put the HTV face down I was like “which way is face down?”. It’s the shiny side that goes down. Most of the time, with HTV there is one side that’s shiny & the other is matte. Although, I have had vinyl that both sides were kind of shiny & I couldn’t tell! In that case, use your weeding tool & lift up a corner of the vinyl. You’ll then be able to tell which side is the vinyl & which side is the carrier sheet. If it’s difficult to lift up a corner on one side (probably because that’s the carrier side) then flip it over & try that side.
So again, the shiny side or carrier side goes down. You want to cut through the vinyl, not the carrier sheet. If you happen to forget this, Design Space will remind you when you go to cut your design.
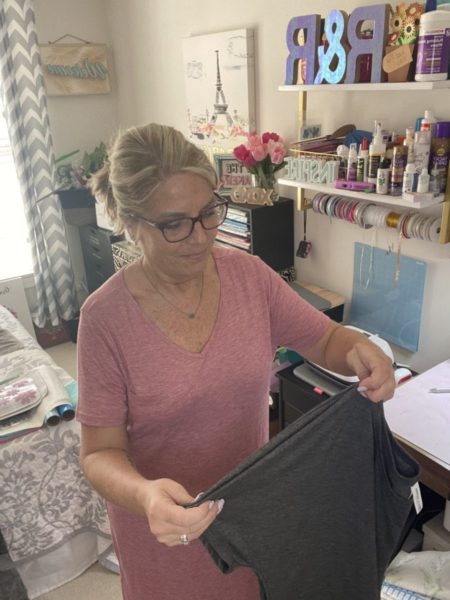
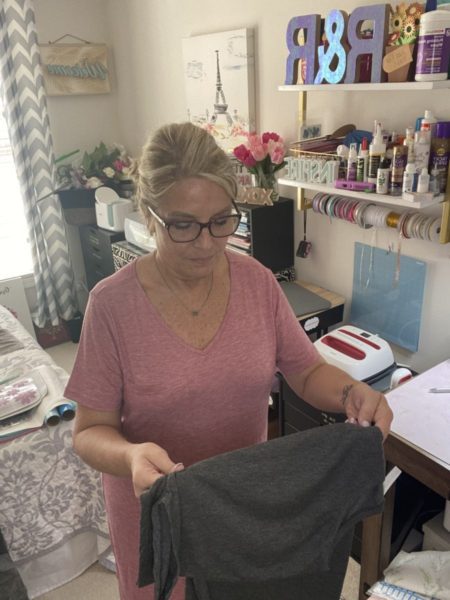
After you cut your design, you need to weed the pieces out that you don’t want. I also had a problem with weeding at first. I didn’t know which pieces to weed! To be honest, I still to this day, sometimes get confused which pieces to pull out. Sometimes I have to look back at the design. Just remember to pull out the pieces you don’t want in your design. So now I have my two cut pieces & I’m ready to apply.
Application/Layering Step – Glitter & Regular HTV
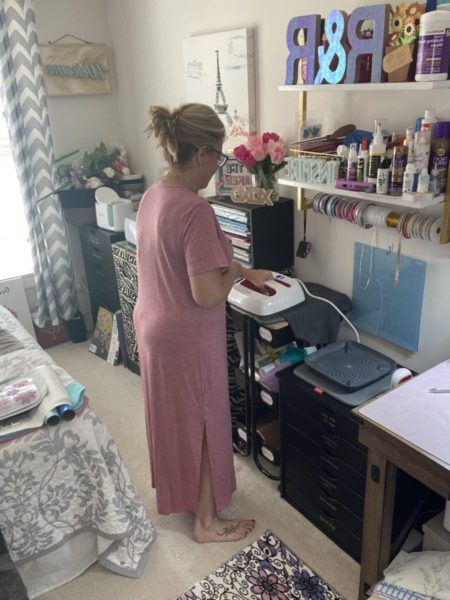
First, I need to prepare my t-shirt by ironing with my heat press (or regular iron) in the place I’m going to be putting my design for just about 5 seconds. Next, I want to find the middle of my shirt. I take the seams & match them up – seam to seam – (1st pic) & then, putting my hand right underneath the arm of the shirt; I fold it over (2nd pic). Then I iron right on the folds for about 5 seconds (bottom pic). These lines show me the middle of the shirt so I can put the center of my design in the right place.
After that, I will line up my designs on my shirt. The black piece is in glitter & the pink is the regular vinyl. Usually, you would do the most significant bit first (black) & then line up any wording. Since you aren’t supposed to layer over glitter HTV, I will apply the pink wording first.
So I’m laying both down so I can get them in the right spot & then I’ll pull out the glitter piece. So I applied the wording for the time & temp. on my chart & then did the black glitter the same way.
Now, if my design had both pieces on top of each other, I would still do it in the same order, but I would’ve only done the wording for 5-10 secs. instead of 30 secs. Then do the last layer with the glitter & iron for the whole time (20 secs.) This lets the first layer of adhesive start to work & then we “set” it by the full ironing time.

Here are my favorite vinyl brands & only brands I now use for both HTV & regular adhesive vinyl. Oracle 651 regular adhesive vinyl, Siser Easyweed HTV & Cricut Everyday HTV sampler & Cricut regular adhesive. If you’ve wanted to try making labels with adhesive foil, see here.
I hope you enjoyed learning about layering with regular & glitter HTV. If you have any questions, please feel free to leave me a message on the “contact” form & I will answer you asap! 💕