How to Get Those Magical Characters Called Glyphs to Use in Cricut Design Space?
This post contains some affiliate links for your convenience. Click here to read my full disclosure policy.
Introduction to Using Glyphs in Design Space
Do you love it when you see writing with those special characters, curly-q’s, or swashes, but you don’t know how to get them? Do you purchase fonts because you see those pretty characters, but when you download the font it doesn’t look the same? I will show you in this post how to get those magical characters called glyphs with a character map & how to use them in Cricut Design Space (DS). Let’s get to it…⬇️
What a Character Map Is
Let me tell you what a character map is in case you don’t know. It’s a program which is available through Windows that allows you to browse for those special characters of a particular font. The font I’ll be using today is called “Madelyn Heart” (you can get it here). It’s from Creative Fabrica. I have an all-access subscription with them so I can’t tell you how much the font is, because it just shows free for me.
How to Get to Your Character Map
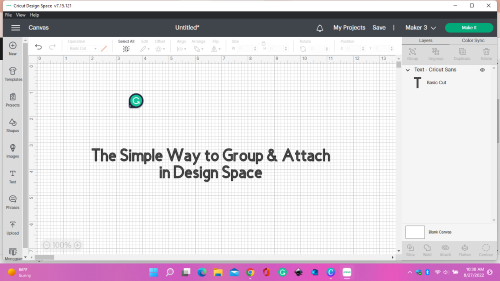
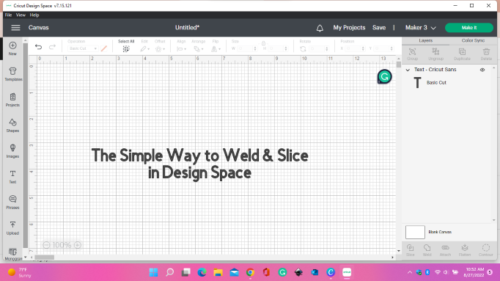
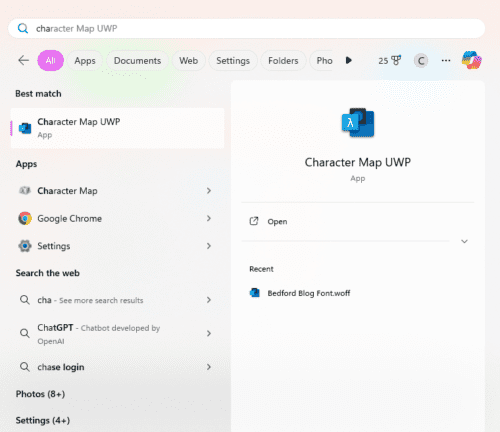
First off, let’s get to a fresh new screen in Cricut Design Space so we can actually use the glyphs. To start, type out two names by using the “text” tool. Then start another “text”, but don’t type anything in it. This will be the place the glyph will go. Make sure your names are in the font you want to try out with glyphs. Now to bring up the character map, you want to click on the Windows Start Menu button. Then type in “character map” in the search bar at the top. Pic below is what it should look like.
Next, click below where it says “character map”.
How to Transfer Glyphs to Design Space
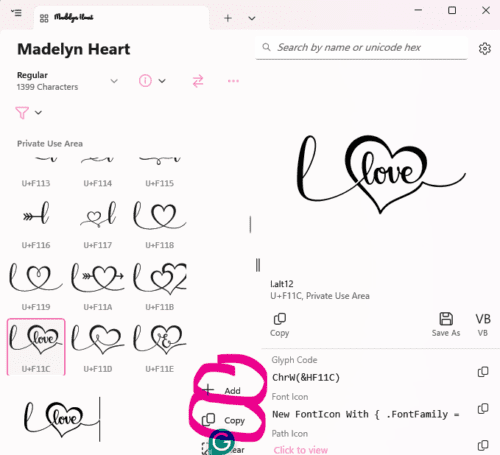
The map will come up & this will show all the fonts you have loaded on your computer. You need to find the font you’re looking for by clicking on the “hamburger” icon that I’ve circled below. You can either use the arrow to browse all your fonts or you can type the name of the font in the search bar. Once your font is pulled up you can scroll through & find any of the character’s this font has to use.

Once you find a glyph you want, click on “add” at the bottom then go down to “copy” & click. See pic below. This will copy your glyph to your clipboard.
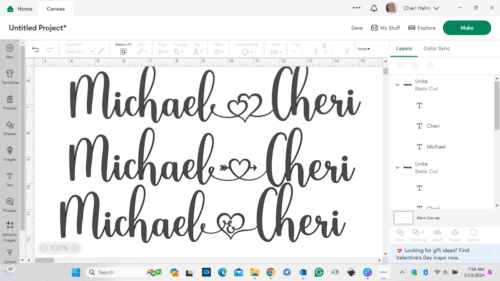
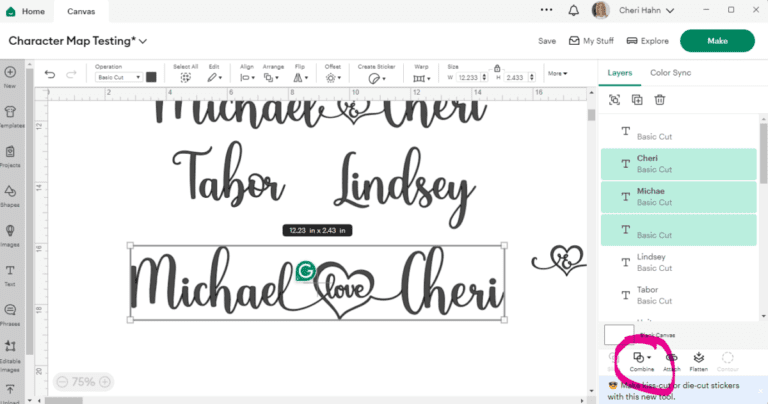
Now we’re going to use that glyph in DS. Remember I had you start a “text” but I didn’t want you to write anything in it? Well, click twice within that “text” box & then “paste” your symbol in there. Next, you’ll line up your glyph however you wish for it to look! You’ll want to put the end or beginning of say a swash “inside” of a letter. Once you have it set in the right place you need to “unite” or “weld” everything together. The lines within the letters will fade as soon as you “unite” so it all looks smooth.
How to Use FontCloud with Design Space
There is another option where you can use glyphs in DS. It’s an amazing program through Creative Fabrica called FontCloud. It’s free to use, but you do need to make an account. If you are interested in learning more about this program, see my post “How to Use FontCloud with Cricut Design Space” . You will be so happy you did!
Summary on Using Glyphs in Design Space
So, congratulations on learning how to get those magical characters called glyphs to use in Cricut Design Space with a character map! If you want to know more about downloading fonts, see my post “How to Download Free Fonts to Cricut Design Space“. If you liked this post, please share it on social media & I would love it if you followed me while you were there! I would appreciate it so much! Thank you!💕