
An Easy Way to Layer With Glitter HTV
This post contains some affiliate links for your convenience. Click here to read my full disclosure policy.
Hello! In this post, I’ll show you an easy way to layer with glitter HTV. I have a tee that I want to put a layered design on. I want to use both regular HTV & glitter HTV. But it gets a little tricky when layering with glitter. When designing your project, keep in mind the materials you want to use. If using glitter HTV, you cannot layer on top of the glitter, so design in a way that the last layer will be the glitter HTV.

An Easy Way to Layer With Glitter HTV
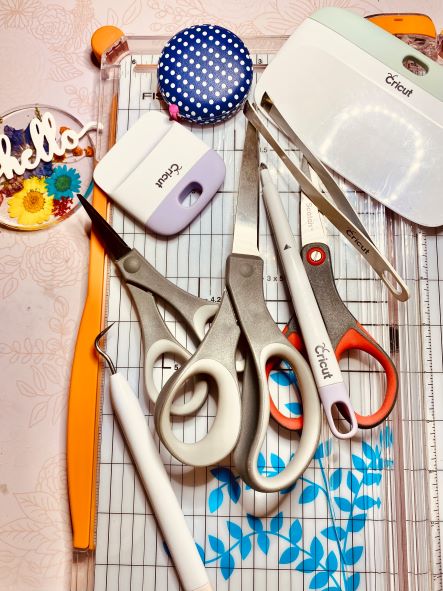
Materials Needed
Preparing your project:
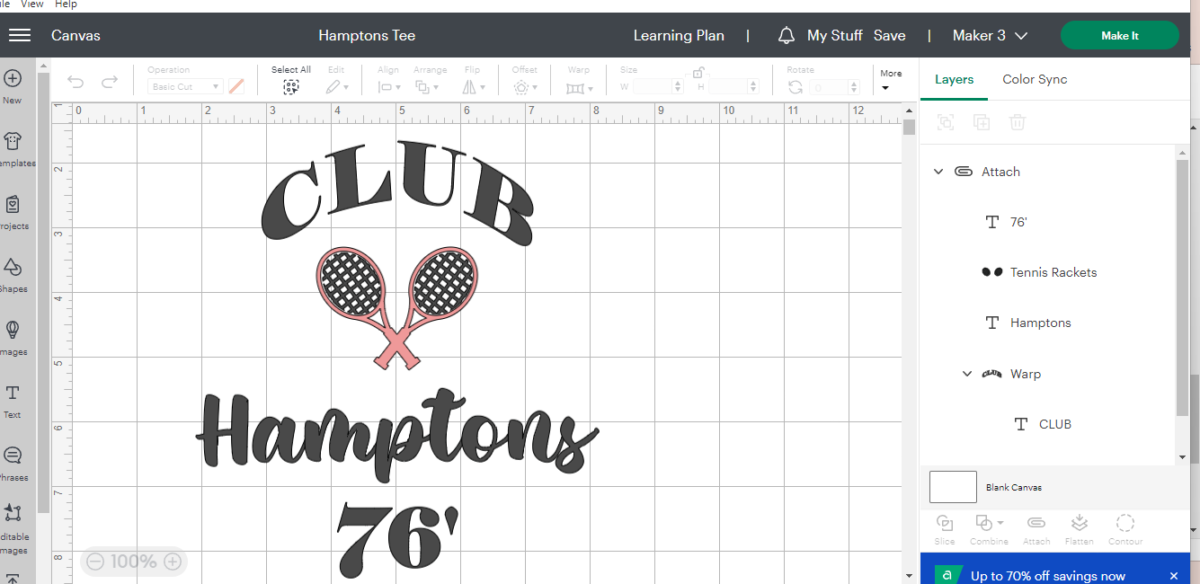
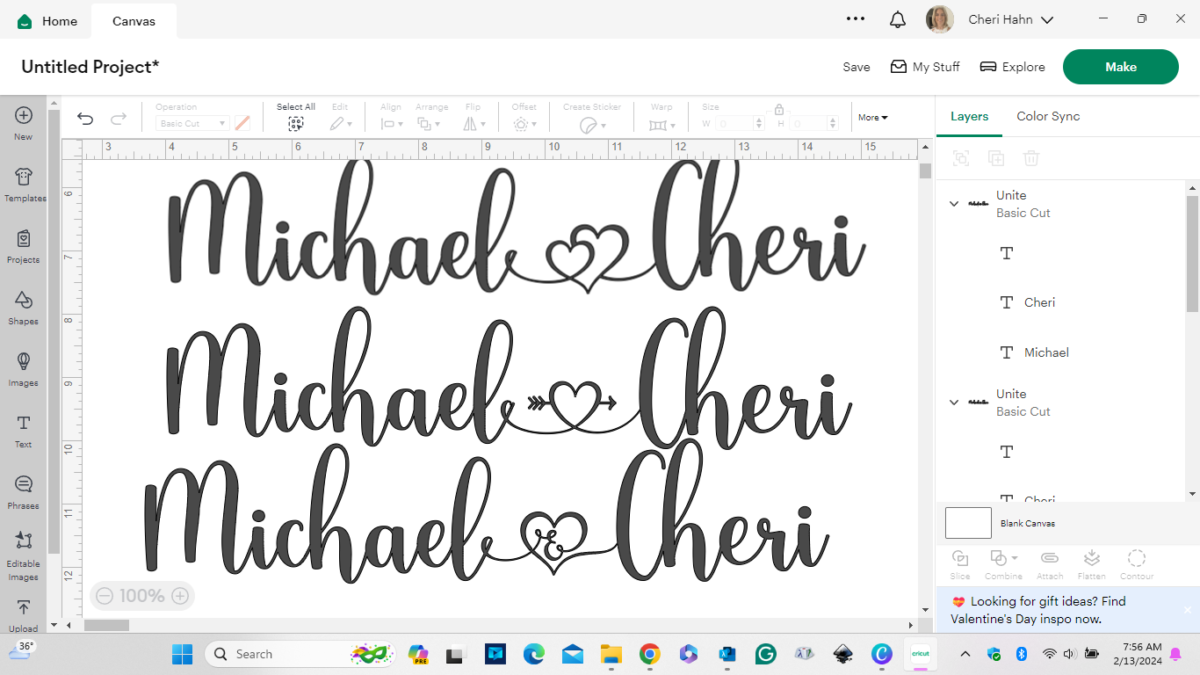
Step 1: Make your design in Cricut Design Space. Below is my image I’m putting on the tee. The black wording will be glitter HTV & the pink will be regular.
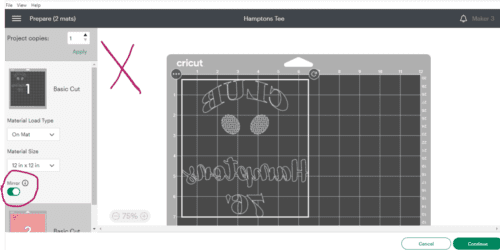
Step 2: Click “Make it”. On this screen make sure you “Mirror” your image because we are working with heat transfer vinyl (HTV). Your image should then be backwards. Then click “continue” & pick your material & click “Go”.
Cutting & weeding your project:
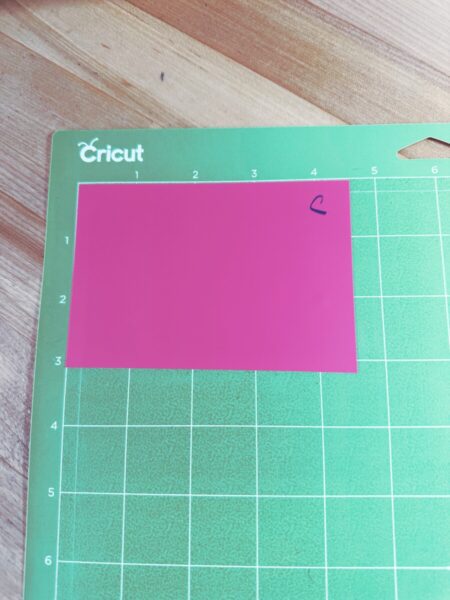
Step 3: Make sure when you put your HTV on your cutting mat, you put it upside down or shiny side down.
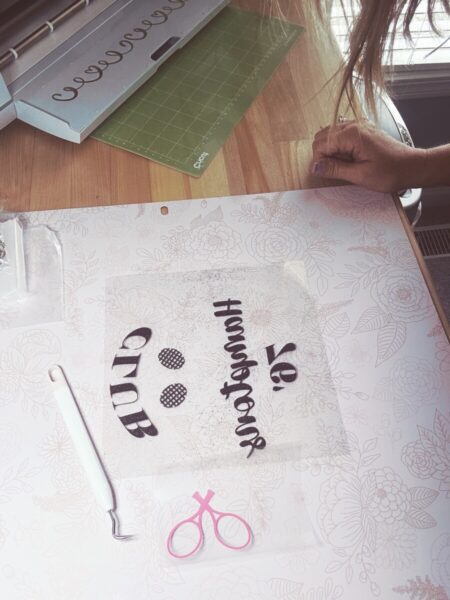
Step 4: Weed all the pieces out that you don’t need.
Applying the HTV:
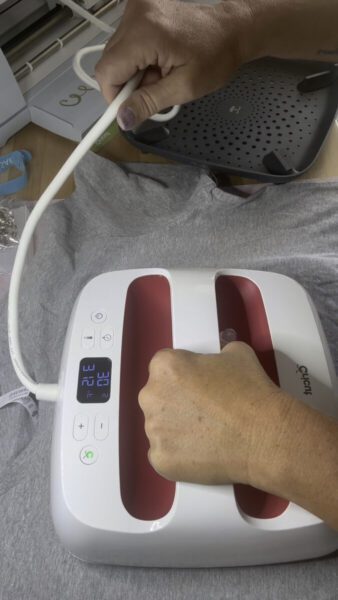
Step 5: Now we’re going to apply the HTV to the tee or whatever blank you have. First thing is you want to use a lint roller on the front of your tee or blank. Start your heat press & use the settings on your guide or your instructions from your vinyl. This all depends on brands. You will then apply your heat press to the front of your tee for approx. 5 secs. This takes out the moisture in the tee & straightens out the material.
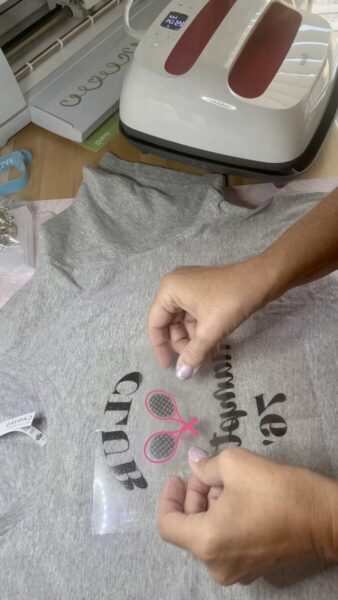
Step 6: Find the middle of the tee. When applying the HTV, you usually start with the biggest image or piece, but with this design I wasn’t thinking (like I said earlier you should think about your materials when designing) & I didn’t design with that in mind. 😕 So I have to press the small piece first because my big piece is the glitter HTV. Now I have to line up the big piece & find my “mark” to be able to lay the small piece. (I use the Cricut washable fabric pen to mark my spot.)
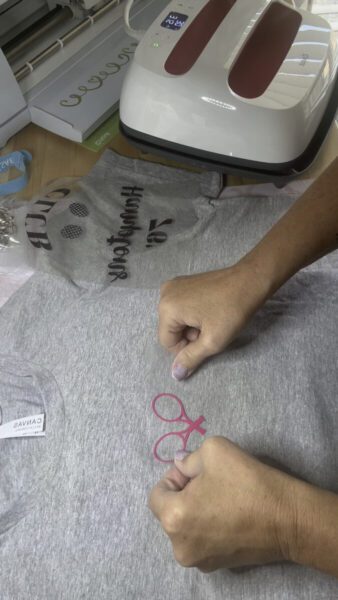
Step 7: Once it’s set in the right spot, use your heat press for 10 secs. Optional: You can use a teflon sheet over the design if you wish. Let it cool & take off the liner.
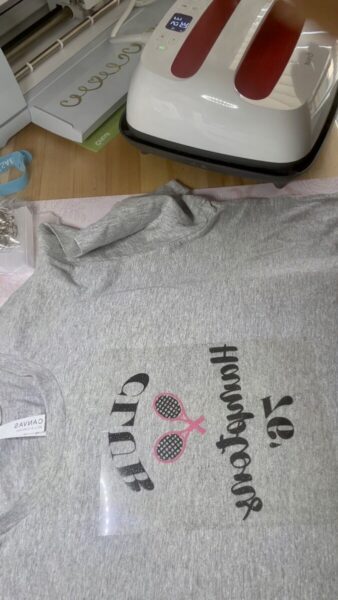
Step 8: Then line up your glitter HTV & use your heat press for 30 secs. or however long your guide or instructions say. Optional: You can use your teflon sheet over the design if you wish. Let it cool & take off the liner.
Wasn’t that an easy way to layer with glitter HTV? When layering different types of HTV, the creative possibilities are endless. Remember to experiment with different HTV colors & textures. Nevertheless, whether you’re making custom apparel, home decor, or personalized gifts, HTV and Cricut make a dynamic duo. Let your imagination soar!
Here are some of the supplies that I used when making this project!

Cricut Glitter HTV
You can never go wrong with the Cricut brand of anything.

Siser HTV
I only use Cricut & Siser brand for my HTV.

Bella-Canvas Tee
Love this brand of tees. Definitely good quality & price.
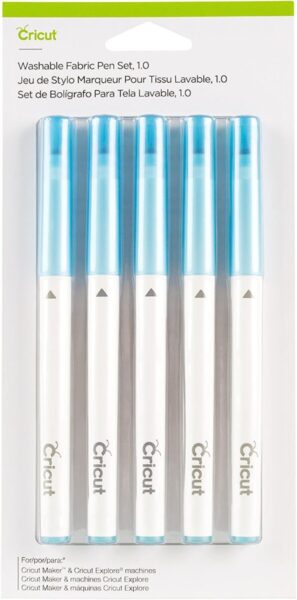
Cricut Washable Fabric Pen
Love to use this when layering HTV. The marks wash right out.
If you loved this project, you’ll love these projects too:

Did you make this craft?
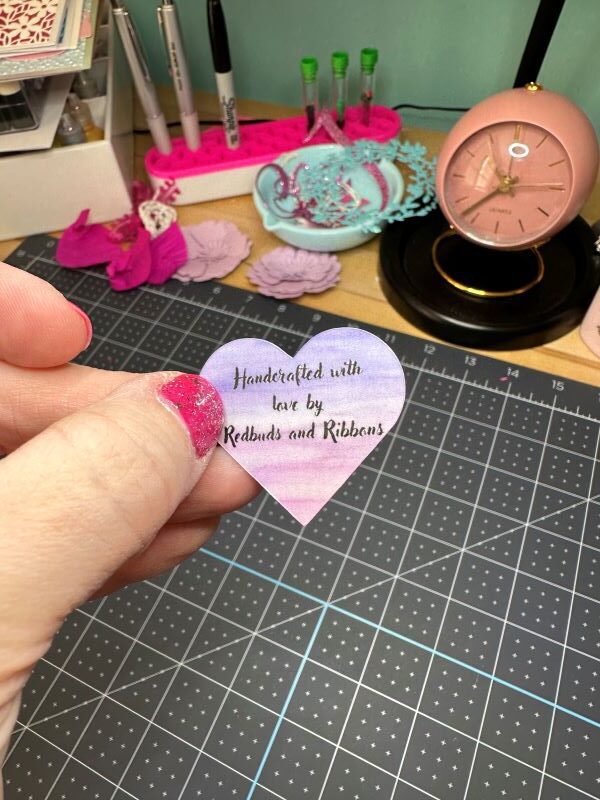
We would love to see what you have created so mention us @redbudsandribbons so we can see your creations!

Leave a Reply