How to Make a Tee With Puff Vinyl
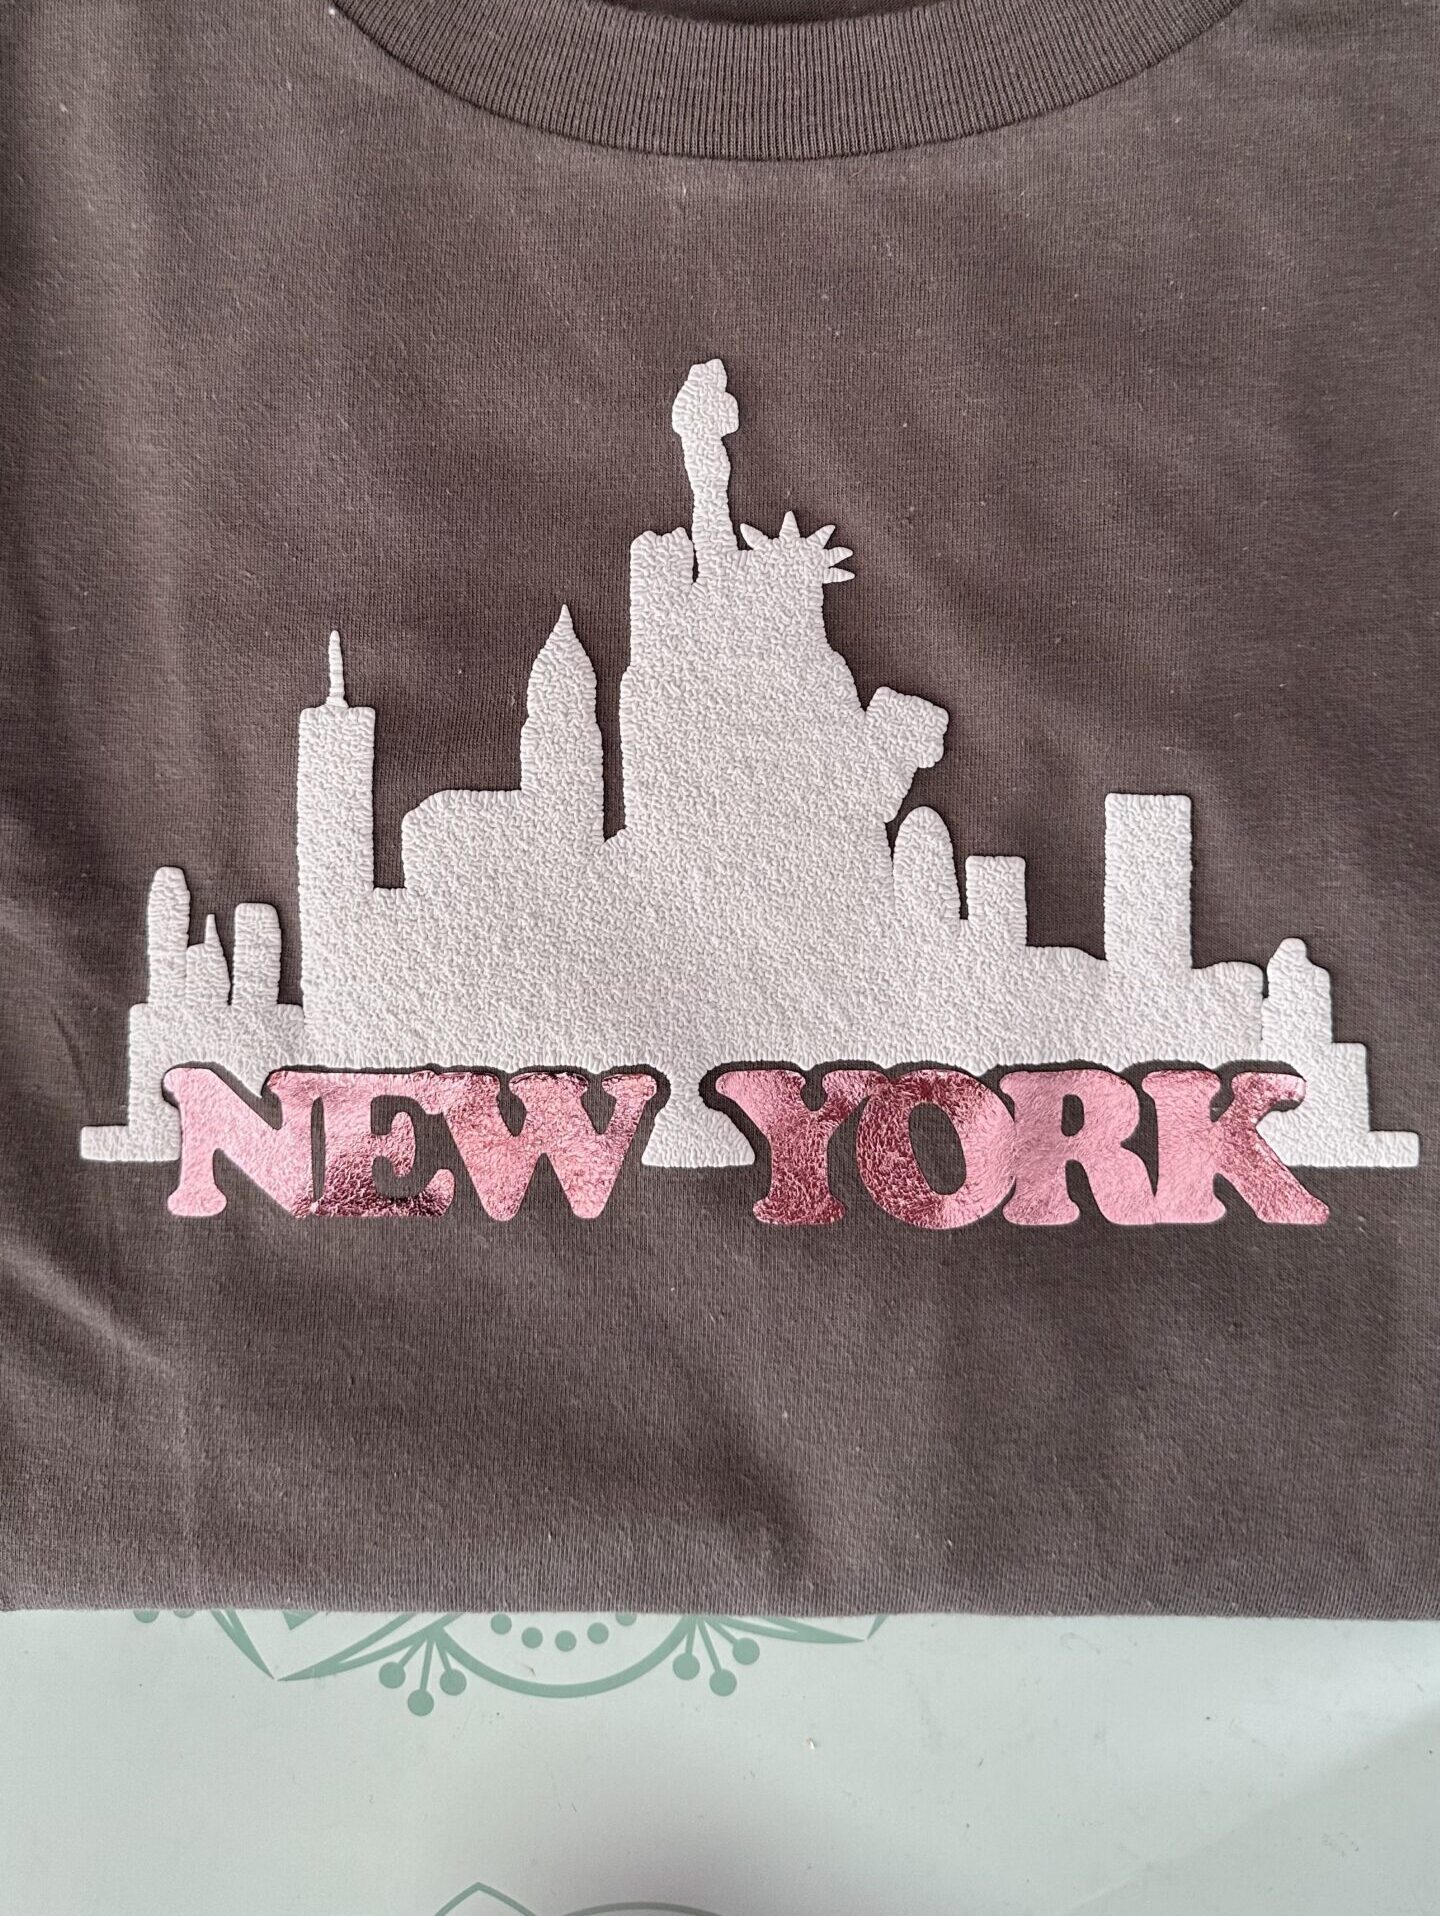
Puff vinyl is such a fun way to add texture and dimension to your t-shirt designs. It’s like giving your Cricut projects a little extra flair without much extra effort. If you know how to make a tee with regular vinyl- this isn’t much different. Because of that, this will be a shorter post than usual. I will highlight the key differences in how to make a tee with puff vinyl. Ready to see how it’s done? Let’s dive in!
What You’ll Need For Making a Tee With Puff Vinyl:
- A plain t-shirt (preferably cotton or a cotton blend)
- Puff heat transfer vinyl (HTV) in your favorite color
- Your Cricut machine and mat
- Weeding tool
- Heat press or iron
Step-by-Step Instructions
Design Your Masterpiece:
Open Cricut Design Space and create or upload your design. Keep it simple—puff vinyl works best with bold, chunky shapes and text.
Mirror Your Design:
Don’t forget to mirror the image! Make sure to test your Puff vinyl to see which side is the carrier side! To do this just use your weeding tool & pull up a corner of your vinyl to see which side is which. Each brand of Puff vinyl is different. (Sometimes the carrier side is the dull side.)
Cut the Vinyl:
Place the puff vinyl on your mat with the carrier sheet side down. Load it into your Cricut, then I used the “regular HTV” for my material setting.
Weed Away the Excess:
Once it’s cut, weed out the extra vinyl. Be gentle—puff vinyl has a thicker, rubbery feel compared to regular HTV.
Heat It Up:
Use your lint roller on your tee to get off anything that might be on it that would prevent the vinyl from sticking. Preheat your t-shirt with your heat press or iron for approx. 5 seconds to remove moisture. Once cooled, position your design on the shirt where you want it.
Press & Puff:
Regular iron is not recommended with Puff vinyl. Use your heat press & for cotton/poly mix set it for 280°F and press for 15 seconds with medium to firm pressure. For 100% cotton, set your heat press to 290° & press for 15 seconds with medium to firm pressure. As the vinyl heats, it will puff up—this is the magic moment!
Peel Cool or Warm (Check Instructions):
Depending on your puff vinyl brand, peel the carrier sheet when it’s warm or cool. The carrier sheet should be coming away from the vinyl & barely touching.
Ta-da!
You’ve just created a textured, trendy tee that’s begging to be shown off. Whether it’s a fun design for you or a gift for someone else, puff vinyl always makes a statement.
I hope you enjoyed making a tee with Puff vinyl! Very easy & just like regular HTV except for finding which side is the carrier sheet of the Puff vinyl. If you’re interested in a funny video “about” Puff vinyl & the reason I did this post, you can see my video on YouTube at @redbudsandribbons. If you’re interested in how to use “Printable HTV” click here. Have a great day!!💕

