A Beginner’s Guide: How to Foil Your Greeting Cards
Hello again, crafters! I’m so excited to talk about foiling today because I absolutely love it! Especially with my greeting cards!
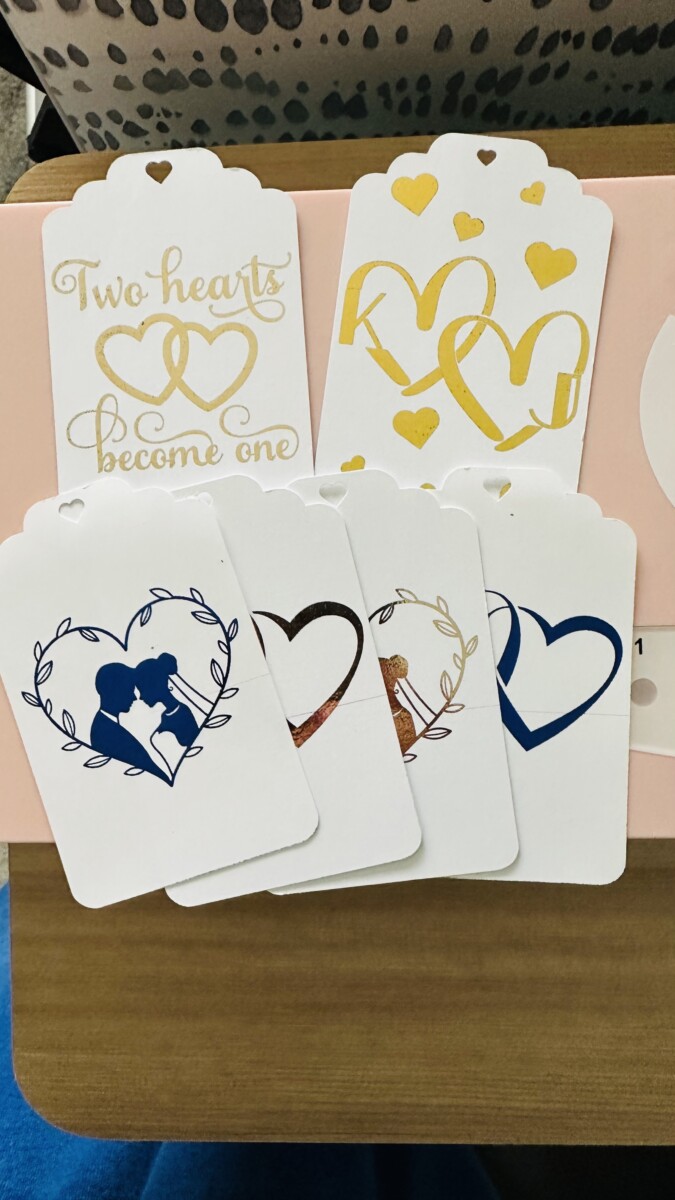
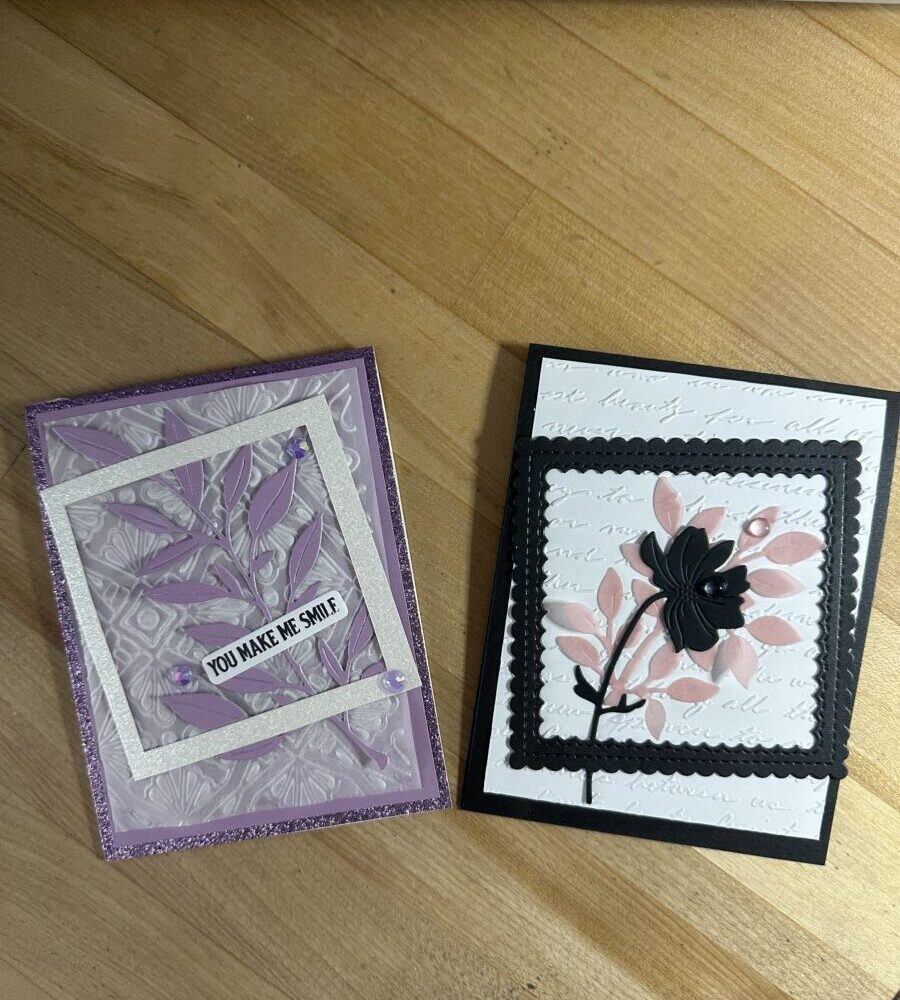
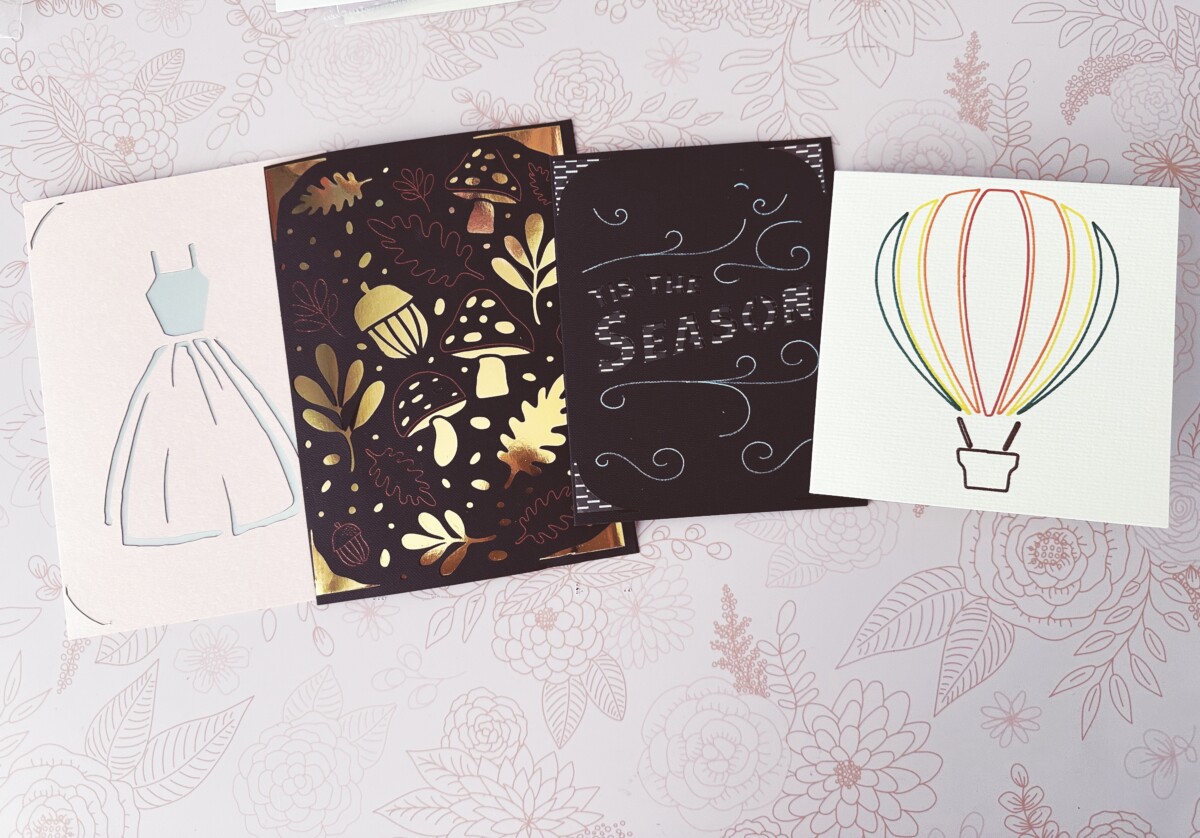
If you ever admired the shimmering elegance of foiled cards & wanted to try for yourself, you’re in the right place. Foiling adds a touch of magic to any project, making your projects truly stand out. If you are just getting started, this guide will help you master the basics of foiling & make your cards sparkle & shine! Let’s go!
This post contains some affiliate links for your convenience. Click here to read my full disclosure policy.
How to Foil Your Cards
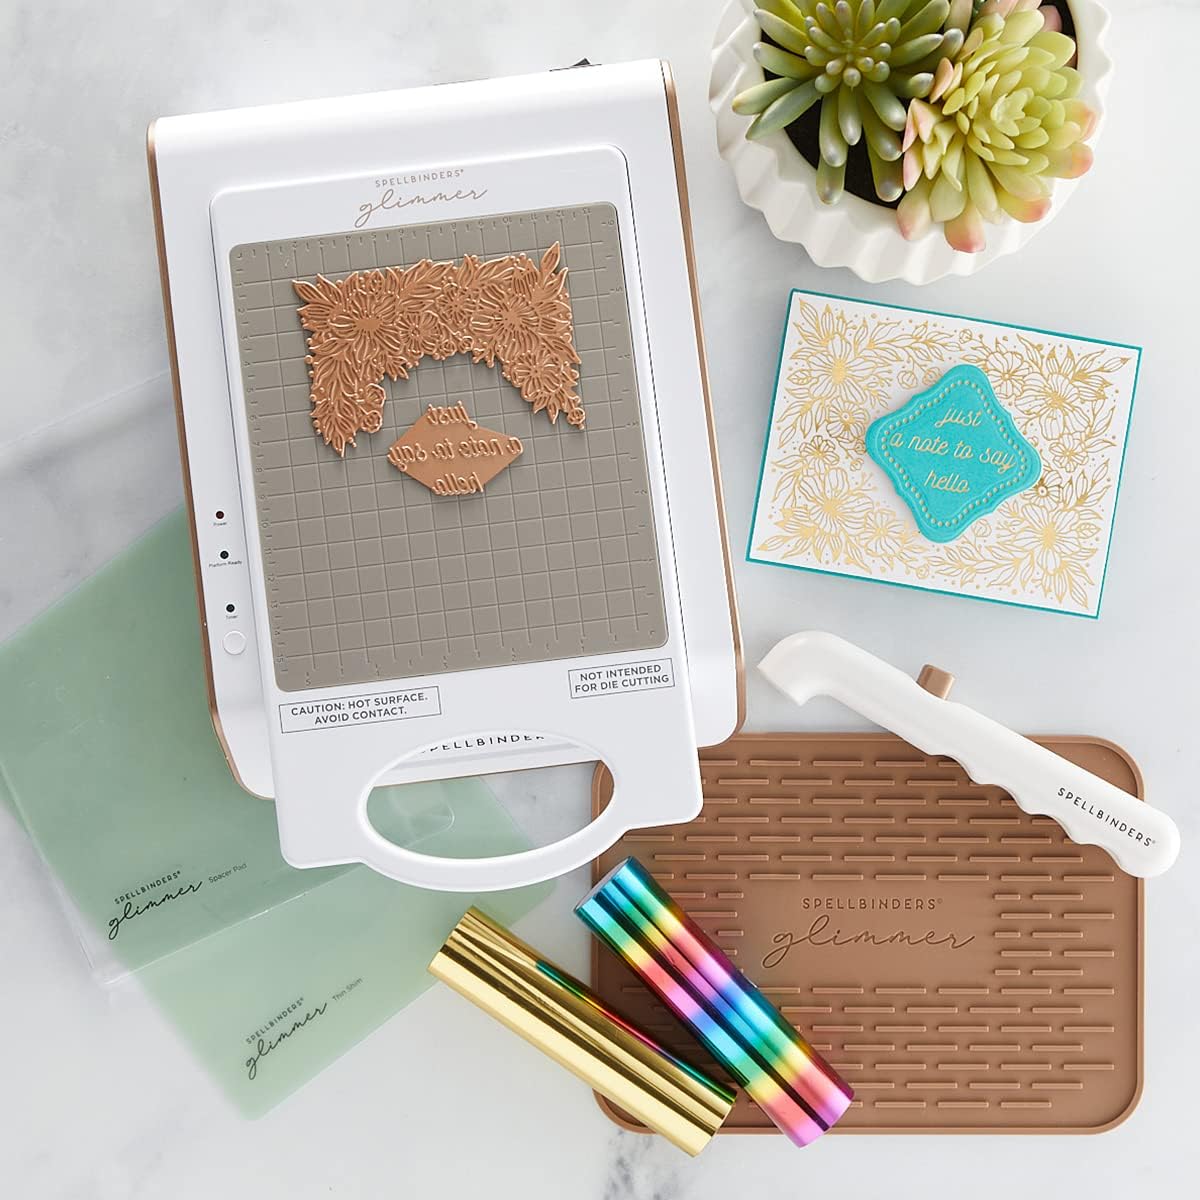
*In the beginning, I would like to point out that this post is only about foiling with toner foil & transfer gel. It’s not about “hot” foil or foiling with the Glimmer machine.*
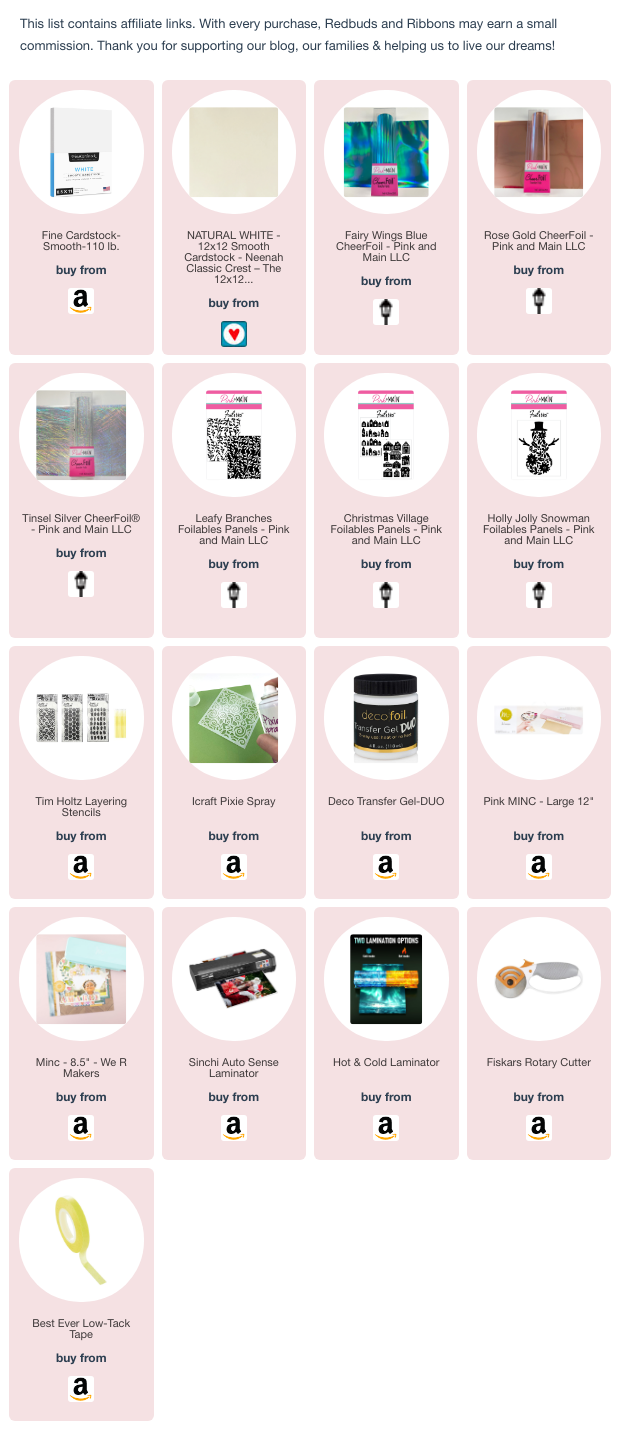
Materials Needed
Essential Notes Regarding Foiling
Before we get into techniques, I want to explain a little about the foiling products I mentioned above under “Materials Needed”. If you go to the store, or online, you’ll see all sorts of different foils. That’s why I mentioned those two brands, because you’ll know for sure that you purchased toner foil. Once you start to get comfortable with foiling, you’ll know more about what to look for to purchase quality foils.
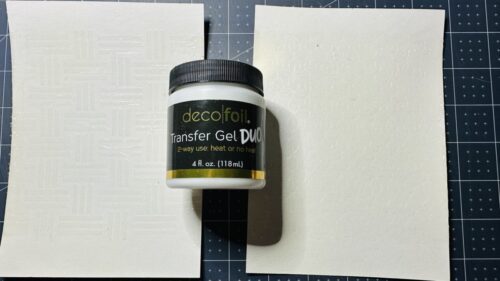
The Deco Foil Transfer Gel Duo (optional) is another way to get the foil to stick onto the cardstock.
Regarding cardstock, you need smooth (no texture) type of cardstock. The smoother the cardstock the better. (Neenah Classic Crest – 100-110 lb. is a great option.)
Lastly, if you want to print out designs for your cards with your printer it must be a laser printer. Laser printers use toner, which is what foil sticks to. Printers that use ink do not work.
Foiling Techniques for Cards
Step 1: Make Your Design
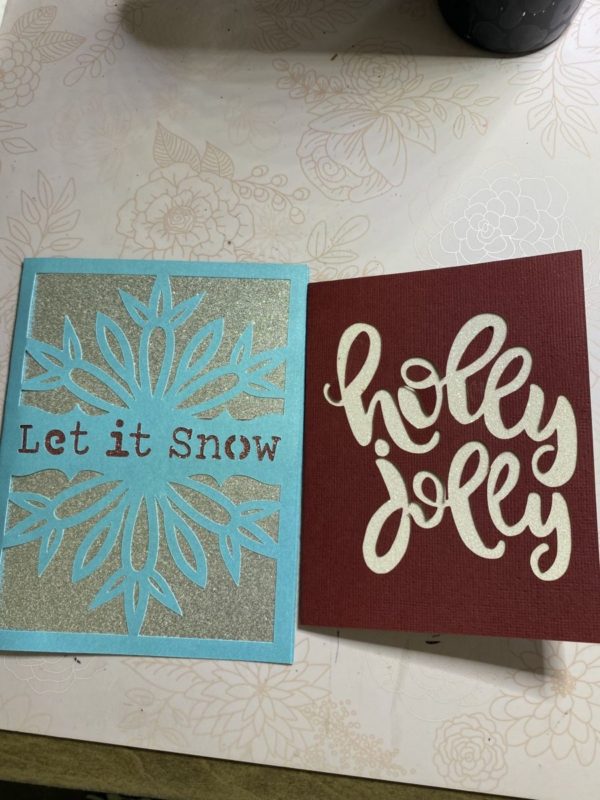
You can make any kind of design with your laser printer on your cardstock. If you don’t have a laser printer, you can try the adhesive I talk about in Step 2. You can also purchase what they call “Foilables” which are different-sized cardstock that have professional quality toner designs already printed on them. (I will include these on my list of “products I’ve used for this post” at the end.)
Step 2: Apply Adhesive to Cardstock
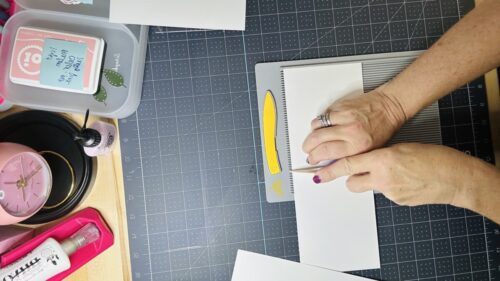
If you want to try the adhesive or transfer gel, now would be the time, because you need to let it dry for at least an hour. I’ll show you how, but if you want to skip this step just go to Step 3.
Grab your stencil & attach it to your cardstock with low tack tape. You take your spatula & slide the gel over the top of the stencil till it looks like all the cut-outs are covered. That’s it! Just set it aside for at least an hour. If you haven’t used this gel or done any stenciling, please take a look at the video below.
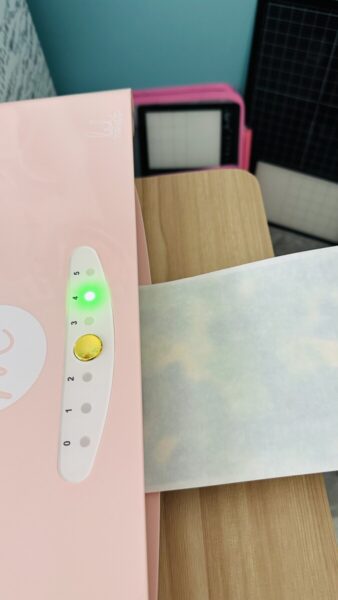
Step 3: Prepare Your Card Base
Start by cutting your card base to the desired size. For a standard A2 card, trim your cardstock to 4.25″ x 11″ & score at 5.5″ to create a folded card.
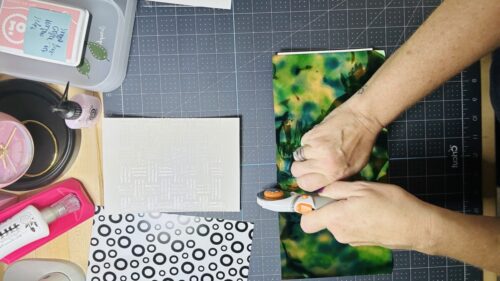
Step 4: Cut Your Foil for Your Card
When cutting, you want to ensure all of your design is covered by cutting the foil slightly larger than the area of your design. I also use a rotary cutter sometimes or a tool like below.
Step 5: Transfer the Foil
Place the foil sheet over the design area, shiny or colored side up. Run it through your laminator or foiling machine as per the machines instructions. If using a laminator, it’s a good idea to place it between parchment paper to protect both your machine & the foil.
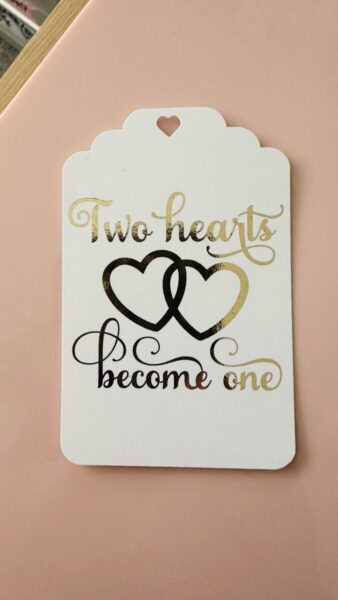
Step 6: Reveal the Magic of Foiling
Once the foiling process is complete, & given a minute to cool off, gently peel off the foil to reveal the shiny design.
Conclusion: Your Foiling Journey Begins
There you have it – a beginner’s guide to foiling cards or any project! I hope this post helps you add a splash of shine to your card-making. Foiling can make your projects pop & add a touch of elegance. If you are interested in another way of foiling your cards, see my post “Let’s See How We Like the Spellbinders Glimmer System” here, where I review the whole process. Also, below is a list of my favorite products I use when I’m foiling projects.
Please reach out to me if you have any questions about foiling projects or leave a comment below! Happy crafting & enjoy your new shiny creations! 💕
Did you try foiling a card?
We would love to see what you have created so mention us @redbudsandribbons or tag us using #redbudsandribbons so we can see your creations!
I sometimes get this too. There are a few reasons you could be getting unfoiled spots. I would check the following: 1) Your foiling machine might not be hot enough. 2) Your paper needs to be smooth. 3) Your foil might not be of a good quality.
I have a question on foiling. Why would I get spots that don’t foil on my projects?